8 April, 2012
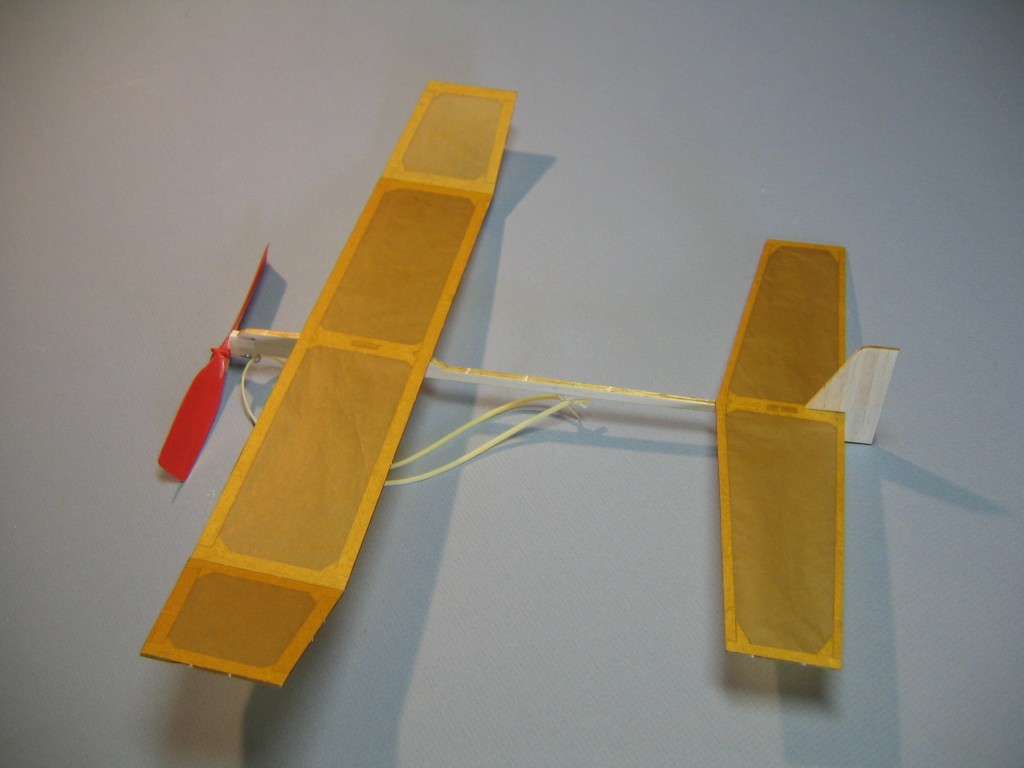
The Mountain Lion is a new beginner’s indoor/outdoor rubber band powered flying model airplane. It has a 14.3” wingspan and weighs a bit over 8 grams, ¼ ounce, in flight. The nineteen 1/16” sheet balsa parts are laser cut, so it goes together quickly with perfect fit and no need for sharp blades. The parts are held together for gluing by circular dot stickers, eliminating the need for special building boards and pins. All this makes it quick and easy to build. These look good for the intended audience. The high aspect ratio wing has promise of long flights.
The Mountain Lion is manufactured by Laser-Cut Planes of Colorado Springs, CO. I ordered a six pack, at about $5 for each plane. Bulk pricing is available.
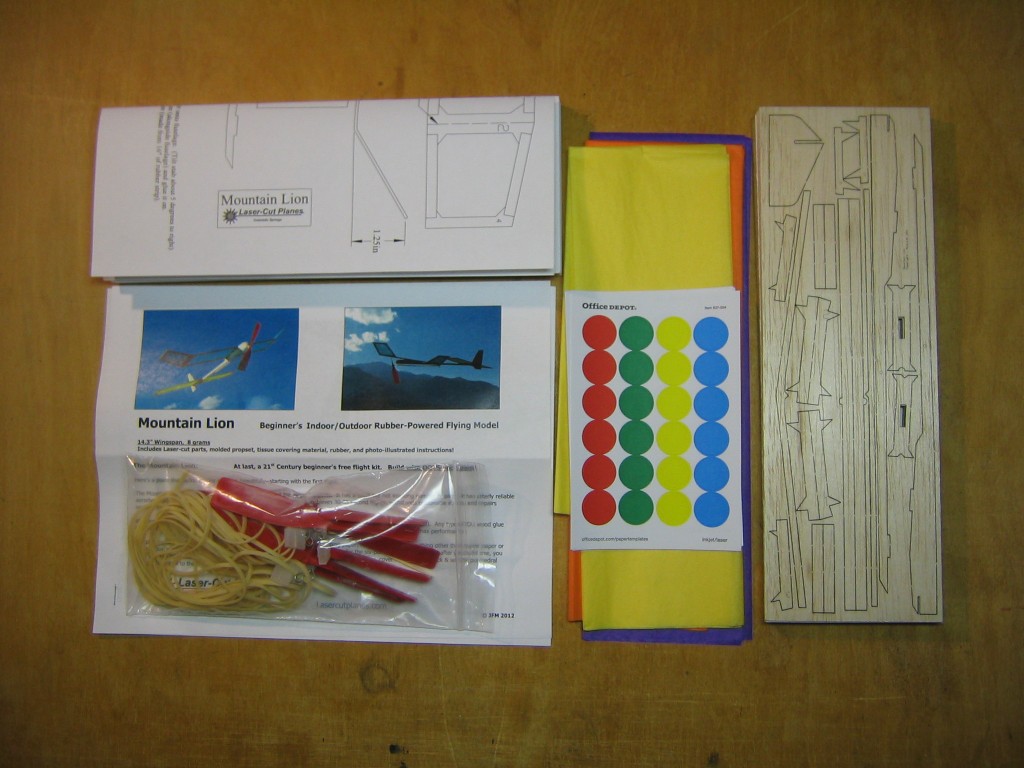
The kit consists of a 4″ x 12″ sheet of 1/16″ laser cut balsa, a sheet of sticky dots, a 5 1/2″ plastic prop assembly, about 20′ of 3/32″ rubber (enough for two and a half motors per plane, for 8” loops, or make longer motors), a toothpick motor hook, brightly colored tissue paper, a plan sheet for each plane and one instruction set.
I prefer wire motor hooks, easy enough to make from paper clips or pins, as you may see on several of my builds on EndlessLift.
The illustrated instructions are so good that I don’t need to do an illustrated tutorial here. A few observations from my build may be useful.
The sticks are a little wider than I would like, 1/4″, but this is not a plane for me, it is for beginner kids. The wood averaged 7# density, perfect for this use; light enough for good flying, but still robust enough for clumsy hands. The laser cut parts are keyed together for good fit. The wing is set at a good incidence and it is keyed in place. There is no way to trim balance by moving the wing, unless you lengthen the slot. The balance point without motor is marked on the plan. My completed airplane balanced about 1/4″ ahead of the marked location. The specified motor, an 8″ loop of 3/32″ rubber, brought the CG back to about 3/32″ ahead of the marked location.
The dots are 3/4″ diameter Office Depot circular stickers. They are used to hold the parts together while the glue dries, instead of pins. The dots are then peeled off. Stick them on so they overhang the edge, so you can grip an overhanging piece when peeling them off later. Be careful when peeling to not break the balsa parts.
I built a Mountain Lion exactly according to the plan and instructions, except for the motor hook. I used a tawny brown color tissue to fit the name. It took 47 minutes.
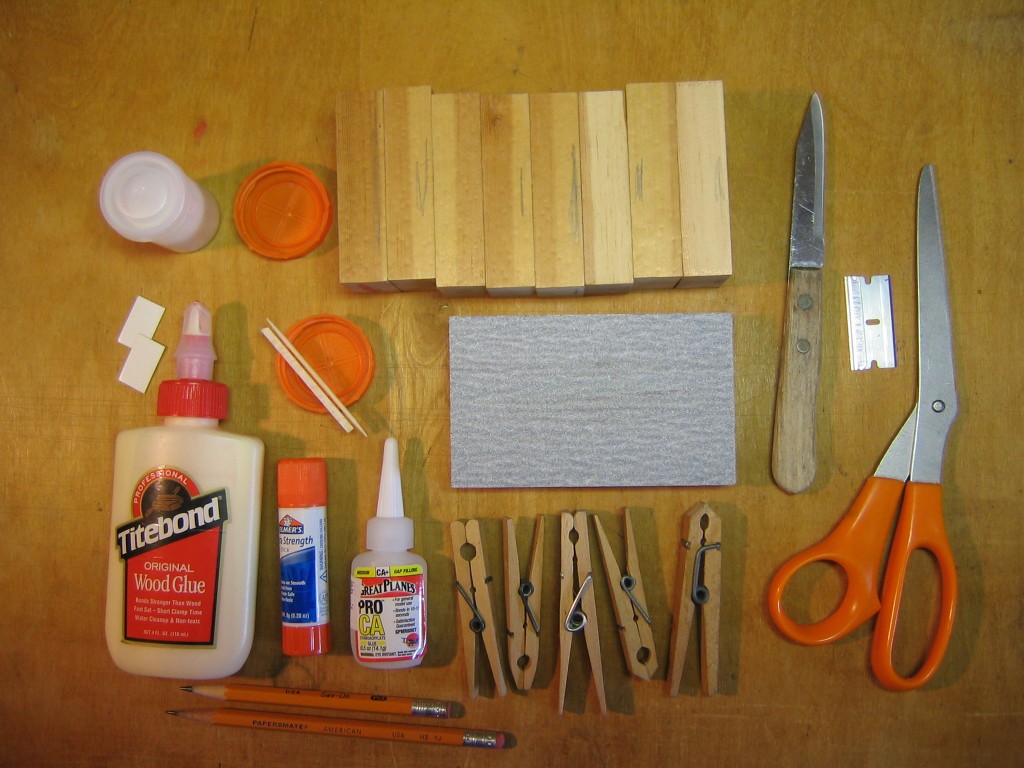
This is what I used to build the plane. I used thick CA for the wood joints and glue stick for the paper. I used baking soda in the dihedral joints, just the width of the wing spars, to form a hard joint with the CA. The orange milk bottle caps were used to hold the Titebond and baking soda. Titebond was squeegeed onto the fuselage side with the small cardboard rectangles. The 1/8″ fuselage stick is two 1/16″ pieces glued together. I clamped them together with clothes pins while the glue dried. Align them carefully and sight along the length to make sure the assembly is straight. The small sticks were used for lifting and forming the baking soda. I found the scissors awkward to use for cutting off the excess paper from around the frame. I used the razor blade for that. The small knife was used to scrape the heavy prop blade. The wood blocks are 3/4″ x 1 1/2″ x 3″ pine. They were used to hold the parts flat while the glue dried and to space the wing up from the table and hold it in place to form the dihedral joints. The pencils are 1/4″ thick and were used to hold the wing tips up from the table top while forming the dihedral joints, to get the specified 1 1/4″ offset. The sanding block is pine with self adhesive paper attached. It was used to sand the top of the motor hook flat.
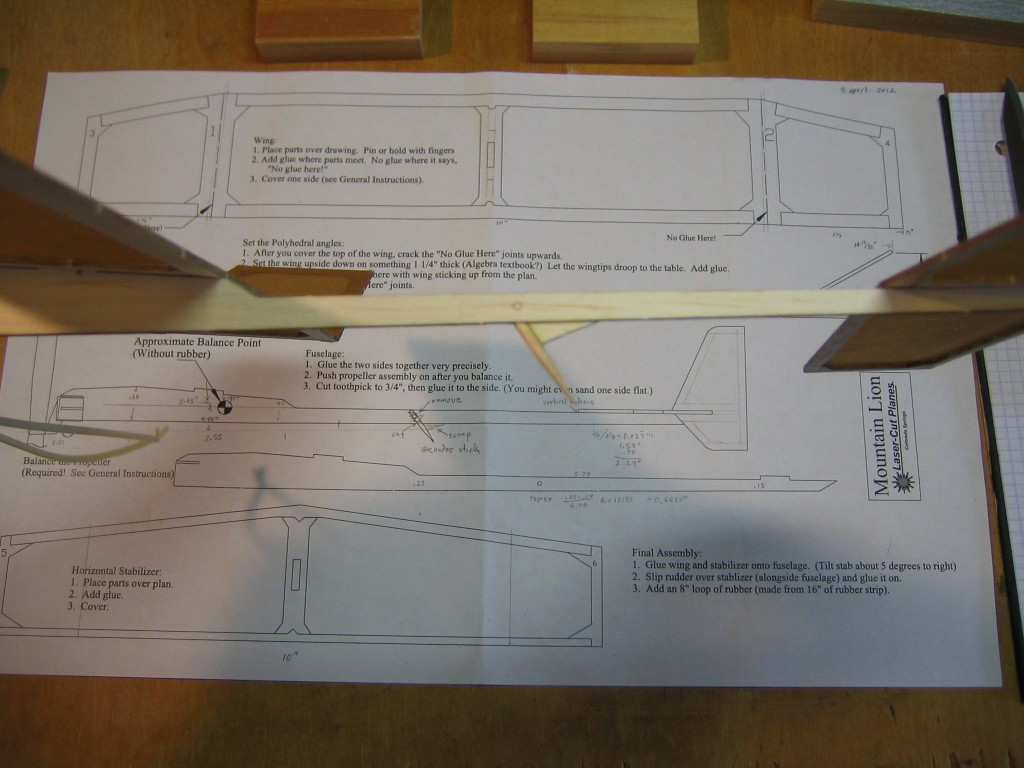
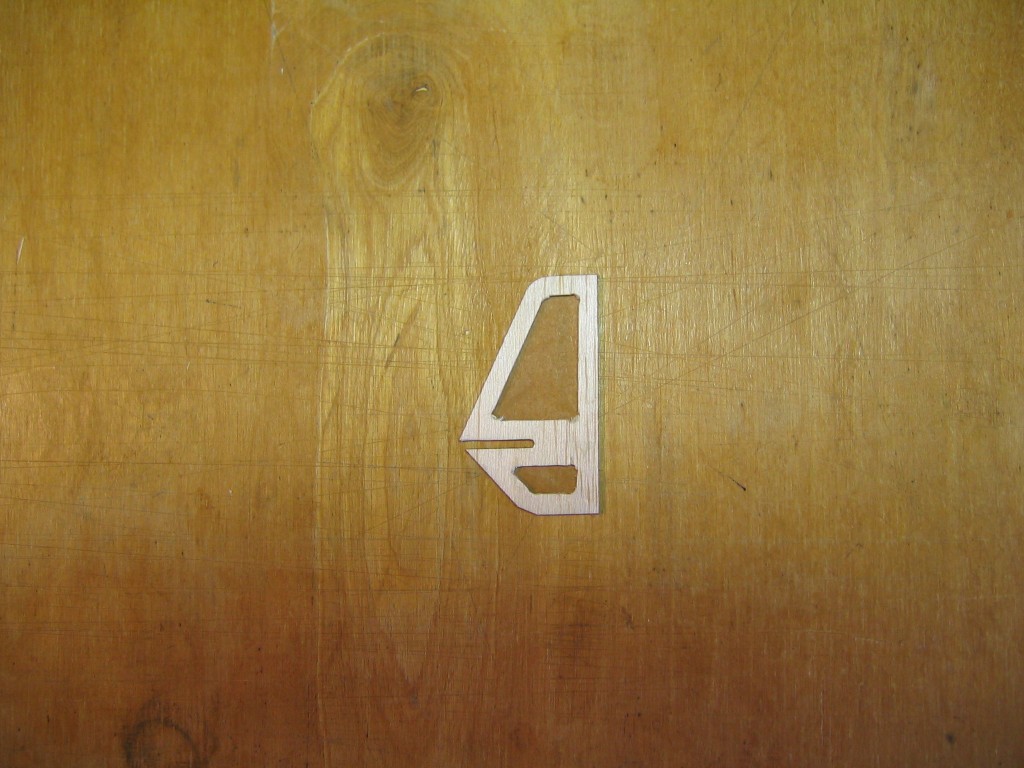
The one minor thing I did differently was the motor hook. The instructions tell you to cut a round toothpick in half, sand one face flat and glue it to the side of the fuselage 6″ behind the prop hook. Rather than gluing the toothpick to the side of the stick, I glued it under the stick with a gusset. The main reason was that I wanted something to space the motor away from the stick, to prevent knots rubbing on the stick. The two pieces are aligned and cut on the drawing, glued together, then sanded together to form a flat gluing surface. We’ll see how it holds up. I’m not sure it will withstand the torque of a fully wound motor. I may replace it with a wire hook.
The finished weights are: Fuselage assembly 2.1 grams, Wing 2.1 grams, Prop assembly 3.1 grams, Total airframe 7.3 grams, Motor 1.1 grams, Flying weight 8.4 grams.
The CG was 1/4″ ahead of where shown on the plan, and on the same horizontal line. That puts it about 0.43″ above the thrustline, so there is danger of a zooming stall on power burst.
There was a lull in the wind around noon. I put 150 finger wound turns into the unlubricated motor and launched from the end of the driveway. It climbed slightly, circling left, crossed the street, went over the neighbor’s lawn, behind his SUV parked at the curb, back out into the street and landed. It had a slight phugoid, in spite of the CG being 1/4″ forward of what the plan calls out. Shifting the CG forward will cure that. There are several ways that could be done.
I have made a lighter, framed fin with tissue covering to help move CG forward while reducing weight. I will replace the sheet fin after I finish testing the original configuration.
That it flies about level on about 1/6 of breaking turns tells me this can fly with thinner rubber. That would permit more turns and longer flights. It could probably fly well on 1/16″ rubber. That will also reduce the chances of a zooming power stall.
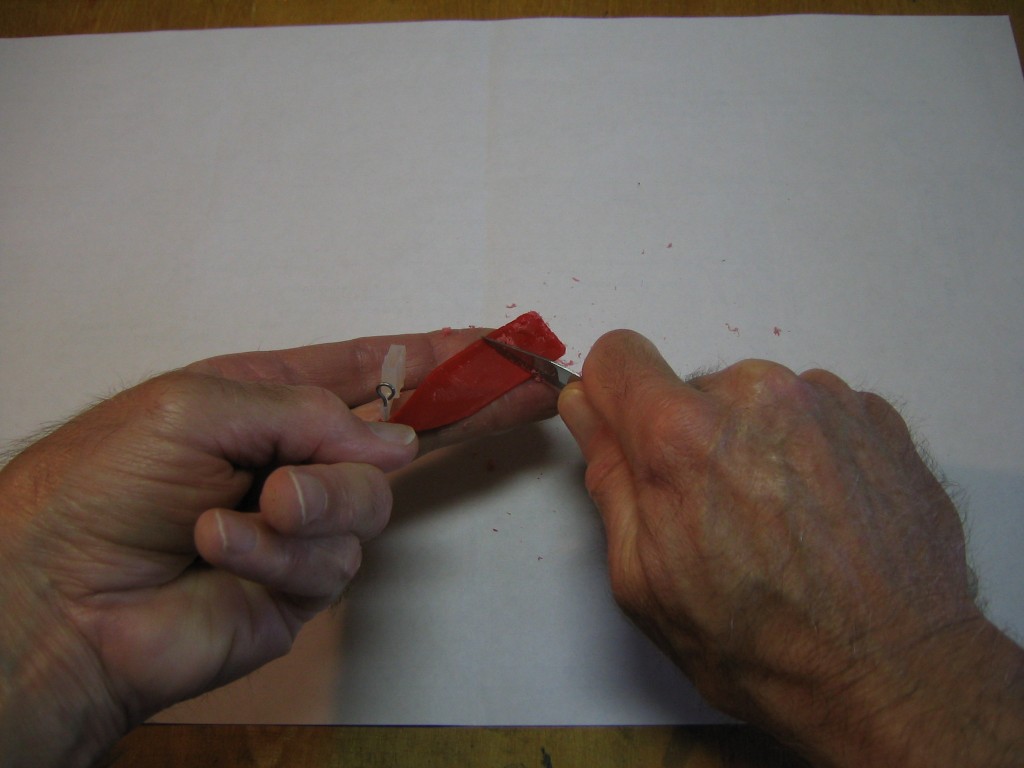
I have been scraping the backs of the heavy prop blades with a razor blade, which is tedious and risks finger cuts, or using coarse sandpaper, which clogs up. I found that the paring knife I use for carving balsa props does a much better and faster job. The curved edge cuts a much wider swath of the undercamber and sweeps the whole length of the blade, not just a razor wide section. It looks like it is less likely to cut a finger, too.
This is definitely a good substitute for the AMA Cub. It is a bit more complex, a few more parts, but goes together easily in about the same amount of time. It has the potential to be a better flier. I’m pretty sure I can get more than a minute out of it. I will try to get a video when the weather permits. I will suggest to the guys that we try them in a kids class.
I have several modifications in mind. I will try them one at a time and report them here.
19 April, 2012
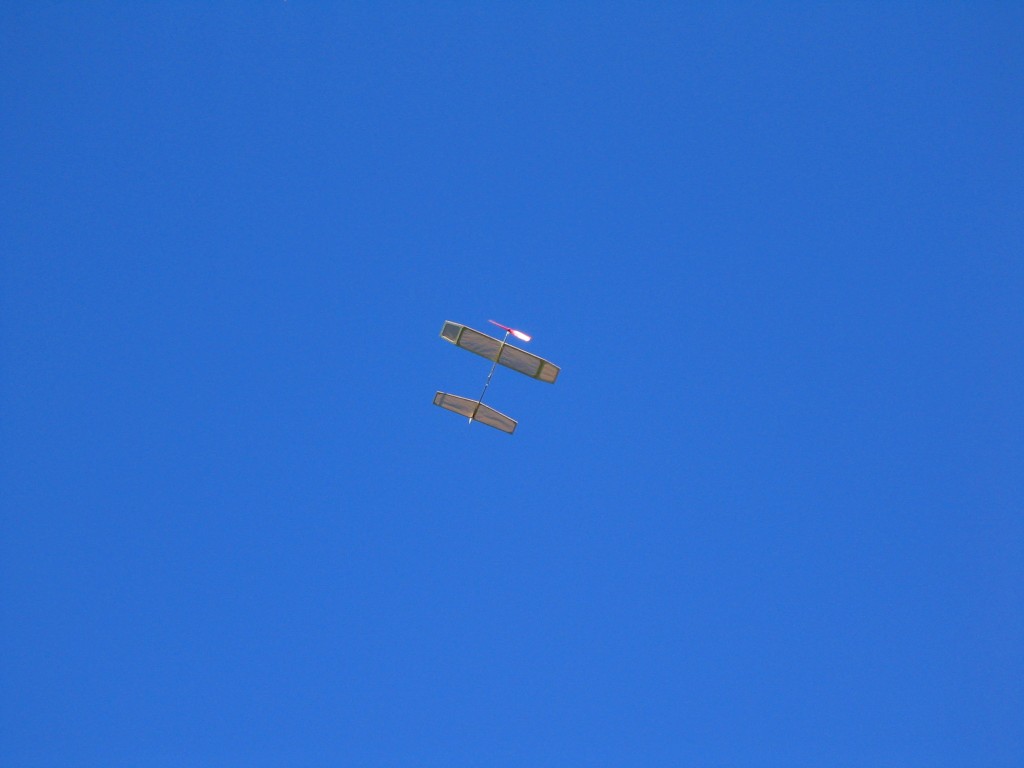
The wind subsided to a light drift this evening. I got over to the small park just after sunset. I put 800 turns into the 8″ motor, about 83% of estimated capacity. You can see the flight here. It climbed steeply at first, being just a bit up on the the motor torque spike, leveled off and made a nice climb to about 50 feet, circling left with a slight phugoid, in about 50 foot circles, then came down after about 50 seconds. It drifted close to the trees on the other side of the field.
Next I tried 1,800 turns, about 88% of capacity, on a 14″ loop of 1/16″ rubber and it climbed gradually to about 20 feet, drifting gradually across the field into the trees on the far side in about 40 seconds. This motor is a bit heavier. The phugoid seemed a little worse and there seemed to be a bit of a Dutch roll. It had gotten dark enough that I lost sight of it among the trees. I found it on the ground with the wing a short distance away. I had put the wing on with small dabs of glue at the leading and trailing edges so I could remove it easily.
I was going to use a 6″ MPC black plastic prop, but I found that the bearing box was slightly too small. The larger prop weighs a bit more than the 5 1/2″ red Sig prop. I thought it would bring the CG forward and reduce the phugoid. The larger prop would also be more efficient and would turn more slowly with the same torque, possibly permitting a longer flight. But the larger prop would also exacerbate the slight Dutch roll. That might be cured with a slightly larger fin, or a bit less dihedral.
I want to try it in a bigger park, to see its full potential, before I try any modifications. I will try a tiny dab of clay ballast on the nose to reduce the phugoid.
2o April, 2012
I went to a larger park early in the morning when there was no wind. I got some good flights with 800 turns on the 8″ loop of 3/32″ rubber, but poor videos. The 14″ loop of 1/16″ rubber motor did not work well. The plane climbed a little overhead, but did not climb much. It came down after a short flight with most of the turns remaining on the motor. I could hear the twists and knots on the motor rattling on the stick as it unwound. The motor was too long for the 6″ distance between the prop hook and the motor peg. I must return again tomorrow morning to get good videos.
21 April, 2012
Early flights with level wing launch produced the familiar power stall. That was followed by a phugoid, but watching closely found that it gradually damped.
I cured the power stall by launching with about 30 degrees of right bank, like launching a hand launched glider. That also prevented initiation of the phugoid. A 45 degree right bank produced a tight right turn with less climb. Optimizing the launch will be like optimizing the launch of a HLG. The 8″ of 3/32″ motor was wound to 900 out of 959 turns, 94%, pretty hard.
Pretty good flight, not quite the minute I’d hoped for, about 51 seconds. There is no observable phugoid. The previous evening video was done when there was a little wind, so maybe the phugoid was kept active by swirls in the air. The air this morning was very still.
Later I got flights of 55 seconds with 930 turns, 97%, very hard, but poor videos. The minute flight I was hoping for will require a different motor. I think a 10″ loop of 3/32″ ought to do it.
It may not be necessary to make any changes in the plane. With a banked launch, it flies fine. I may try some changes anyway, just to see if I can get more time out of it.
Gary Hinze
Update: Laser Cut Planes has produced a new and improved version of this kit, the Mountain Lion III.
What is this propeller tip angle and near the hub angle ?
(6″ MPC black plastic propeller)
Go here for several reports on that propeller: https://www.endlesslift.com/propeller-gauges/
Thanks for sharing. Your post is a useful contribution.
They grabbed my toothpick idea. 🙂
Gary another great detailed review. The plane has a larger stab than normally seen on these types of planes, gives it that indoor look. Good to see more choices in the simple planes.
I’m just back to stick and tissue after more than fifty years!!
That model has really caught my eye!
Can you please tell me how I can get my sticky paws on one!!
I need something relatively simple to try to resurrect my old skills! 😇
The improved Mountain Lion may be purchased here: https://lasercutplanes.com/product/mountain-lion-mk-iii-single-kit/
You might also like the similar Pinna Flyer: https://jhaerospace.com/product/pinna-flyer-beginners-rubber-model/
Both those suppliers have other good kits elsewhere on their sites. Also see the listing on our Suppliers page. Put ‘Suppliers’ in our search window.