Sometimes it is necessary to drill a hole at an exact angle, for example when making a propeller or nose block. This is easy to do if you have access to a drill press, but many do not. I will show you how to make a drill guide using simple materials and tools.
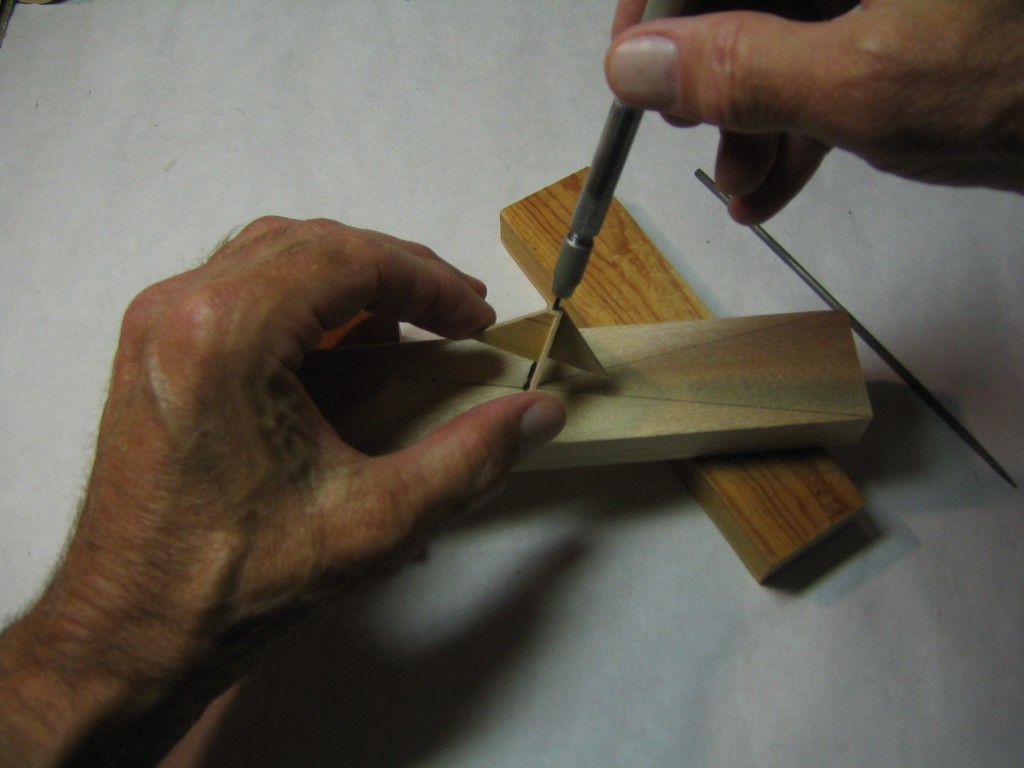
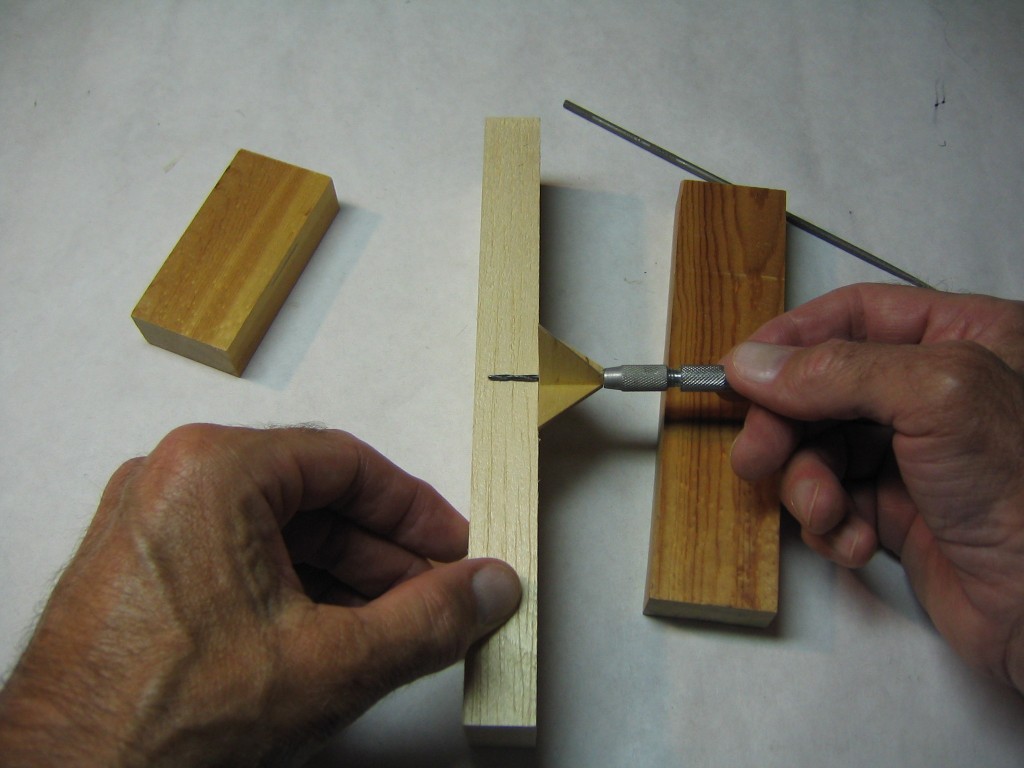
Here you see the drill guide being set up to drill a 1/16″ diameter hole for a propeller hub. The hole must be exactly perpendicular to the face of the block. The guide consists of four right triangles glued together to form a 1/16″ hole perpendicular to the four base legs. You could use this guide placed on an angled plate to drill at other than a right angle, for example, to form side thrust or down thrust in a nose block.
My first drill guide of this type was made from sturdy cardboard from a large size cereal box. I took the pictures of that build that you see here. This proved to be very successful, but cardboard is somewhat soft and must be handled very carefully. It wears out quickly. Later I made another from 1/16″ plywood that is more robust. I used slightly different dimensions. The triangles were 3/4″ x 3/4″ instead of 3/4″ x 1″. The size depends on the width of your prop. You want the widest base you can fit, but anything projecting beyond the edges doesn’t help. I recommend that you use plywood or a similar hard material for your drill guide. You can start by cutting out a 3/4″ x 1 1/2″ piece, cut that into two 3/4″ x 3/4″ pieces and cut each of those on a diagonal to form the four triangles used. Sand the edges perfectly square. If you cut with a saw, make allowances for the width of the saw kerf.
There are several ways to mark out the triangles. This is the way I did my first one. There are better ways to do it, but I don’t have photos to show them. After you see this, you can figure out another way more to your liking. Cardboard is cheap, but you might want to avoid wasting plywood.
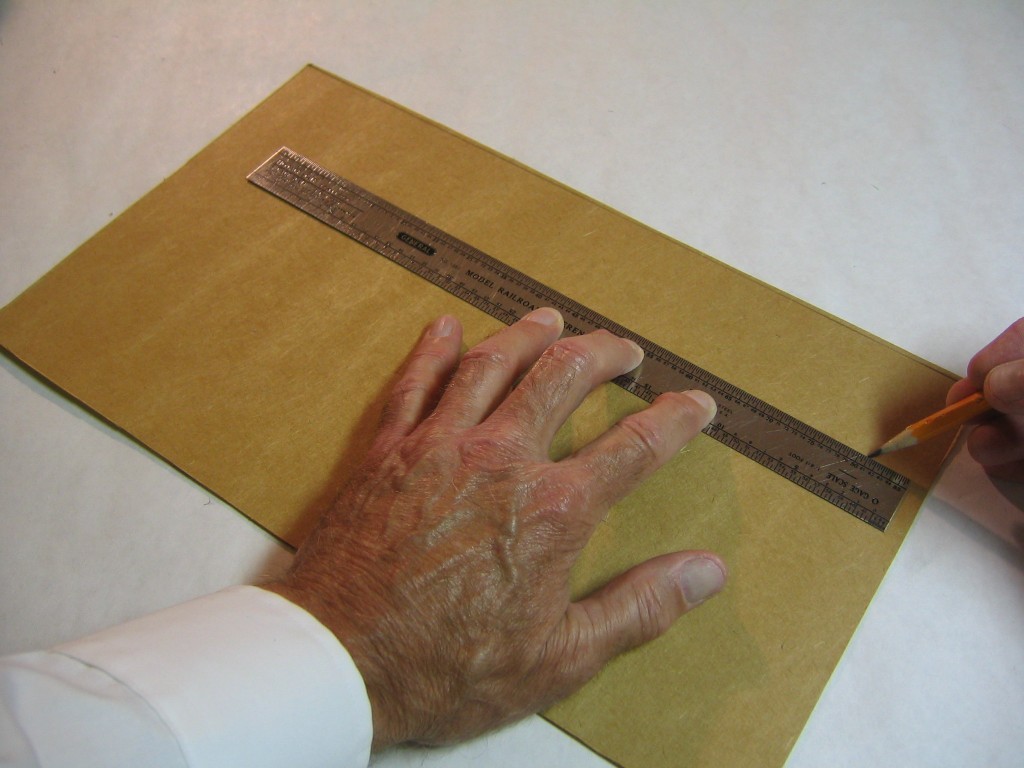
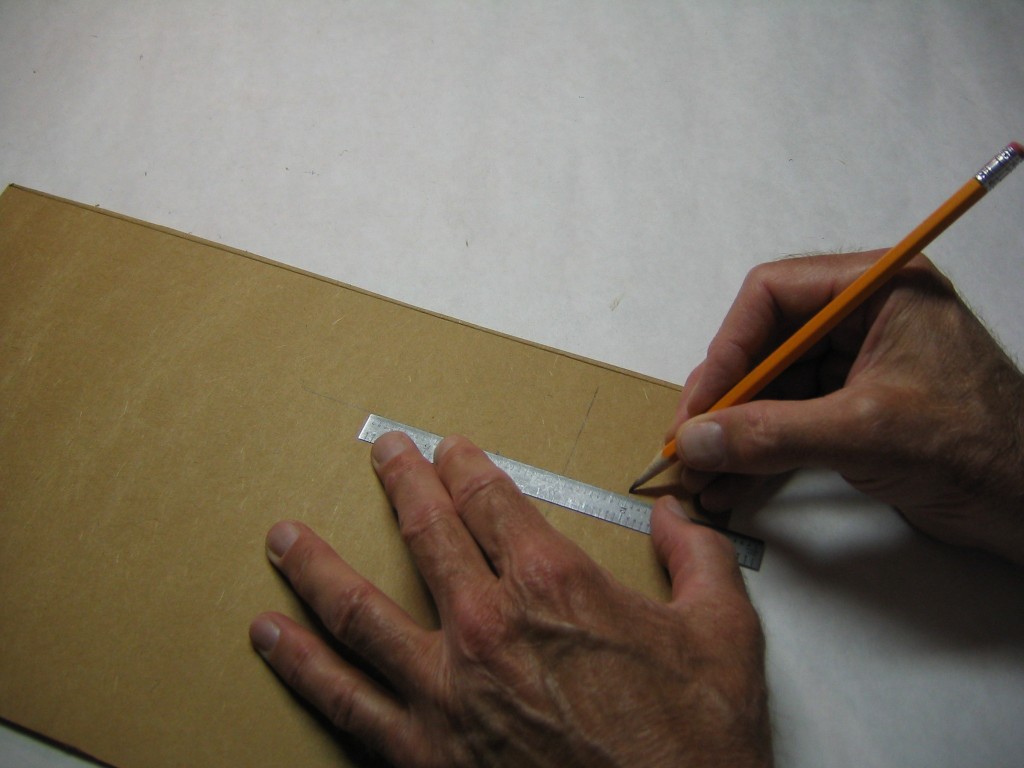
I started with a layout line.
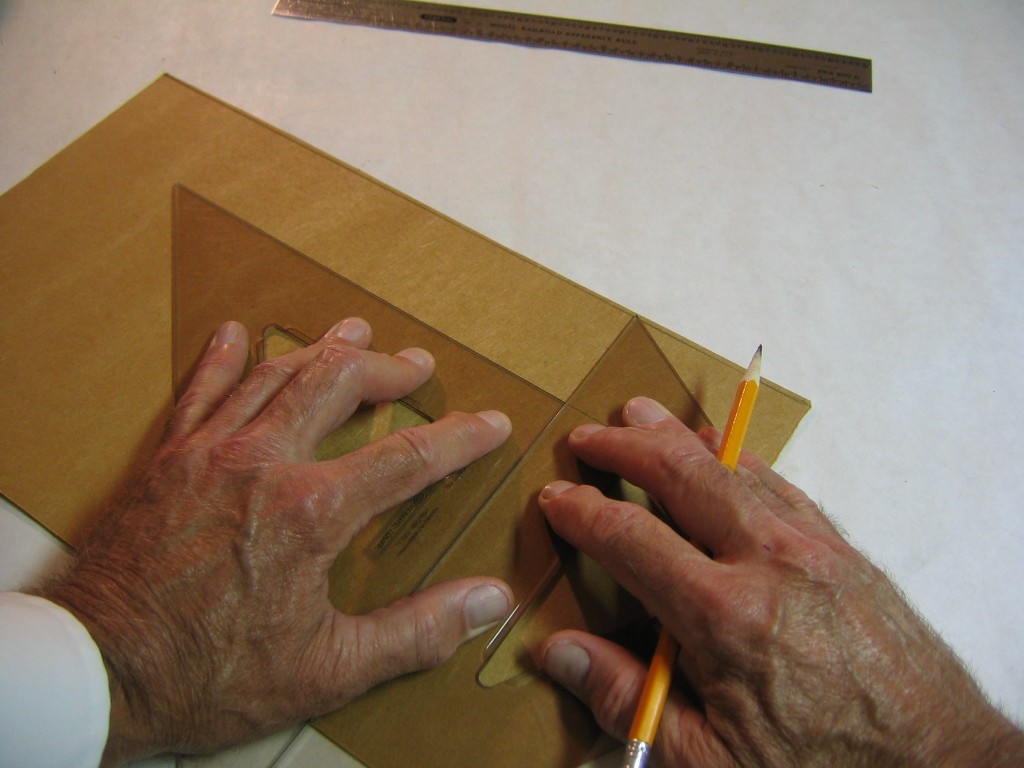
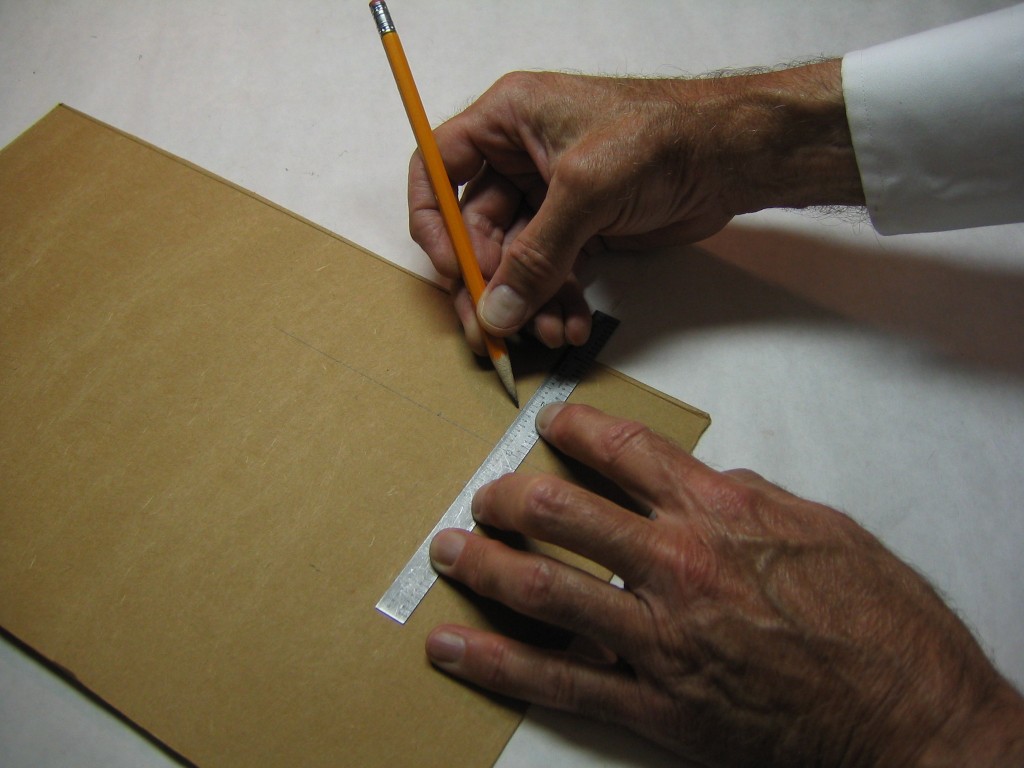
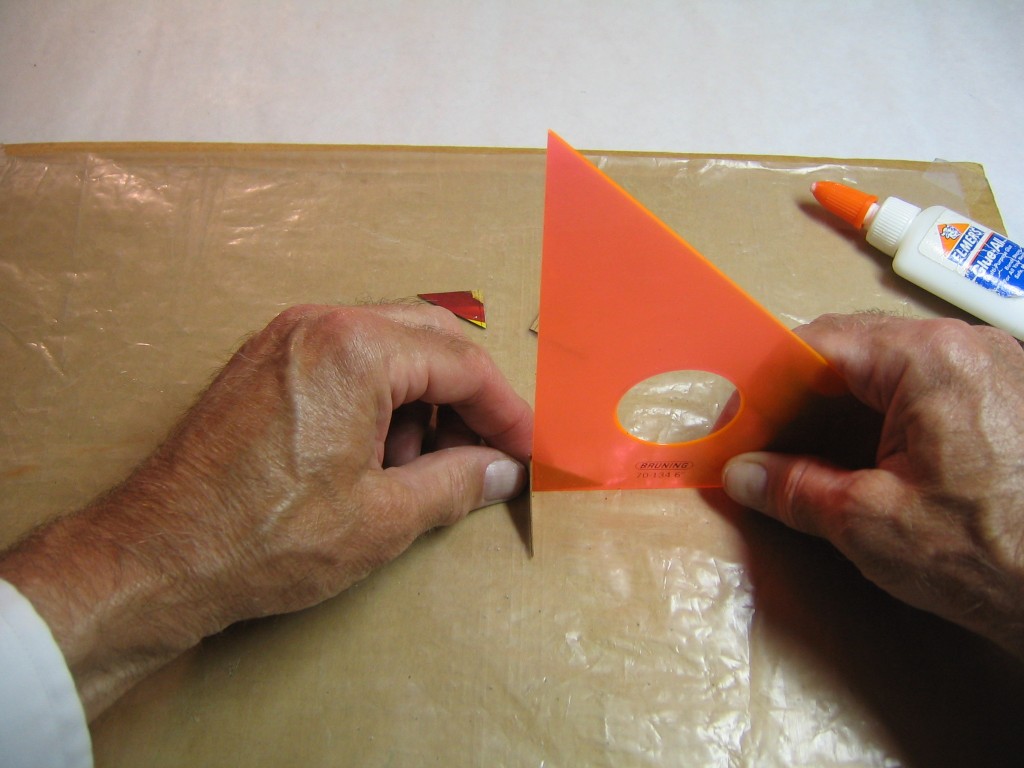
I set up a perpendicular line with drafting triangles. Anything with a square corner will work here.
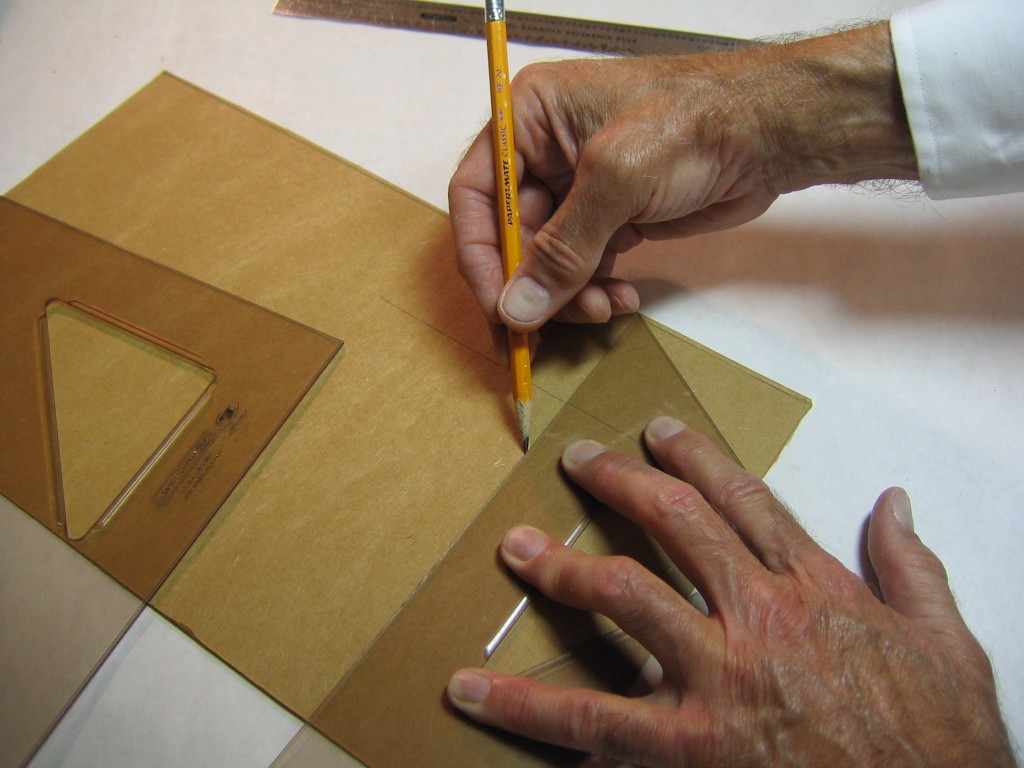
Next I drew the perpendicular line with a sharp pointed pencil.
I marked 1″ out both ways from the crossing on one line.
I marked 3/4″ out both ways from the crossing on the other line. On my plywood guide, I made all four edges 3/4″. This could have been done with a 3/4″ radius compass.
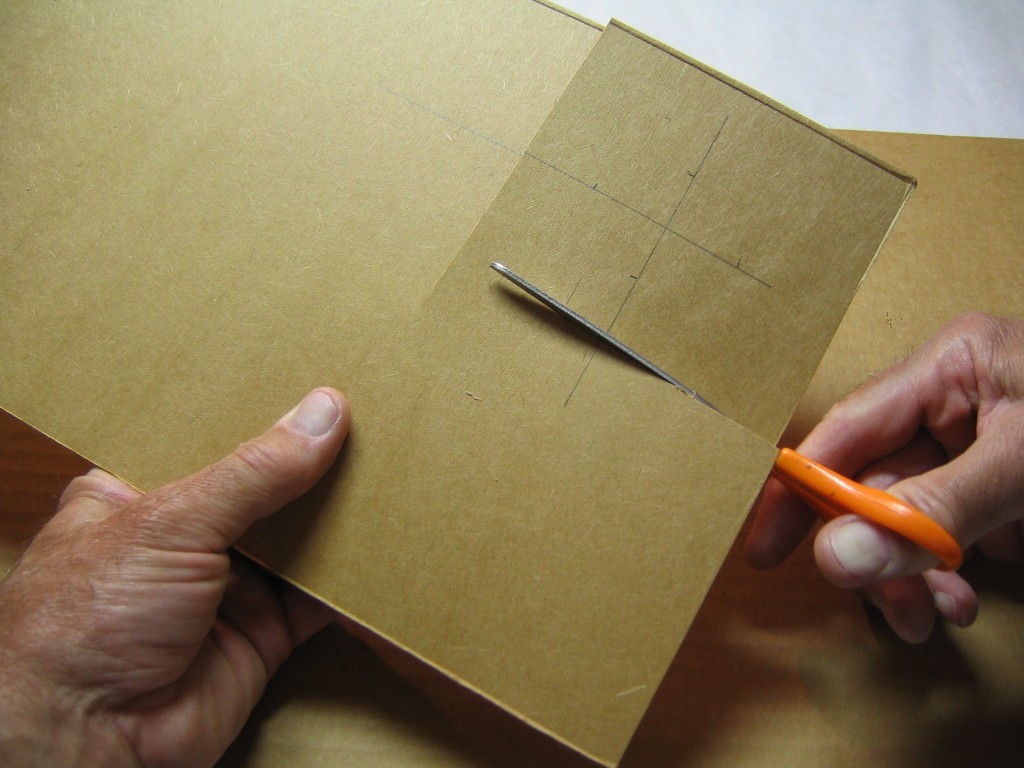
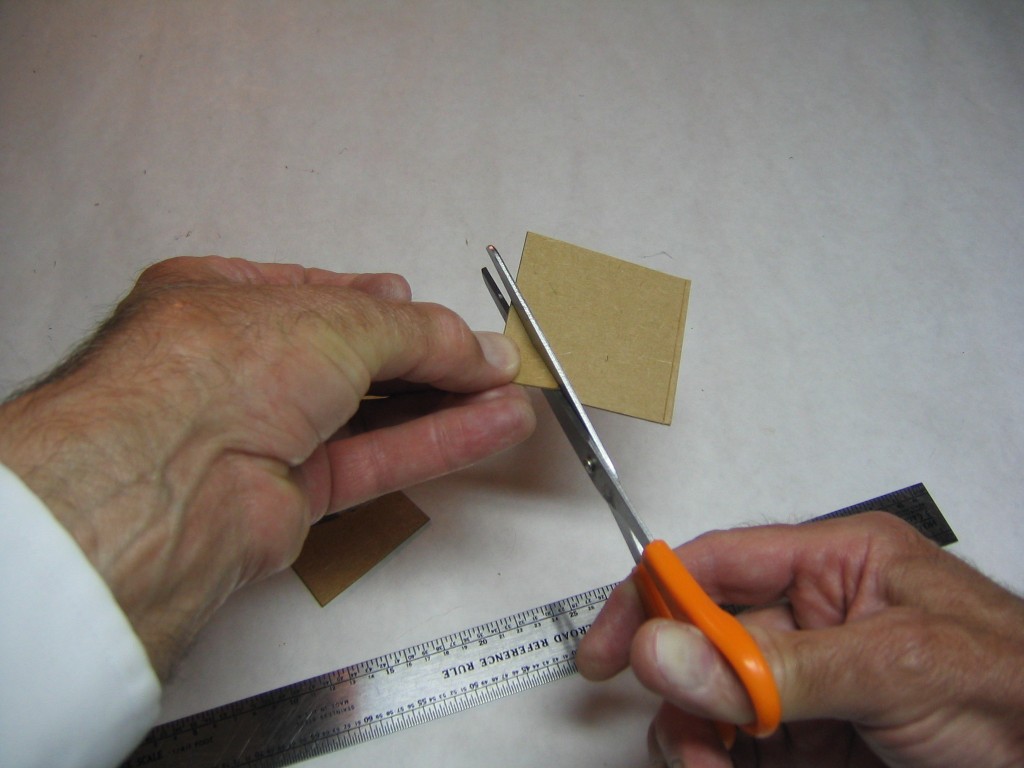
I cut out around the marked out area.
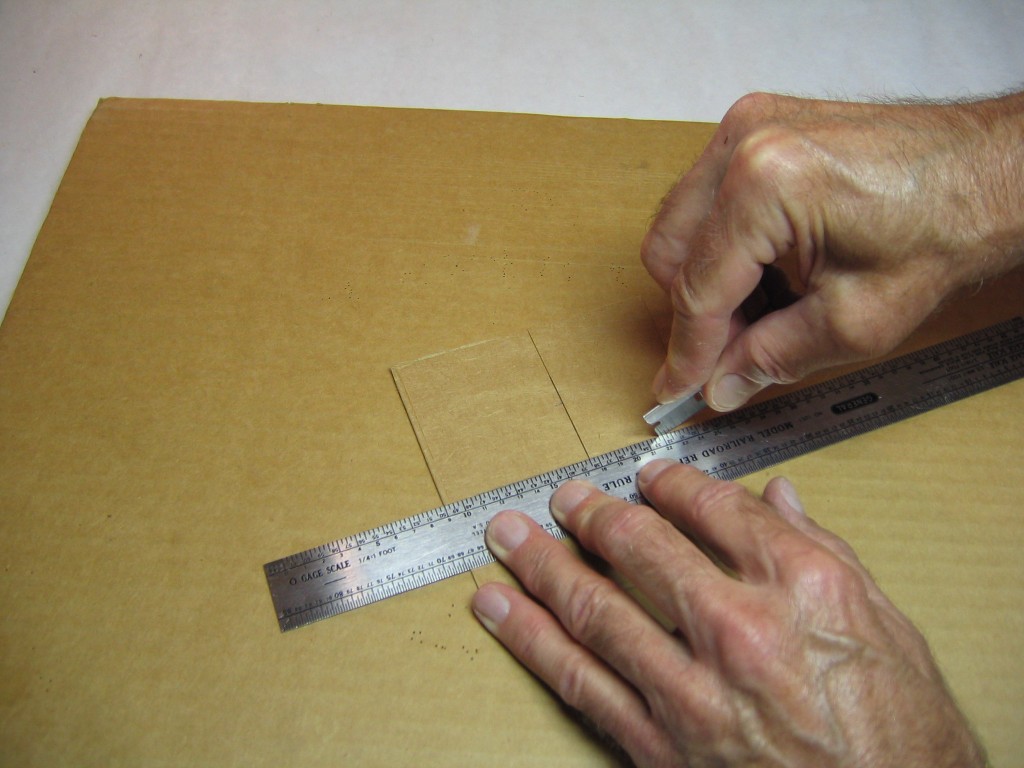
I cut along the lines to make four quadrants.
I cut between the marks on the lines to make four equal 3/4″ x 1″ right triangles.
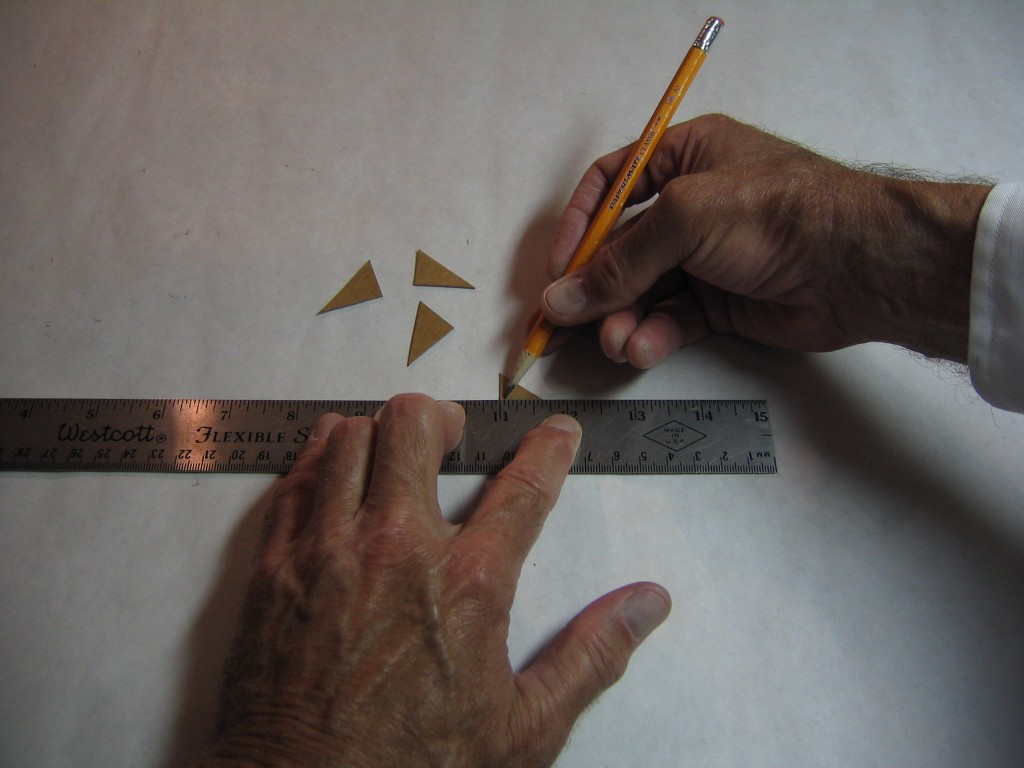
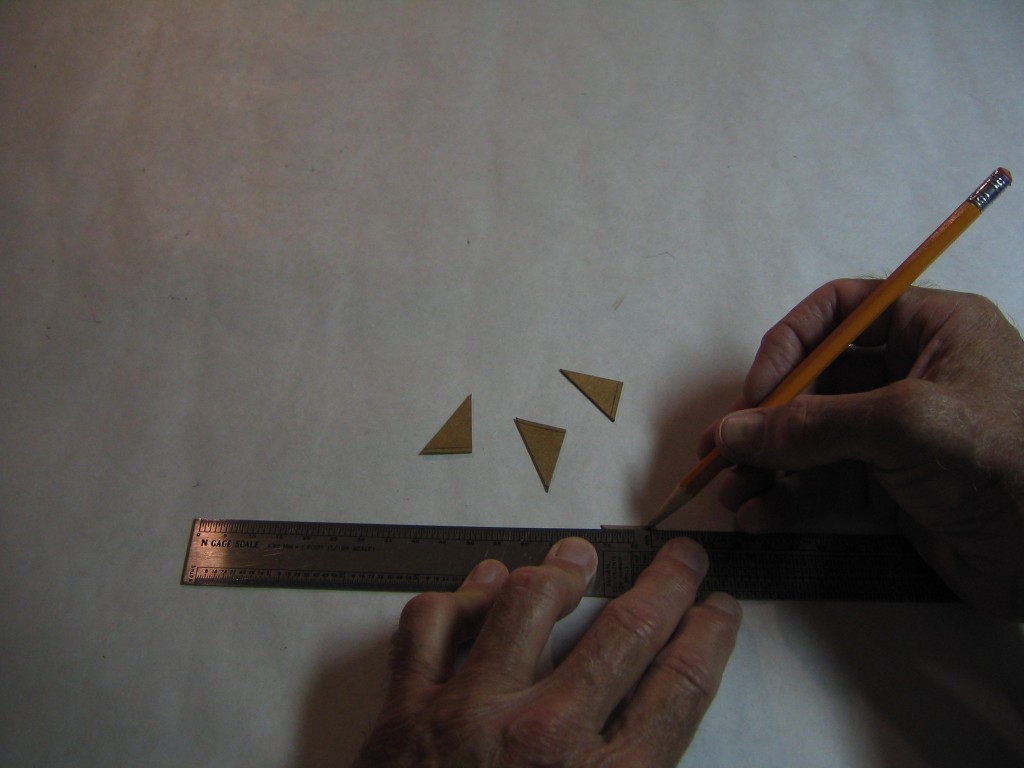
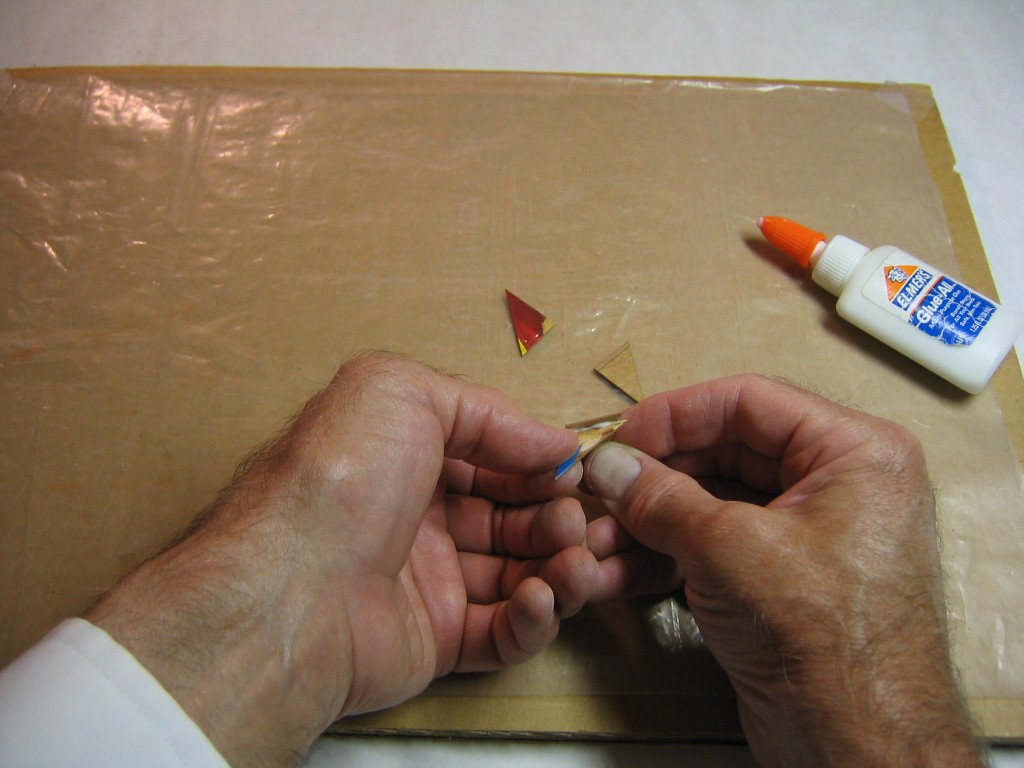
I marked 1/16″ from the 3/4″ edge. Unlike what is shown here, all four triangles should be oriented so they will lie exactly on top of each other. I made it 1/16″ because this will determine the size of the hole in the center and I am going to use this to guide a 1/16″ diameter drill. For a 1/32″ drill, I put a length of brass or aluminum tube into the hole, with an outside diameter of 1/16″ and an inside diameter of 1/32″.
I drew a line through the mark parallel with the 3/4″ edge.
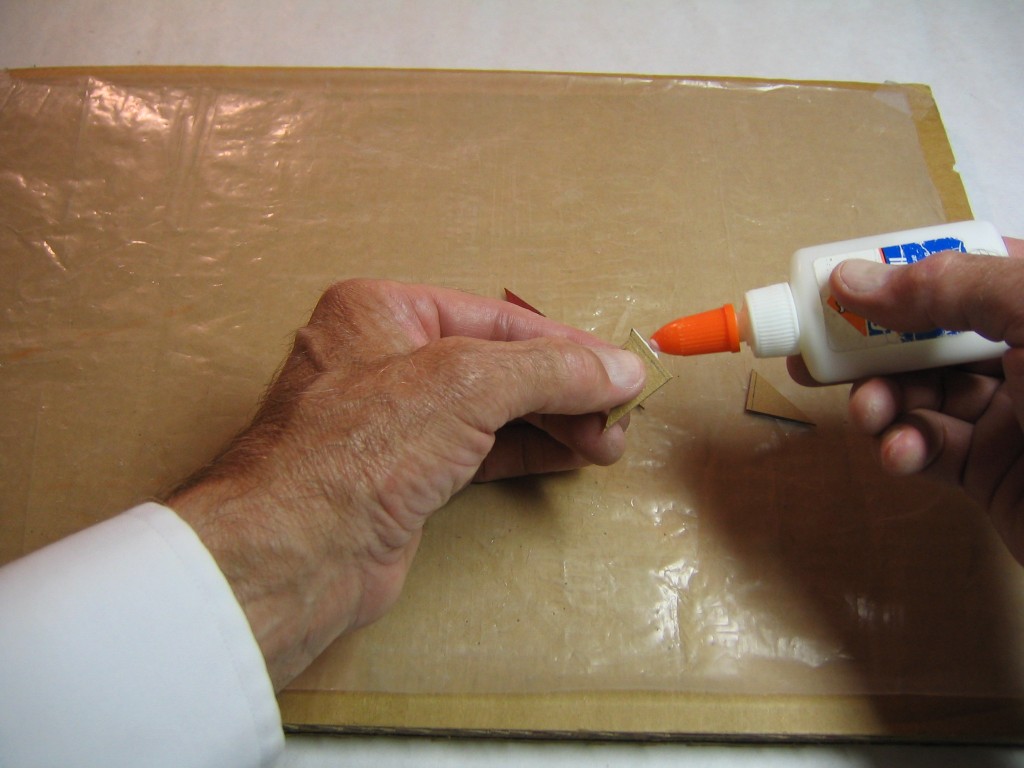
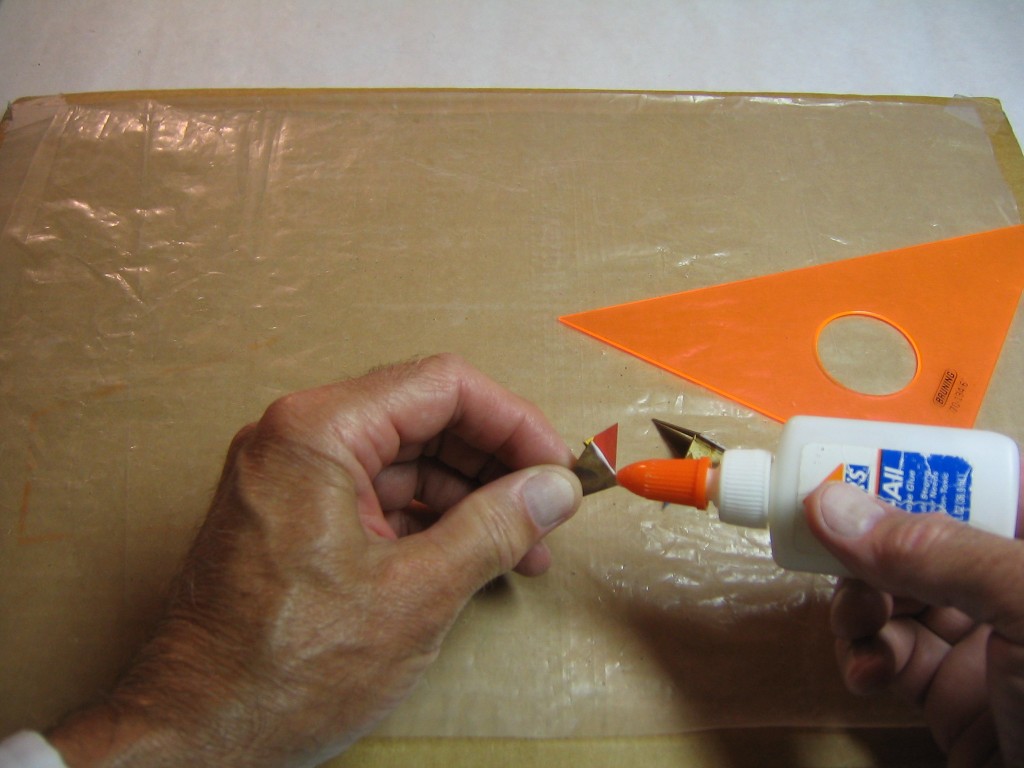
I put glue along the surface of the edge.
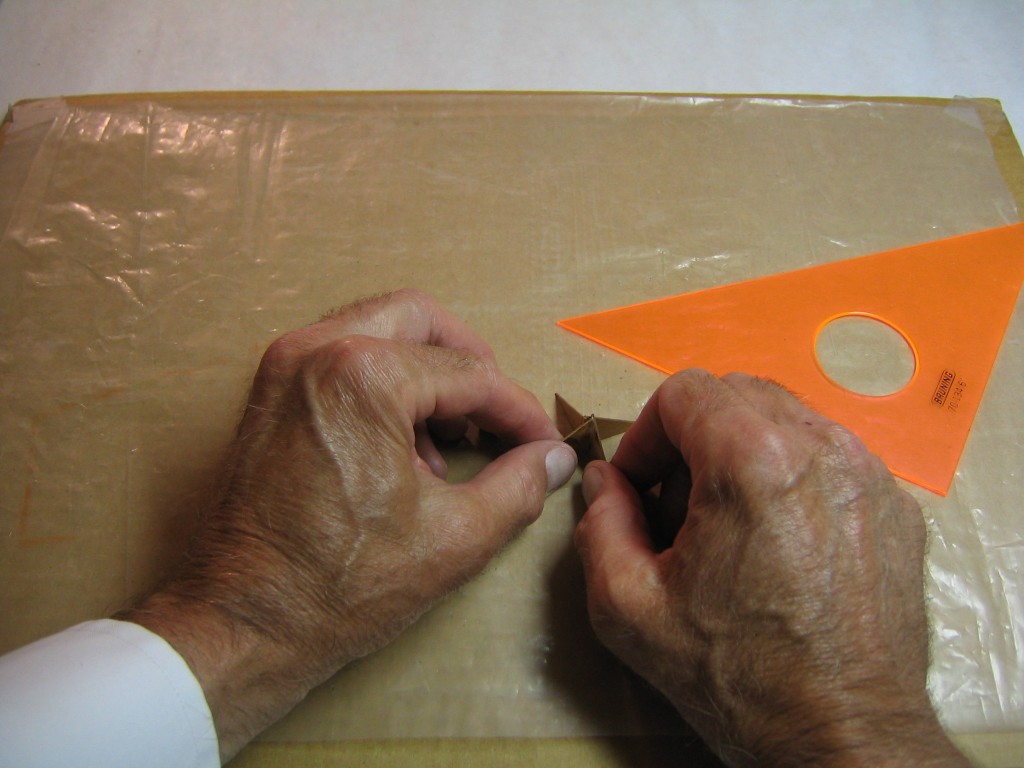
I glued it to one of the other triangles right behind the line so it was 1/16″ away from the edge.
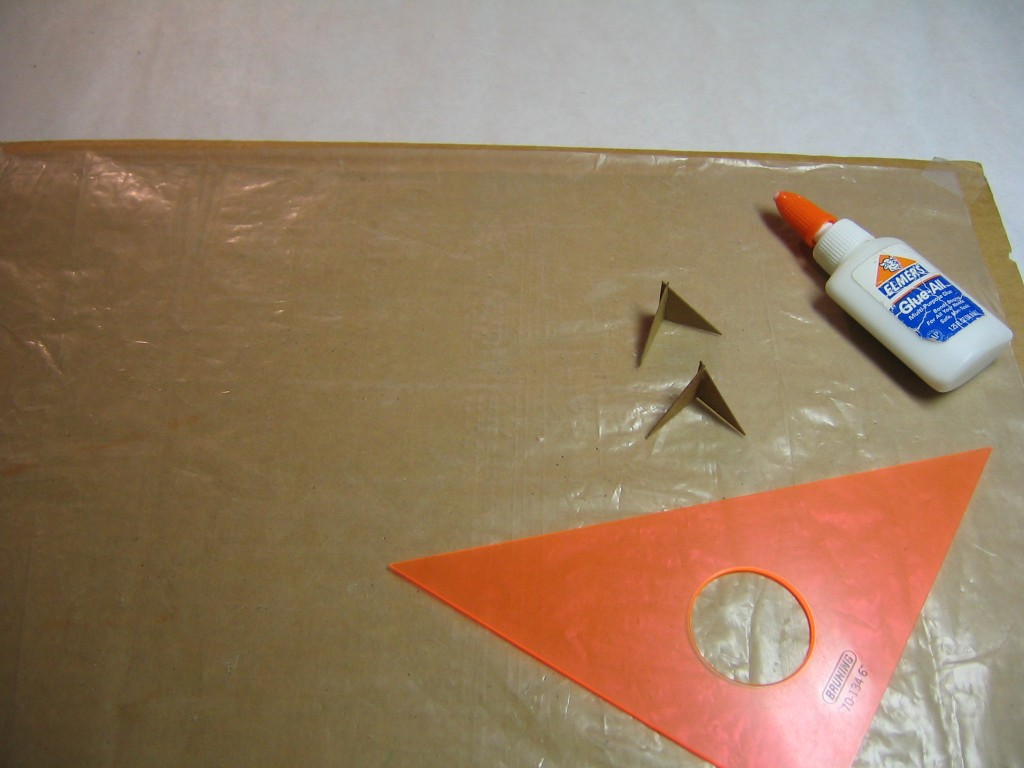
I checked that all the angles were square and the bases were even.
I made another pair in exactly the same way and set them aside to let the glue dry completely.
I applied glue to the remaining edges on each piece.
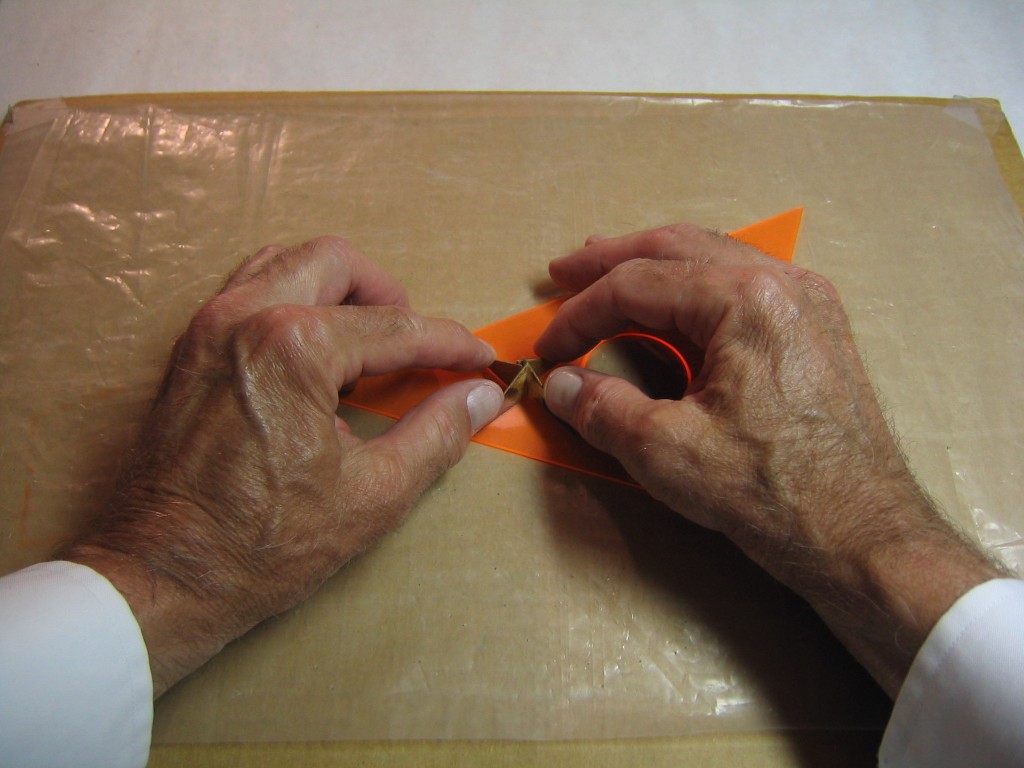
I aligned the pieces and pressed them together.
I checked that everything was square and that all four bases would lie flat on a flat surface.
You might harden the inside of the guide with Epoxy or CA to reduce wear.
The dimensions were chosen to fit the length of my 1/16″ diameter drill. When the drill is mounted in the bit, it must project enough beyond the drill guide to make a good start into the wood. Once it is about 1/2″ into the wood, the hole itself will guide the drill the rest of the way through.
If your drill guide becomes worn and the drill wobbles, you may be able to snug it up by wrapping the drill in sufficient tissue to fill in the gap.
Hi there,
I am just getting back into aeromodelling having just retired. The above is one really useful bit of help, as I do not ave a drill press and had been trying to eyeball my centre holes. it is 50 years since I last handcarved a prop so this and your prop carving tutorial have saved a bucketful of tears.
THanks a lot
Dave