The seed of the Zanonia macrocarpa has wings. It glides away from the pod to sprout some distance from the mother plant. The seed was the pattern for Igo Etrich’s Taube aircraft wings of 1904-18.
Paul McIlrath, “Foam Zanonia”, Model Aviation, February 1983, pp 62, 63, 160, 162, tells how to make a glider in the shape of the Zanonia seed from a foam food tray. If you are a member of the Academy of Model Aeronautics, you can access the Model Aviation archive and read the article. His design involves sanding an airfoil into the wing.
FPG-9 is a foam glider made from a 9″ foam plate, thus the name; Foam Plate Glider-9″. It is widely used to introduce kids to flying. The Zanonia glider is very similar, and adds the connection to flying seeds and early aviation history.
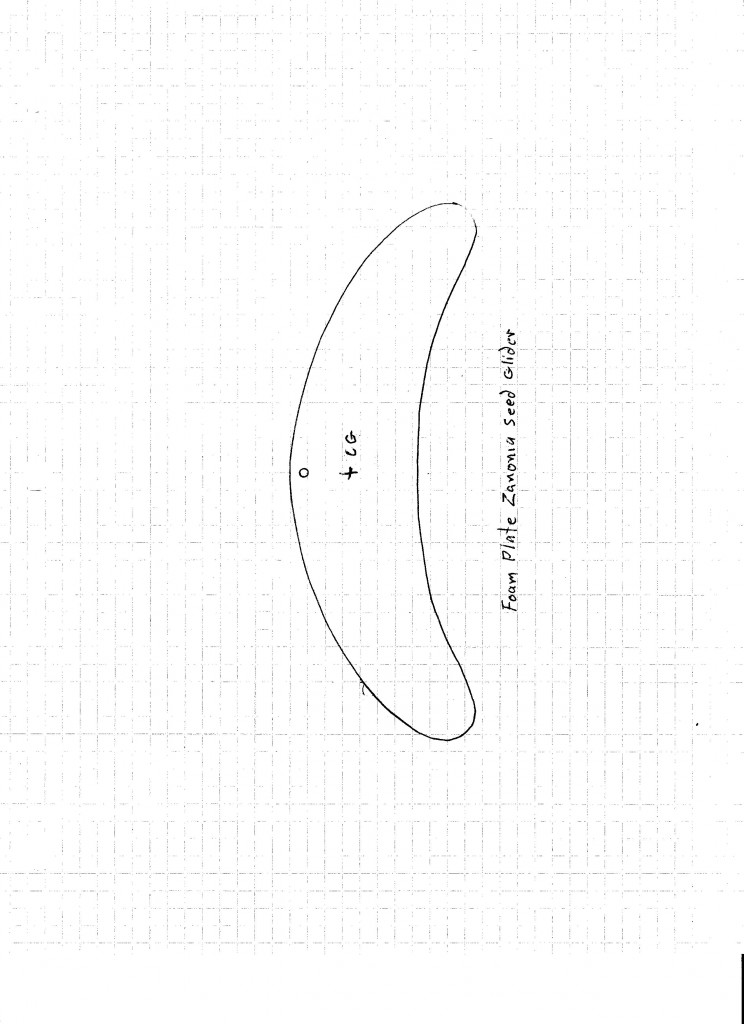
I reduced the plan to a 6″ span when I printed it so it would fit on the flat part of a 9″ foam plate. If you don’t have access to Model Aviation, you can use the 6″ pattern shown here that will work as well.
You can also find pictures of the Zanonia macrocarpa seed on the Internet to copy. I suggest drawing one half wing with centerline at the folded edge of a sheet of paper and tracing the other half so the wing drawing will be symmetrical when unfolded.
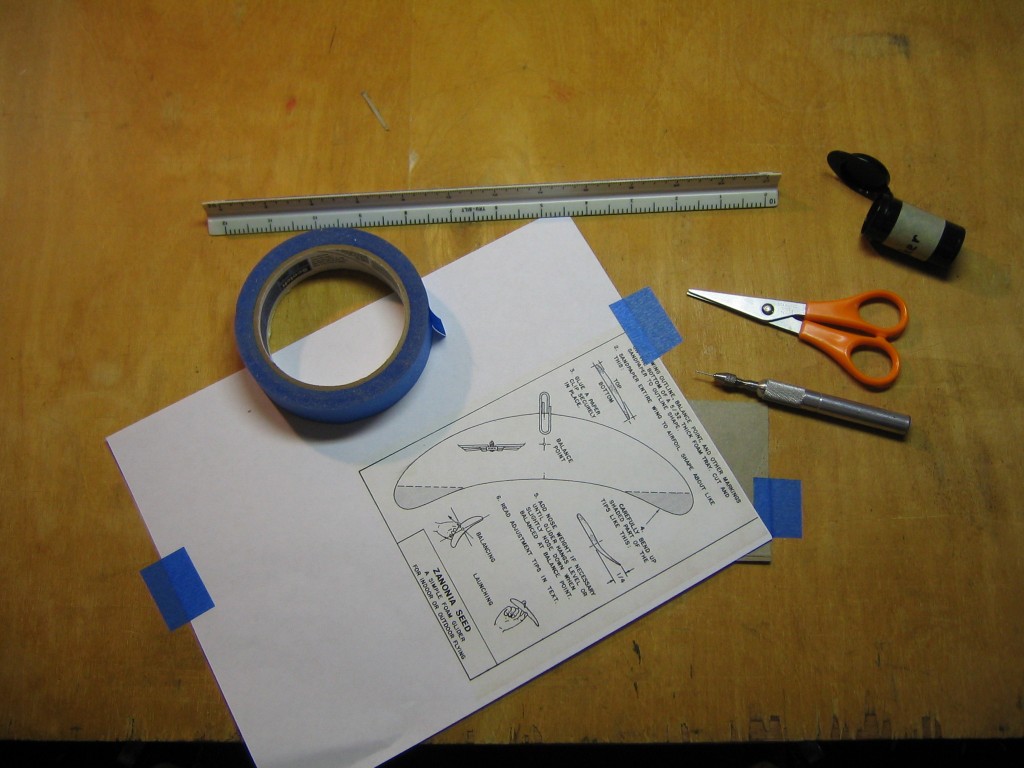
I taped a sheet of thin cardboard to the worktable and taped the plan over the cardboard.
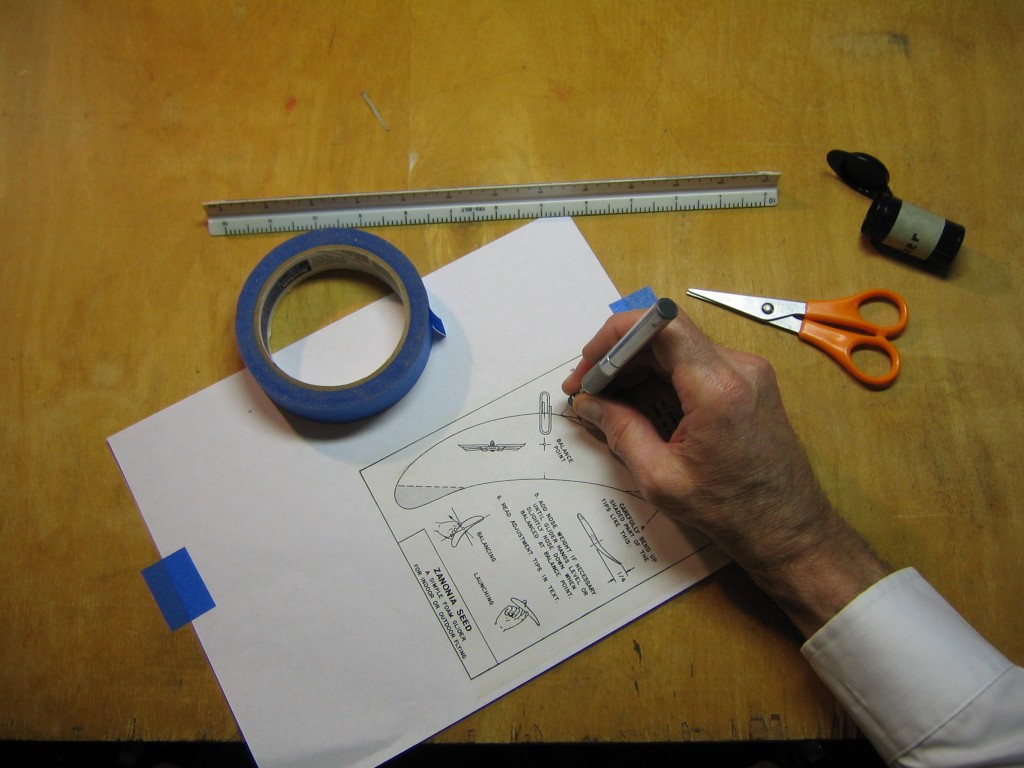
I pricked holes through the plan into the cardboard with a pin, held in a pin vise.
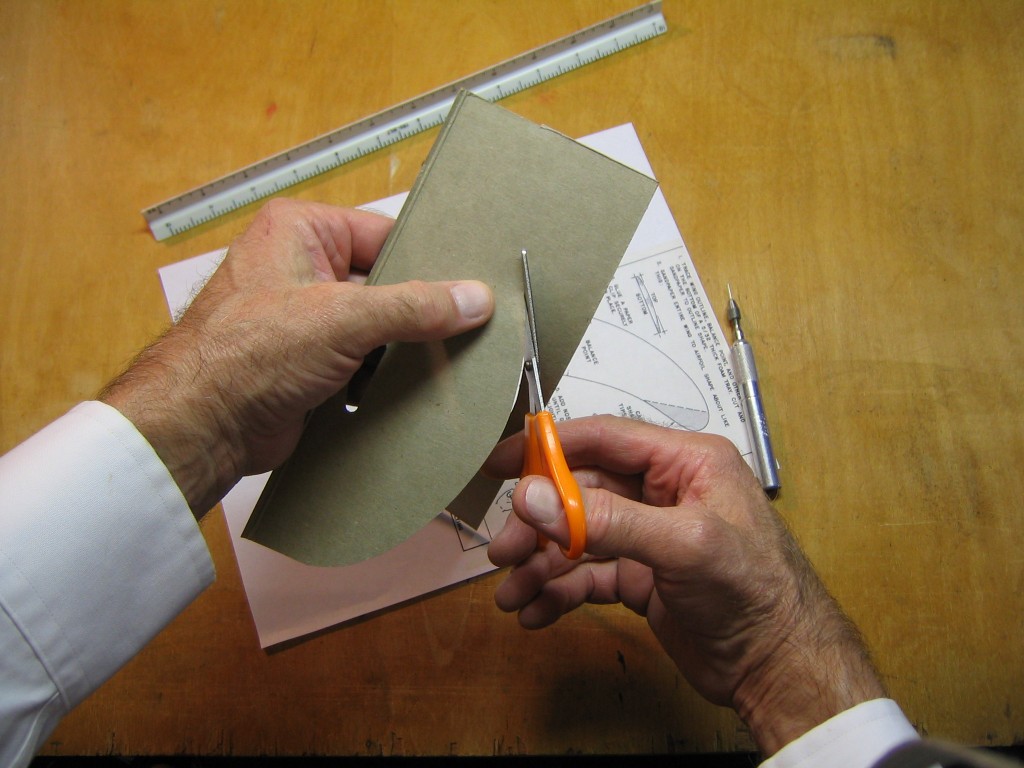
I cut from dot to dot to make the pattern.
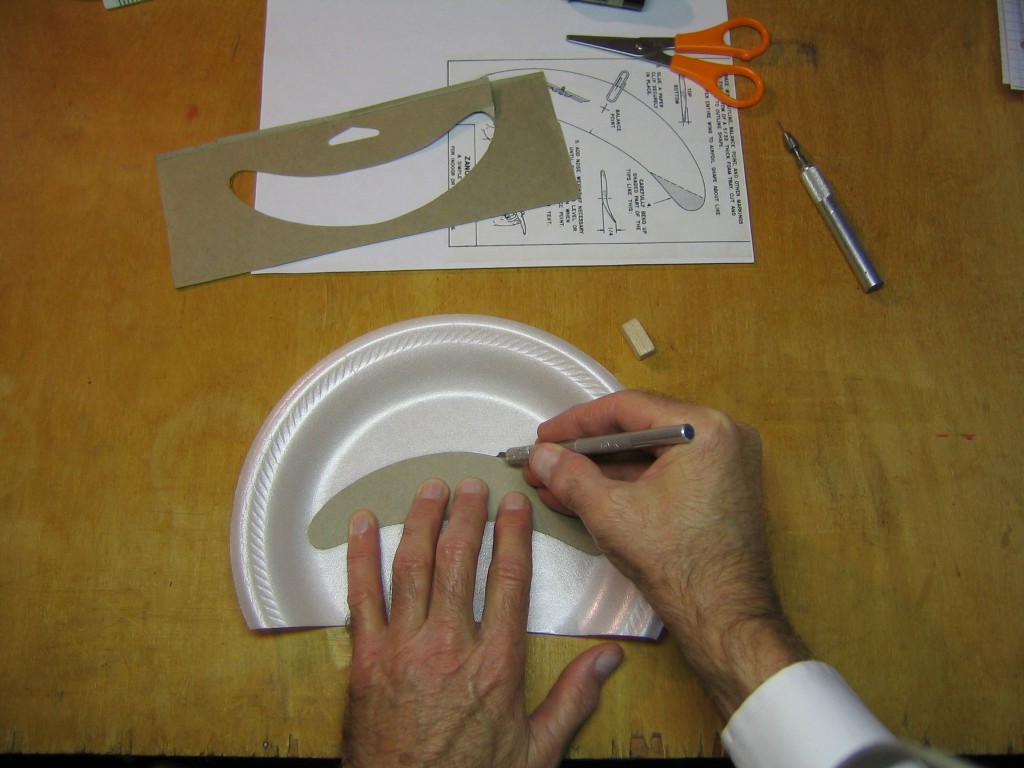
I placed the pattern on the foam plate and cut around it with the razor knife. You could trace around the pattern with a pen and cut it out with scissors.
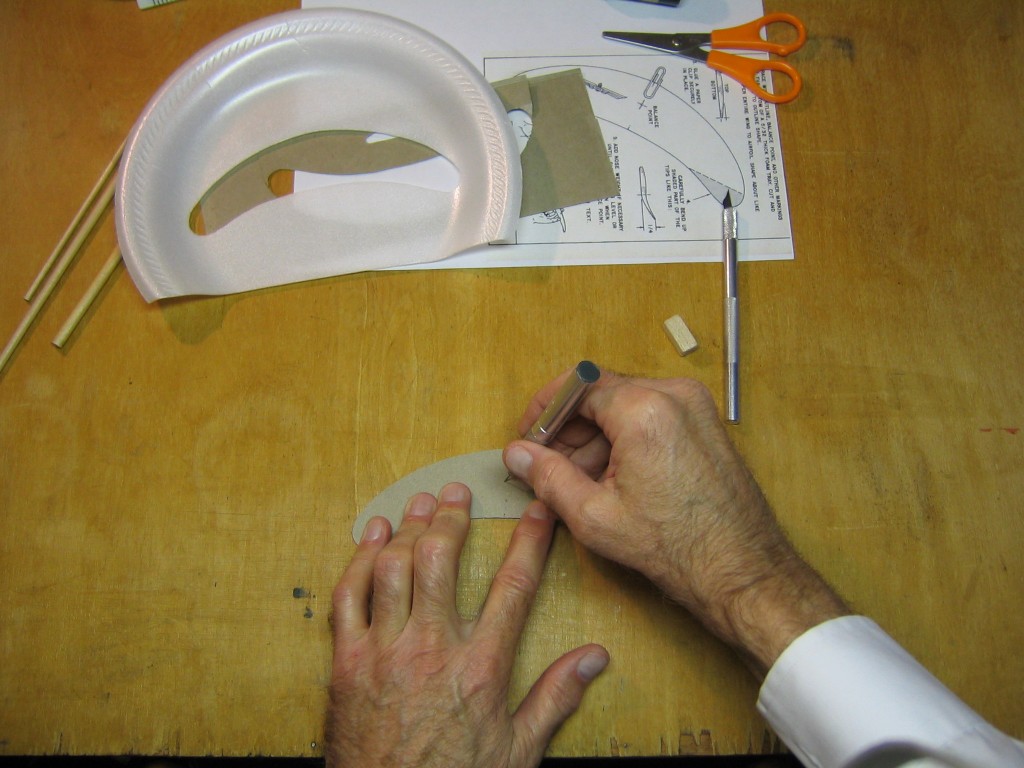
I also poked through the pattern to make dimples in the foam marking the centerline and CG locations.
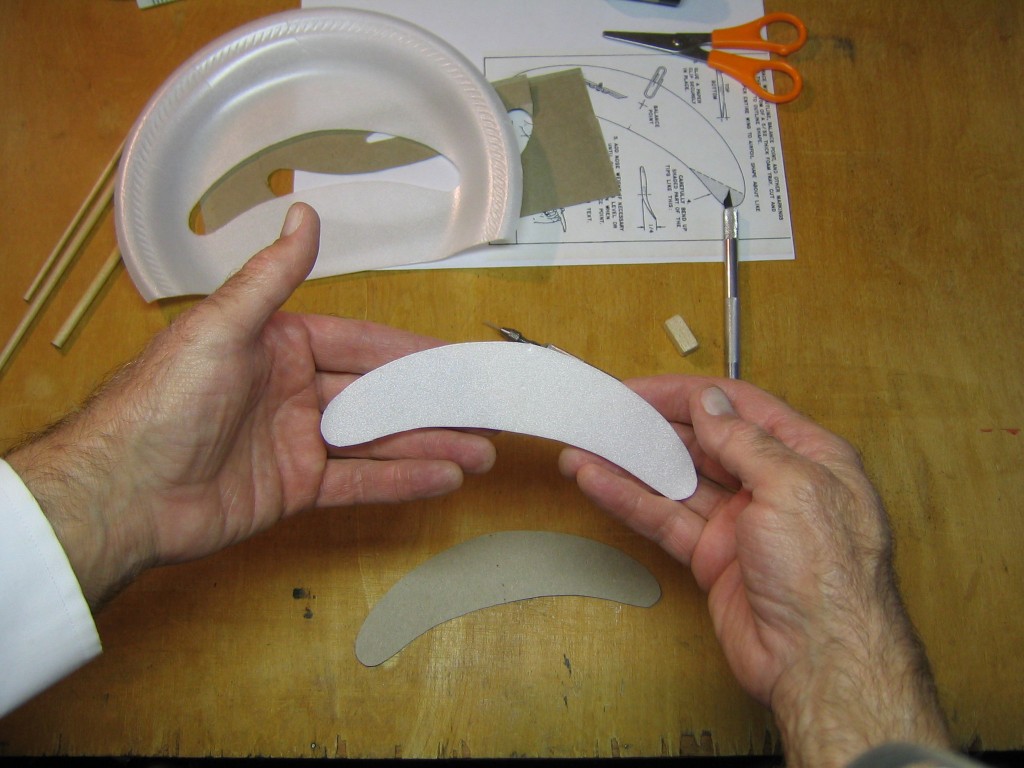
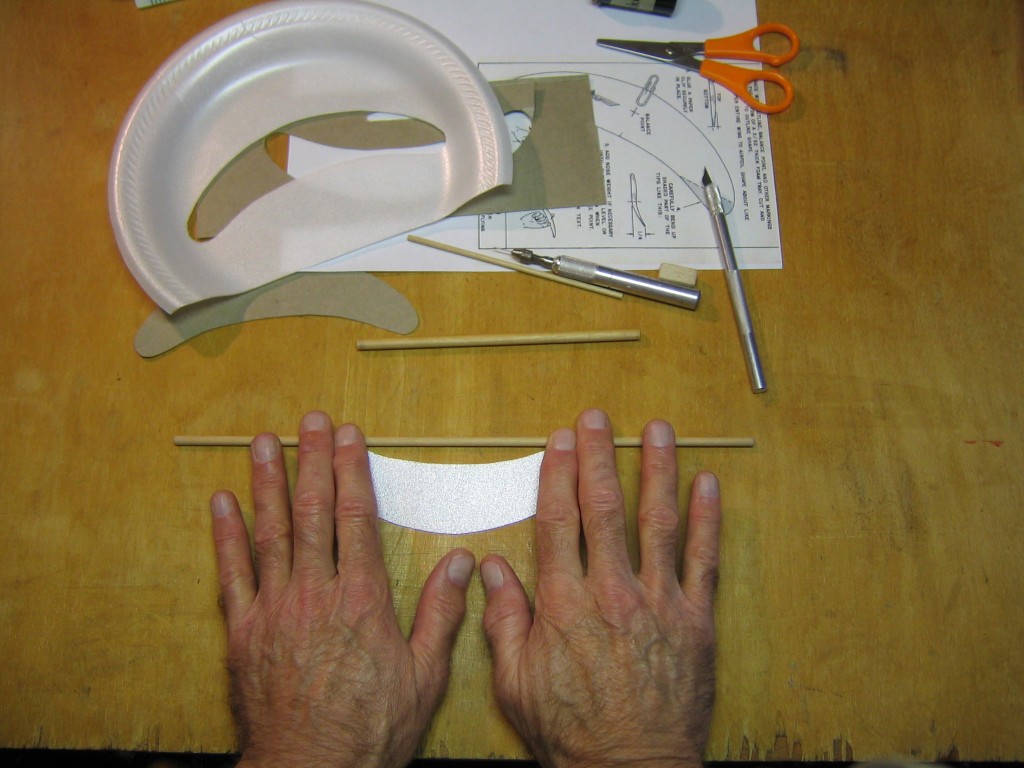
Here is the wing blank. It is thin and does not need to have an airfoil sanded into it.
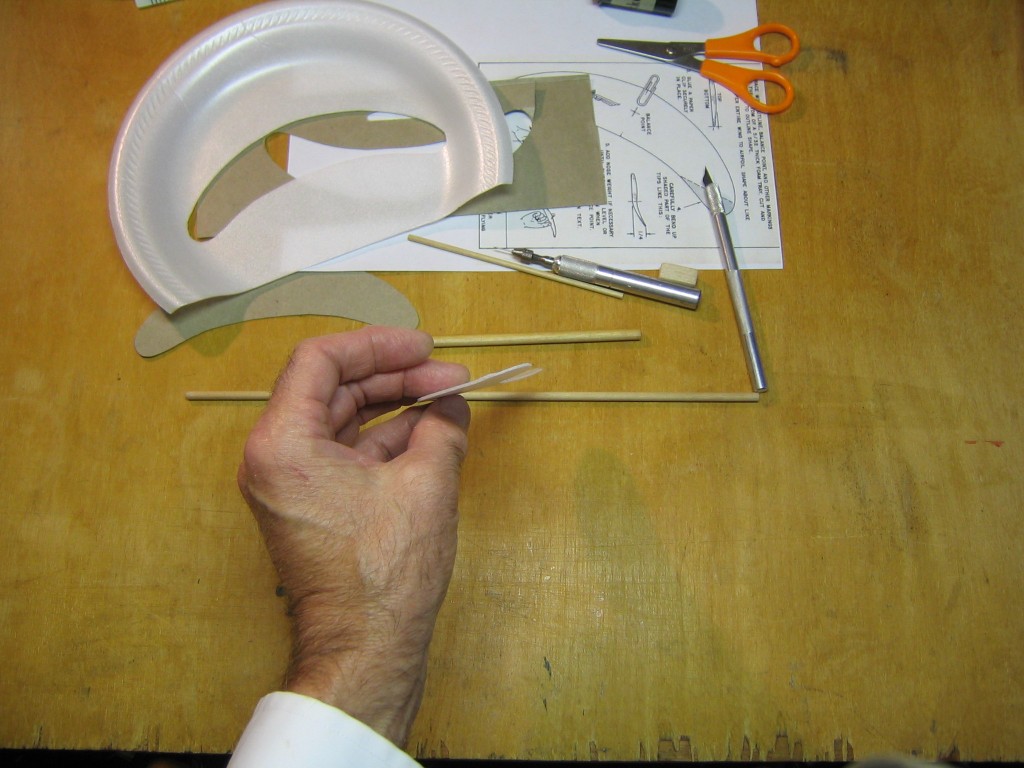
A flying wing without a tailplane is stabilized by reflexing the tips. Here I curved the tips upwards by rolling the wingtips (upside down) on a 3/16″ dowel.
Just a slight curve is required.
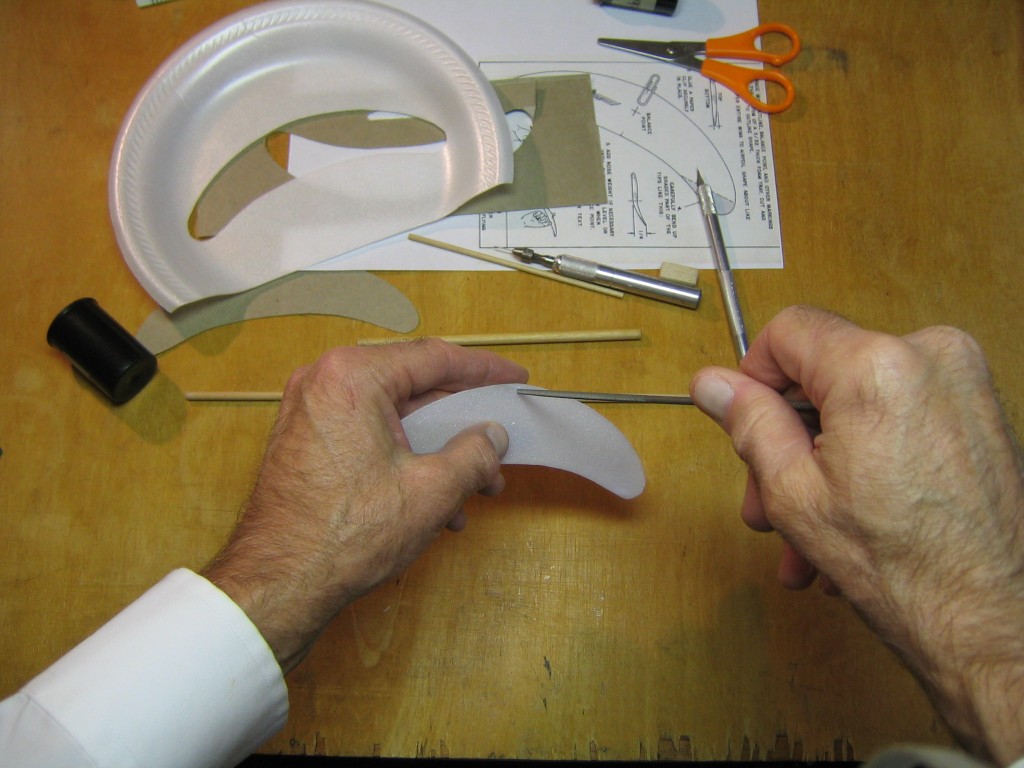
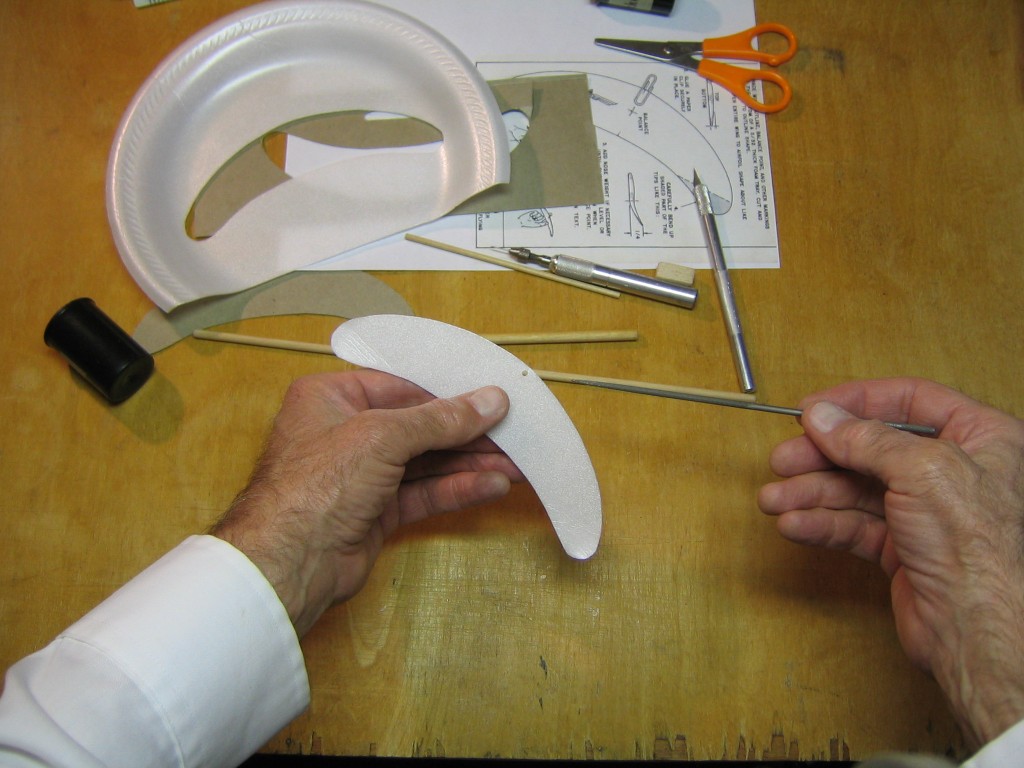
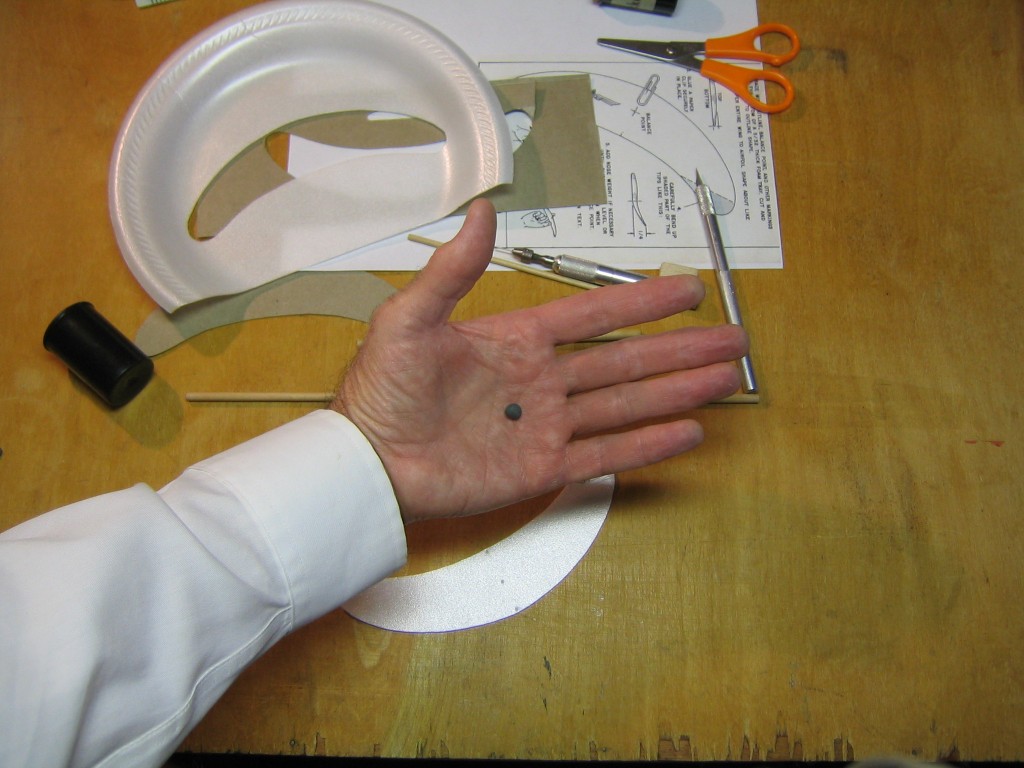
The wing needs a little ballast weight to get the CG in the right place for gliding. McIlrath used a paper clip. I used a bit of modeling clay wrapped around the leading edge. On my first attempt at a fast tip launch the clay parted company and flew into the neighbors tree. So I drilled a small hole on the centerline, just a bit back from the leading edge, with a round file, to give the ballast a better grip on the wing. A leather punch could also be used to make the hole.
The hole is just big enough for some clay to go through and stick to the clay coming in from the opposite face.
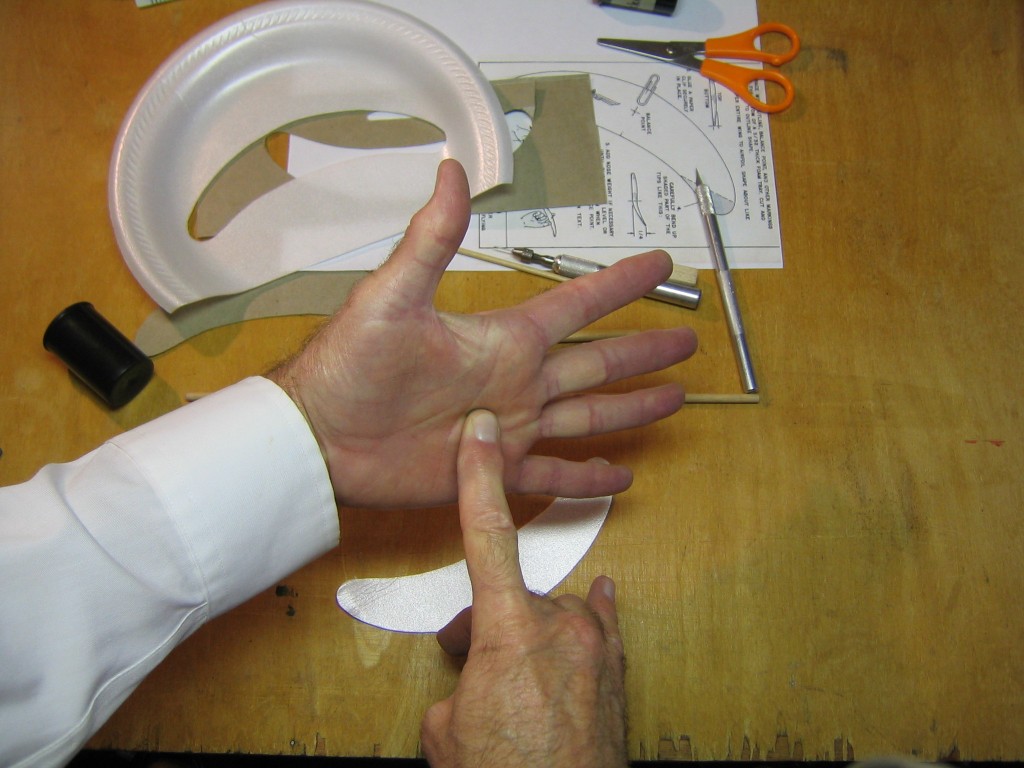
I broke off a bit of modeling clay (Plasticine) to make a ball about 1/4″ in diameter and kneaded it until it was soft.
I flattened the ball into a disk.
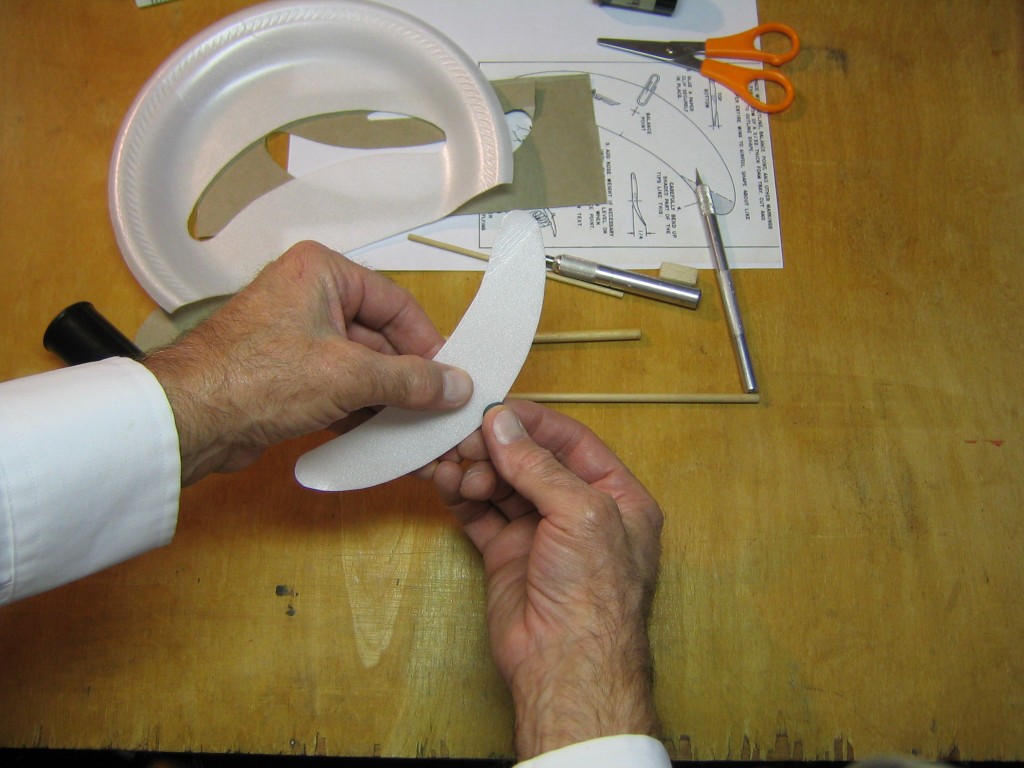
I folded the disk over the leading edge, shaped it to conform to the leading edge and to go into the hole punched in the wing. Press it into the hole.
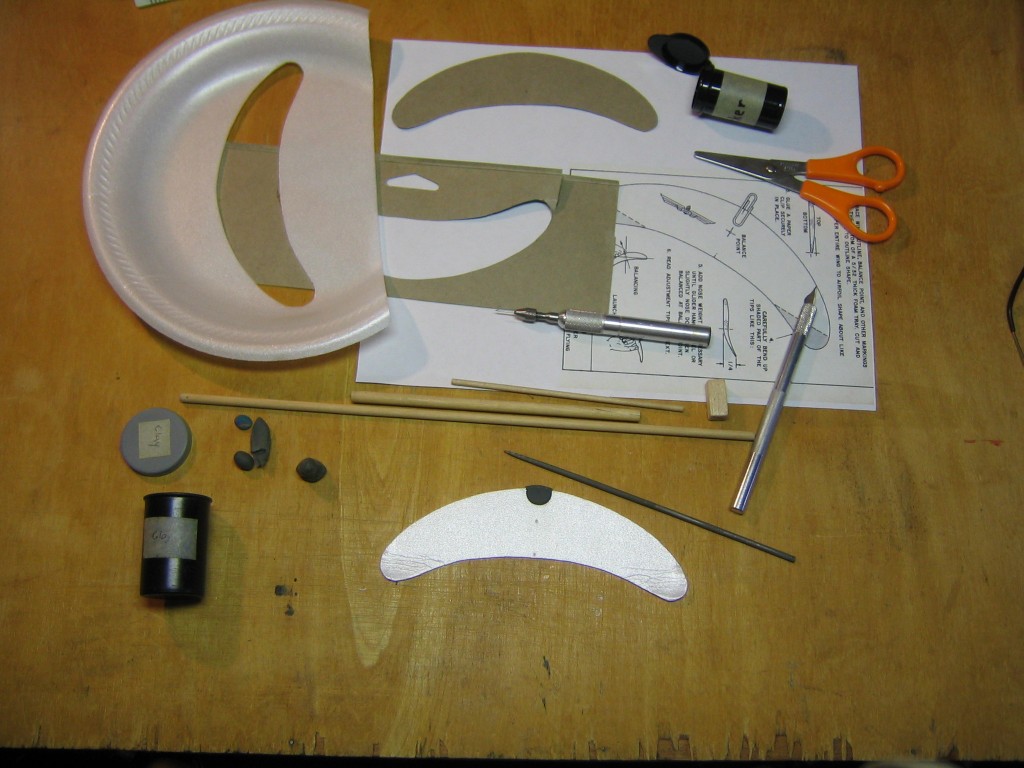
Here is the completed foam Zanonia glider, and everything that was required to make it, except the tape.
This video shows it launched overhead with a gentle push. It encountered a little wobble in the air. In still air, it flies pretty straight. You can warp the wingtip elevons to change its glide or make it turn.
This shows a tip launch. It is difficult to video and tip launch at the same time, but you can see that the glider gets up higher and flies a little longer.
Gary Hinze
nice
hi~
I`m a writer for a kid science at south korea and I`m happy to read your blog about Zanonia Glider. it`s really good to know.
I want to see Zanonia seed on my eyes and want to know how it fly.
anyway can I get Zanonia glider design on your blog? It relly help to know how the glider fly. Thanks your reading. bs.
Hi bs,
Just follow the instructions in the post and make your own, then you can see it fly. They are very easy to make. You can use foam from a plate or restaurant food container. You can also use thin balsa sheet, card stock or construction paper.
Gary
Hi bs,
You can copy the pattern given in the post. Put your cursor over the diagram, right click, scroll down the menu and click on “Save image as…”, another window will appear that allows you to name the file and save it in your computer. You can then have your computer print the image from your file.
Gary
As soon as I get my foam cutter running this might be a fun project to try it on.
Hello Gary,
I like your zanonia project and I like the way you launch it, like an rc discus launched glider. Me and my students dealed with zanonia shapes as walkalong gliders and we had some bionic projects this year. You can see them here featured on sciencetoymaker: http://www.sciencetoymaker.org/airSurfKit/BuchwaldBionics.htm
And you can see our zanonia in picture and video here:
http://wildparkwerkstatt.tumblr.com/post/12919445791/hier-ein-foto-eines-fliegenden-samens-zanonia
I just discovered endlesslift and I am very enthusiastic about it.
Best wishes
Thomas Buchwald, Cologne
Can you rig up a catapult Zanonia folder?
Ding,
Go for it!
I tossed this off in a few minutes and intended it to be a quick, simple project that any kid could do with minimal effort.
I have many projects in preparation for EndlessLift and do not have time to develop an additional complex project. If you want to develop a project, send it to Darcy and I and we will post it to EndlessLift.
I might do a maple seed project, also a very quick build. I already have a plan for a card version. Hmmm, where did I put that plan?
Gary