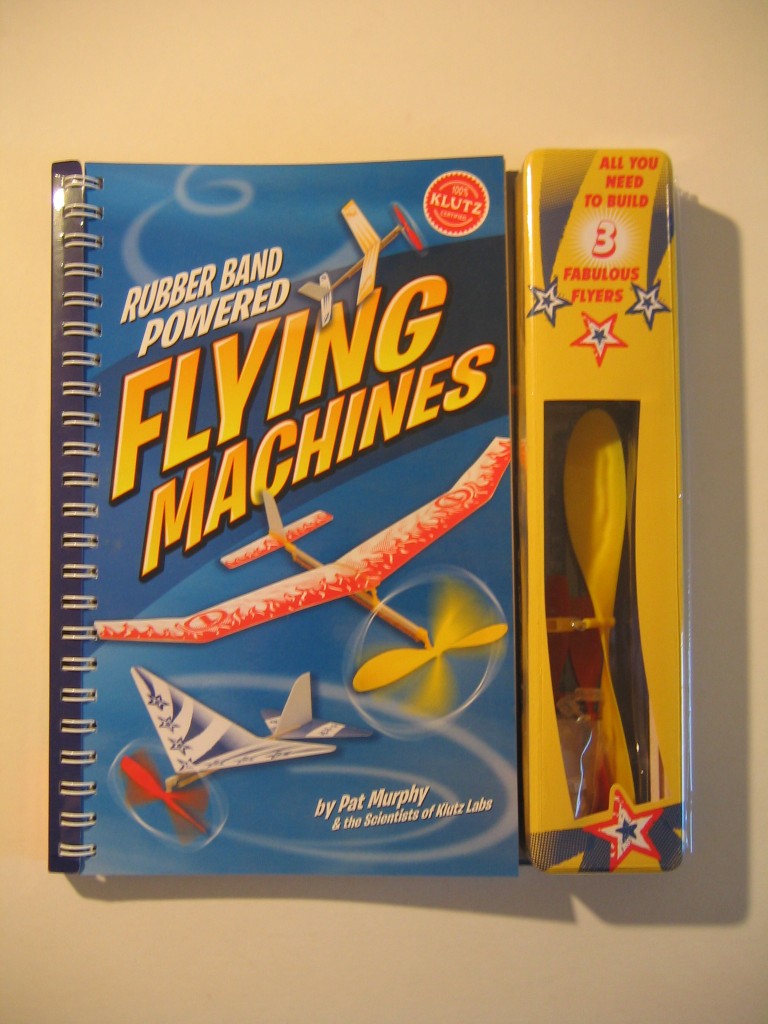
Klutz published Rubber Band Powered Flying Machines by Pat Murphy, an activity book for kids. The book contains parts and materials for making three free flight rubber powered airplanes. To see my review in another post on EndlessLift, click HERE.
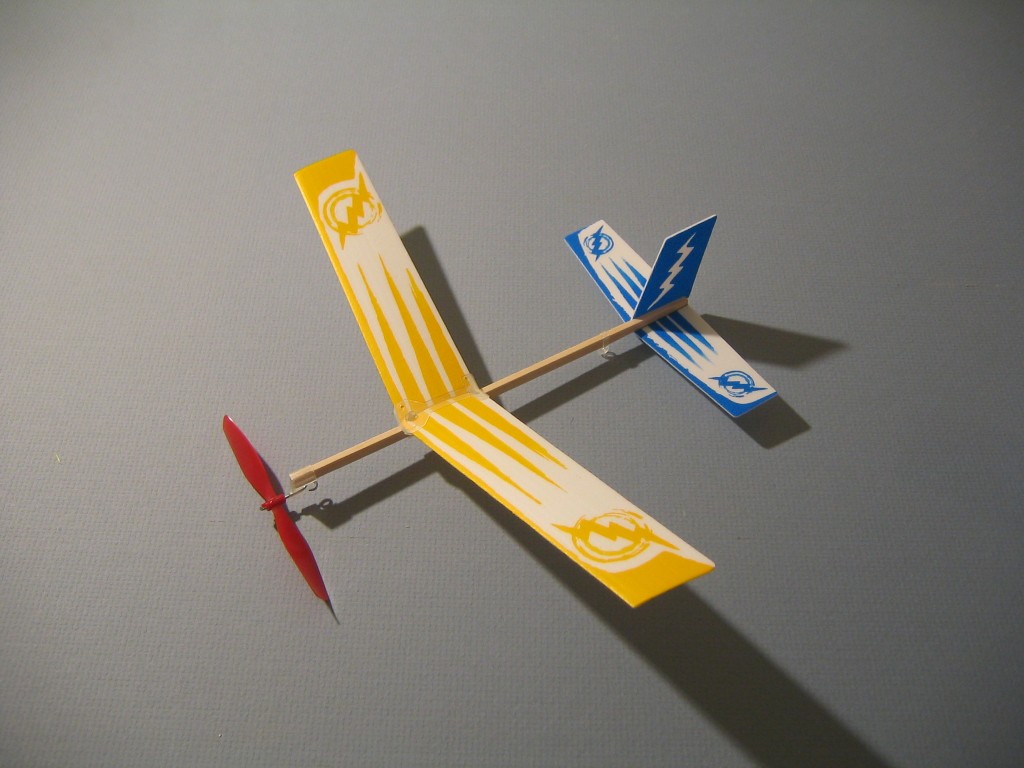
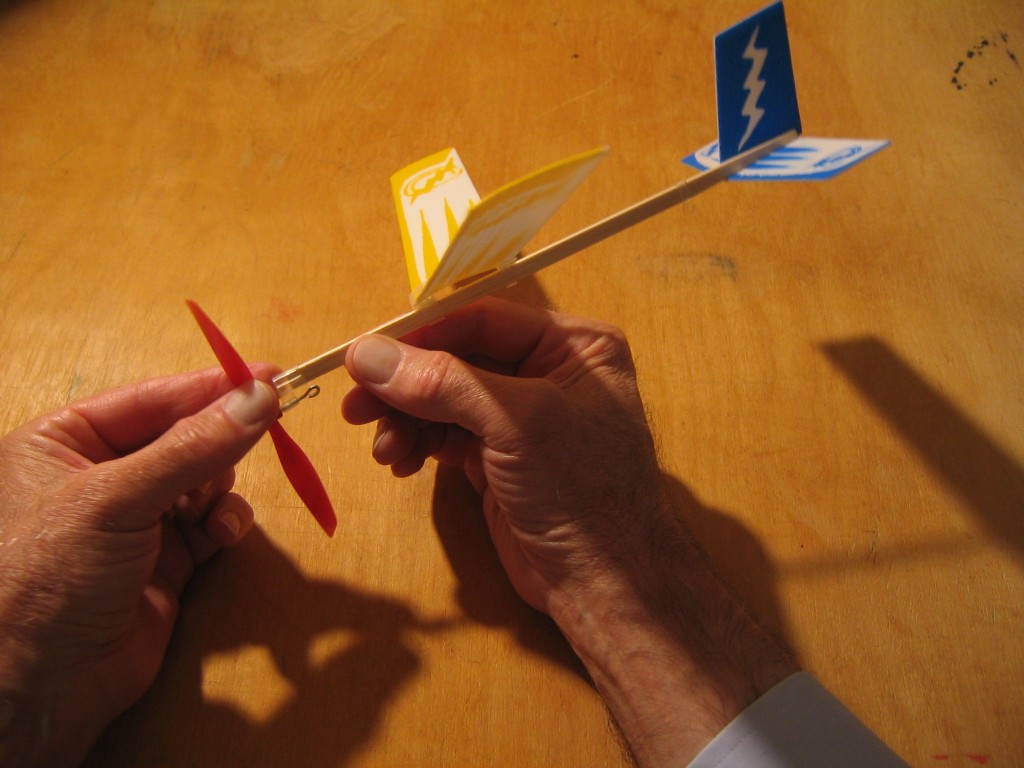
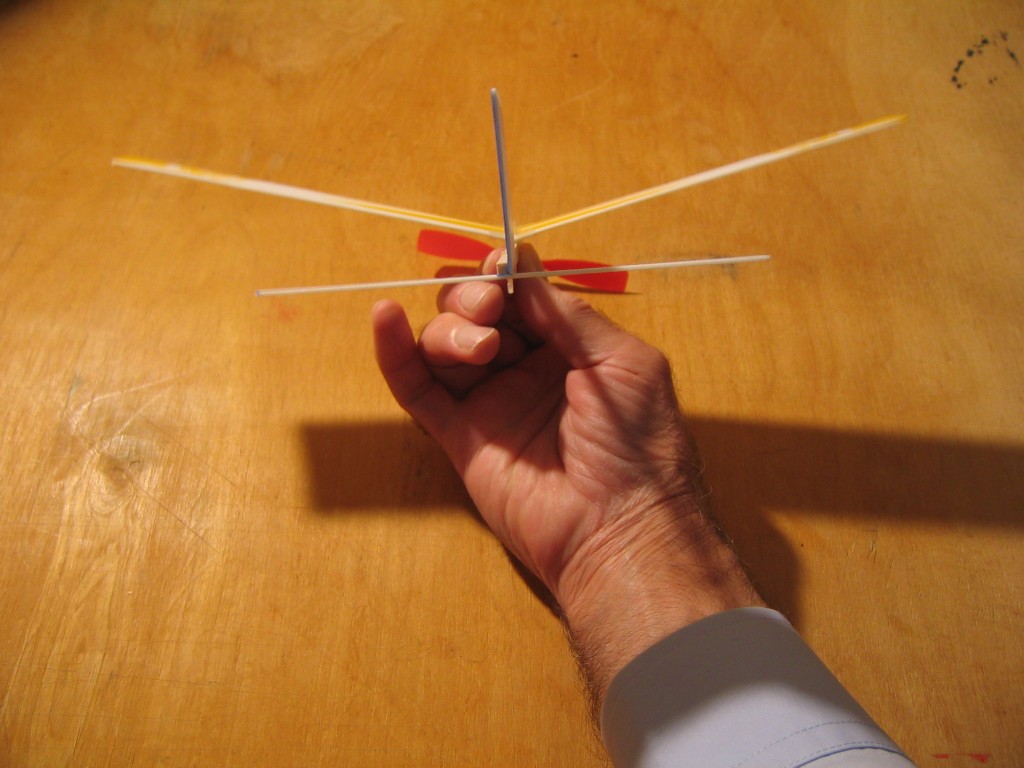
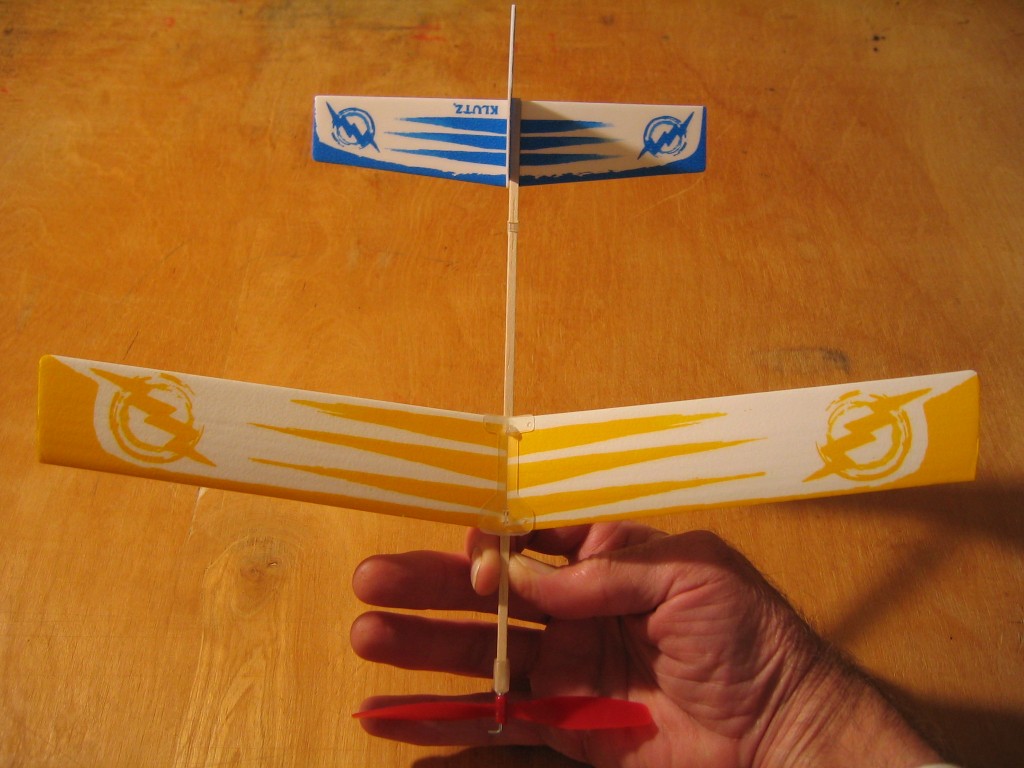
The third plane is the best flyer right out of the box. It is the Lightening Looper. With a short, strong motor, tightly wound, it will loop. With a longer, thinner motor, it will make long, high flights. It is 11″ span, 9″ long, weighing 4.6 grams, compared with the original North Pacific Skeeter weight of 6.3 grams. It has a full span cambered wing, formed by creasing the foam wing at the first six 10% chord points and maintained by a cambered wing mount.
I prefer to use glue to build my Lightning Looper. Tape was used in the kit because glue can dry out or leak and can get messy. Glue also takes a while to dry. I prefer glue because it allows more precise positioning of the parts. I have used Formula 560 Canopy Cement because it was formulated to glue plastic to wood. It also uses water as solvent and washes off easily. Other glues might work just as well. Elsewhere on this site you will see that I have been using Aleene’s Original Tacky Glue to build foam Squirrels. Test some of your glue on a bit of scrap foam to make sure the solvent in the glue does not melt the foam.
If you want to build according to the book instructions, using the double sided tape, be aware that the wings do not properly fit the wing mount. The distance between the pins on the mount is not the same as the distance between the corresponding holes in the wing. If you try to put the wings onto the tape, they won’t fit properly and you will tear them trying to get them off again. Check the fit of the wings before putting the tape onto the wing mount. Punch out the holes in the wings. Put the rear hole over the rear pin and press the wing down onto the front pin to make a mark. Remove the wing and cut a little hole around the impression made by the pin. You may need to trim the wing to fit around the boxes. Recheck until the wing makes a good fit onto the wing mount before applying the tape. Carefully align the wing before pressing it down to the tape. You get only one try. If the wing goes on wrong, you won’t be able to get it off again without damaging it.
Break out the foam parts. Handle the foam parts carefully, they are soft and fragile.
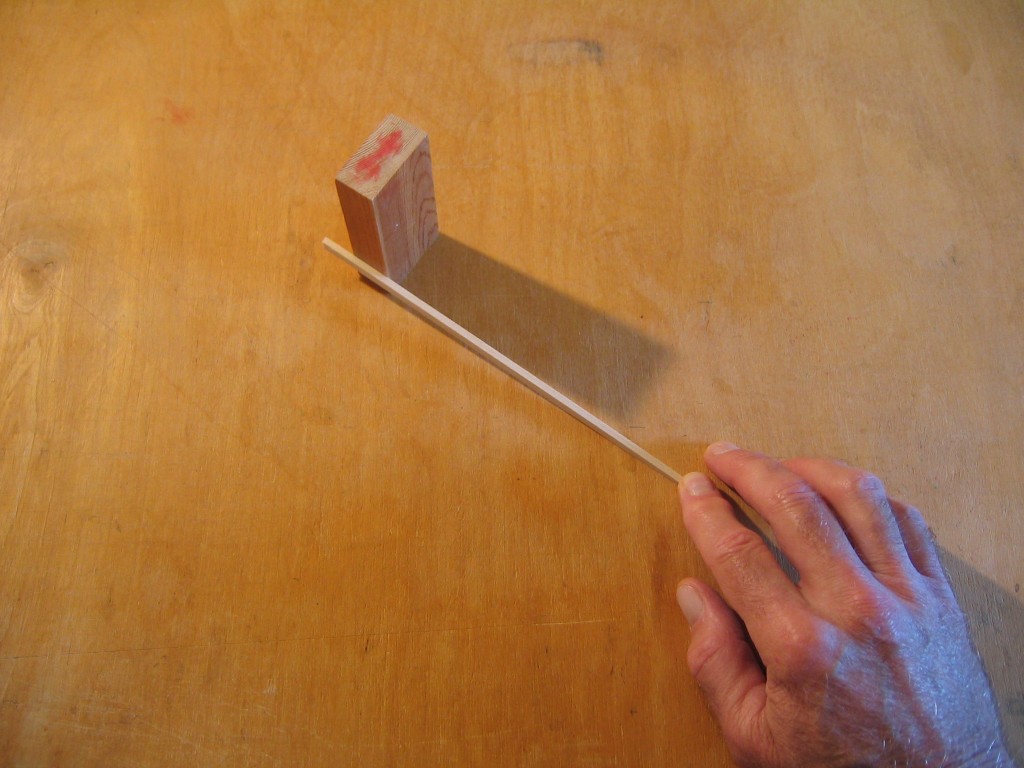
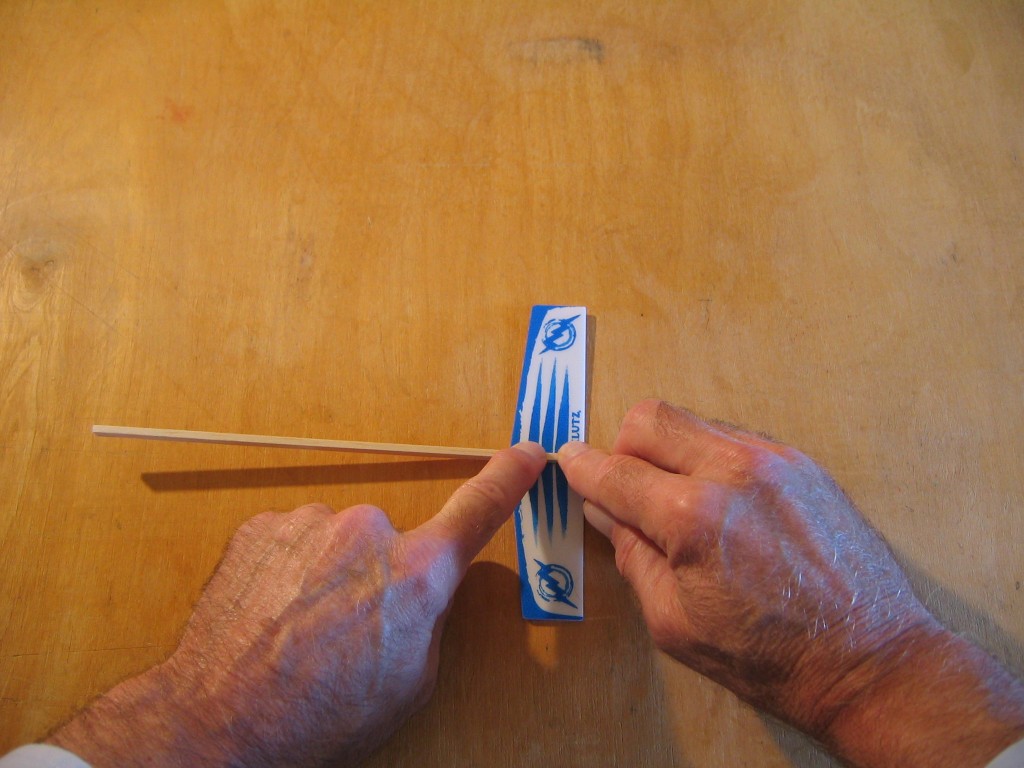
Press the tailplane taper to the tabletop and verify that it is square. If not, sand it as was done for the Shooting Star or Firebird.
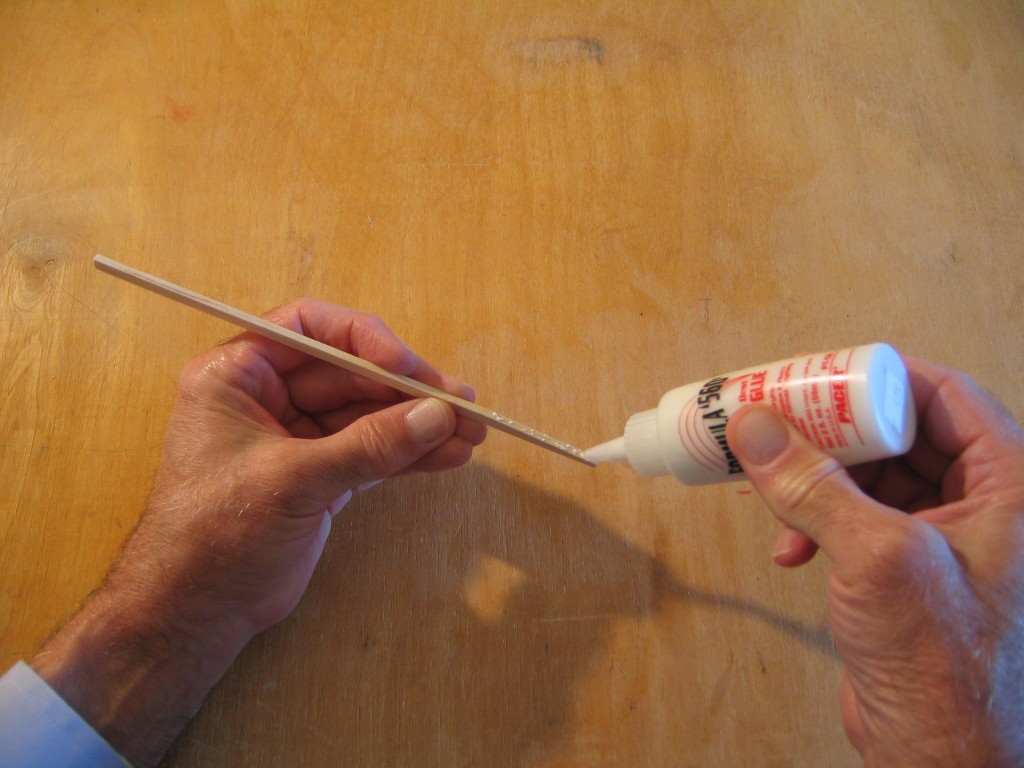
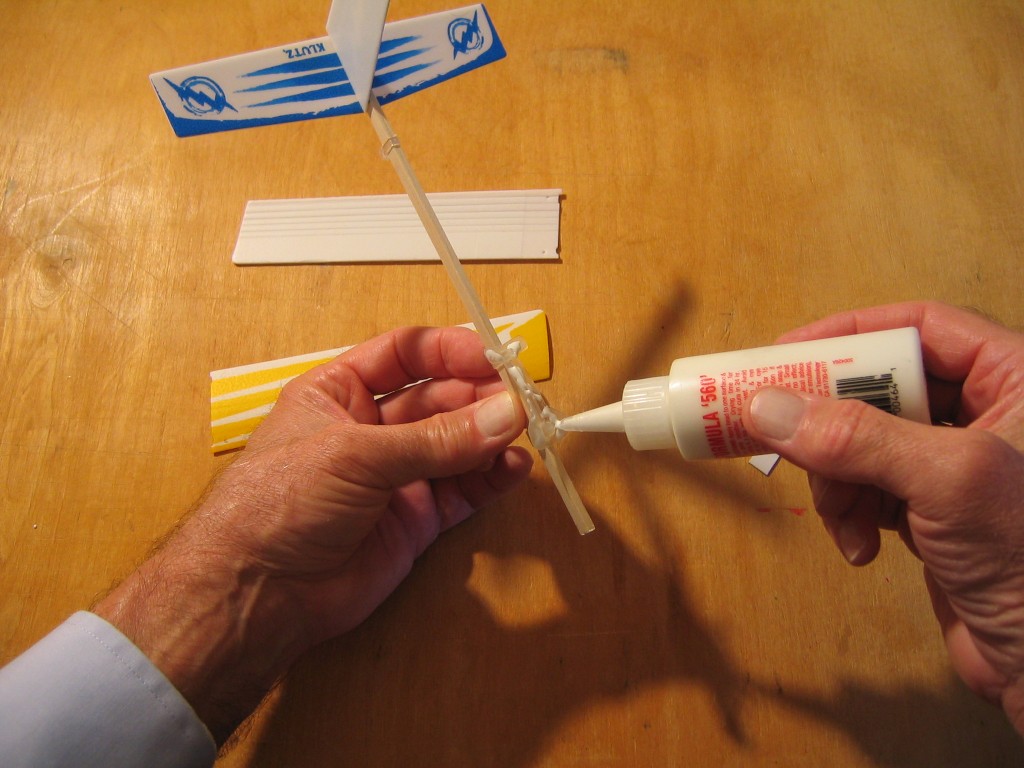
Apply a bead of glue to the face of the tailplane taper.
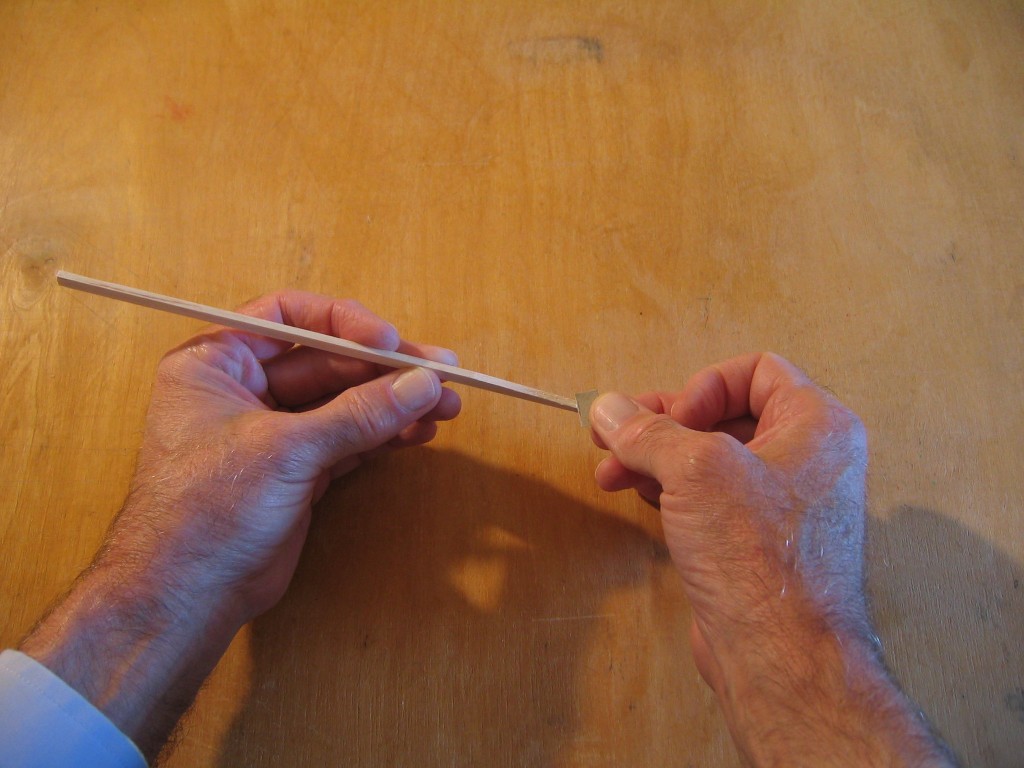
Spread the glue uniformly with a scrap of card.
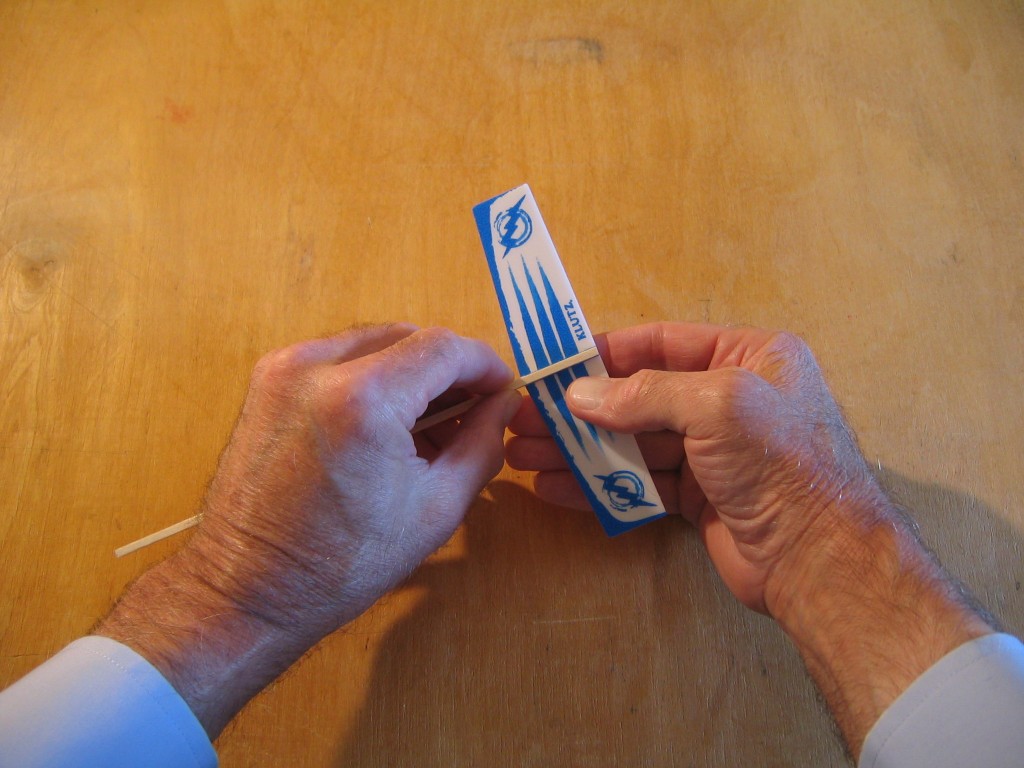
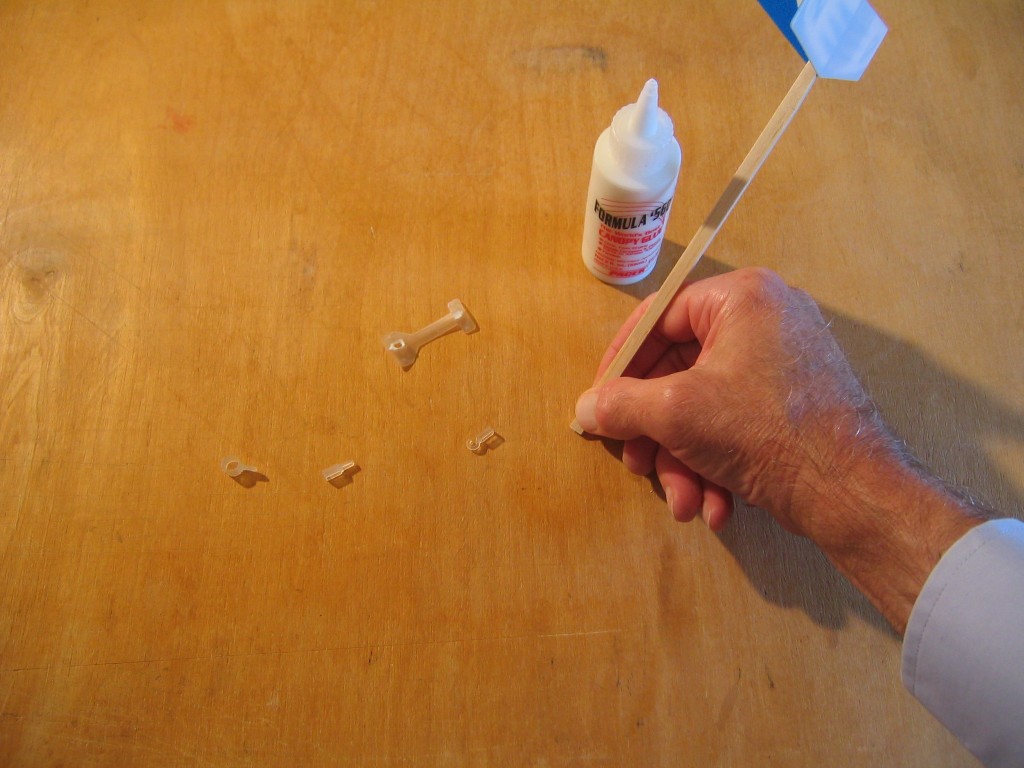
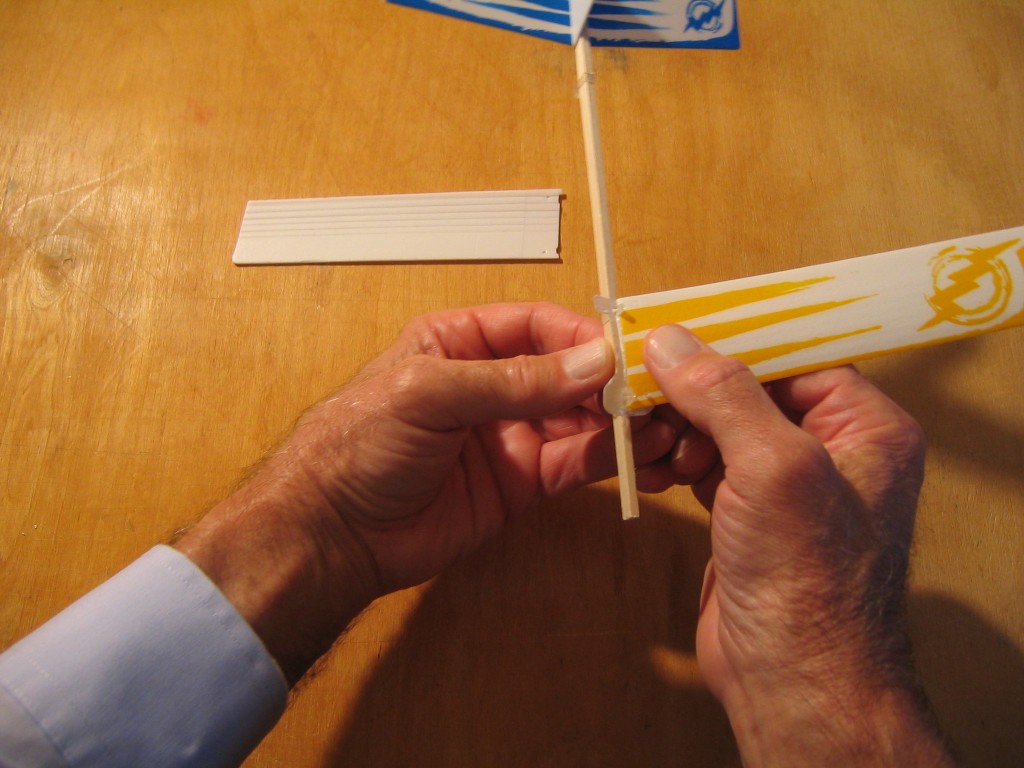
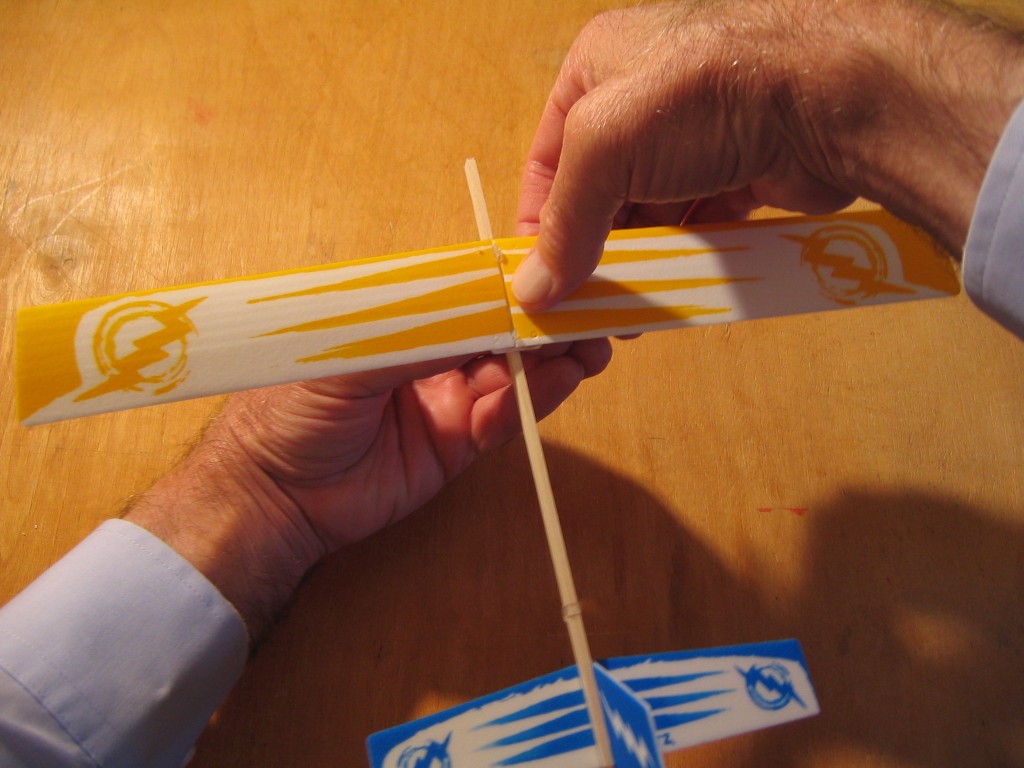
Carefully place the stick on the center of the tailplane.
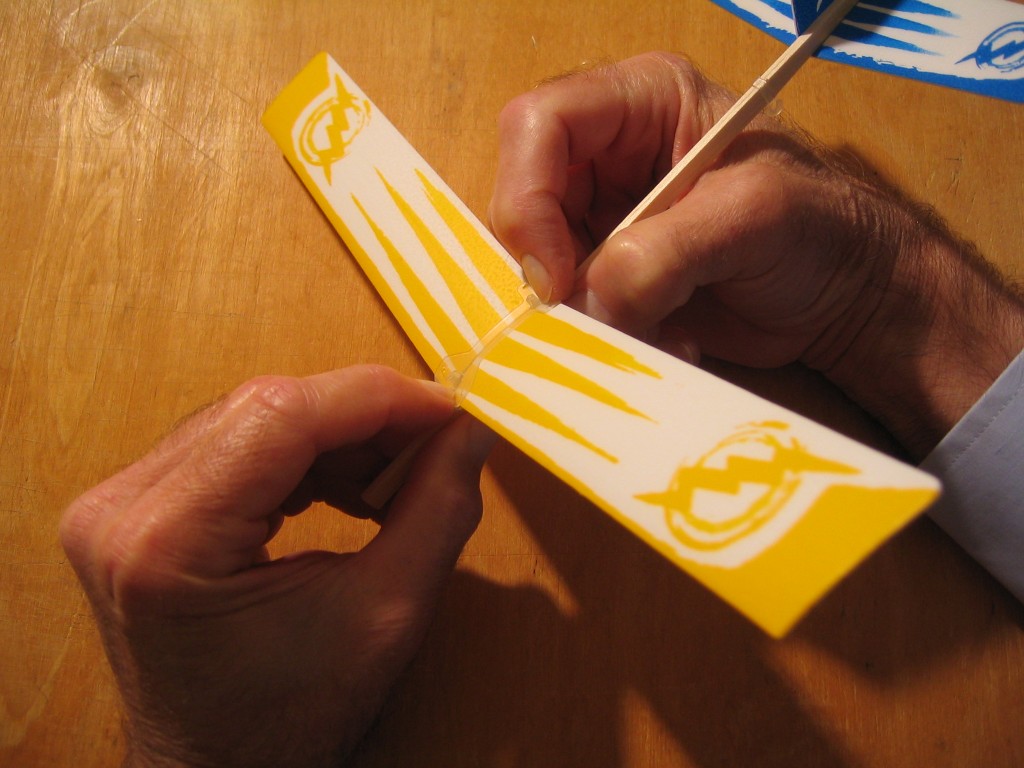
Press it down to make firm, uniform contact. Be careful to not push it out of alignment. The trailing edge of the tailplane should be perpendicular to the stick.
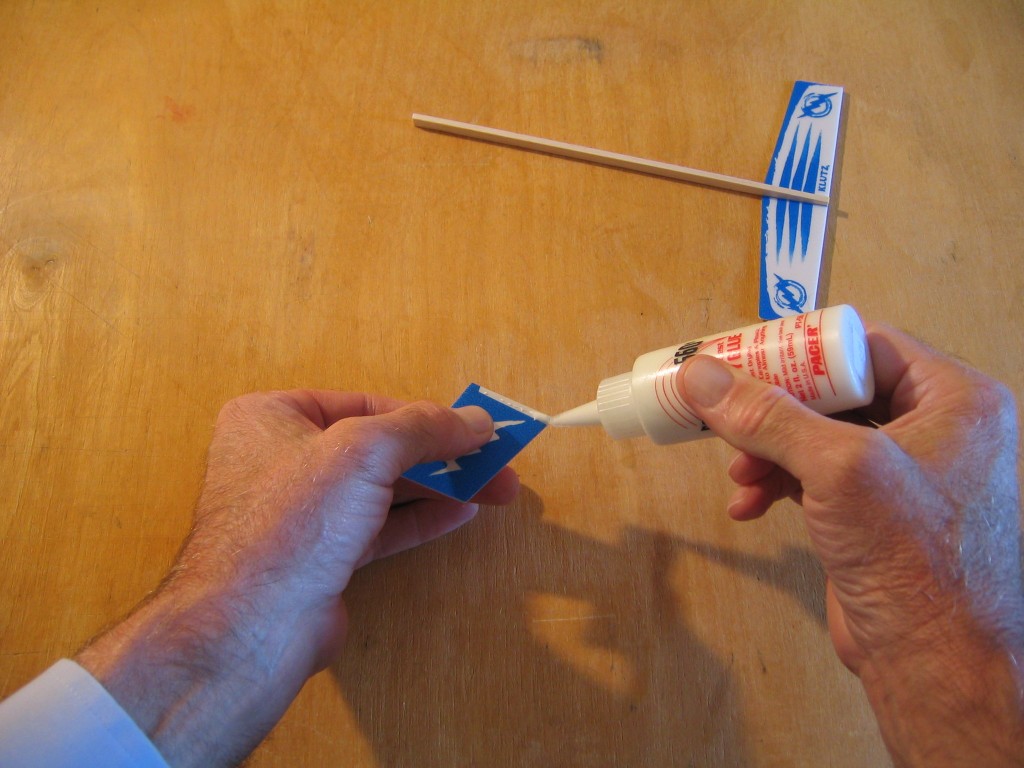
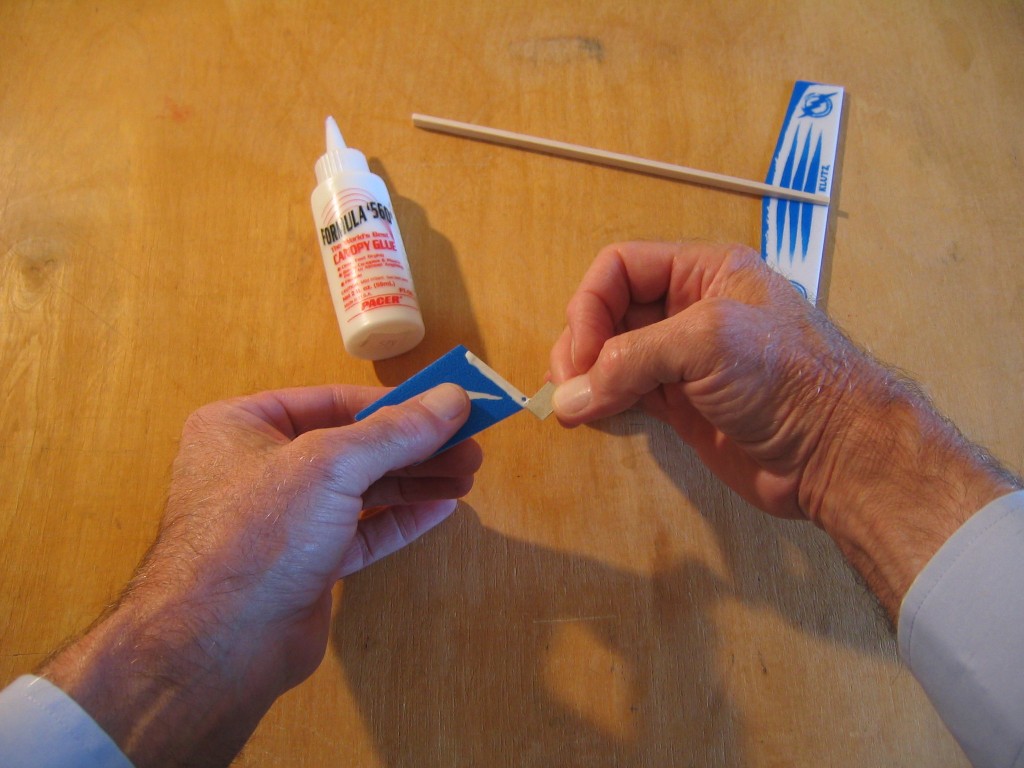
Apply glue to the white area at the base of the fin.
Spread it uniformly.
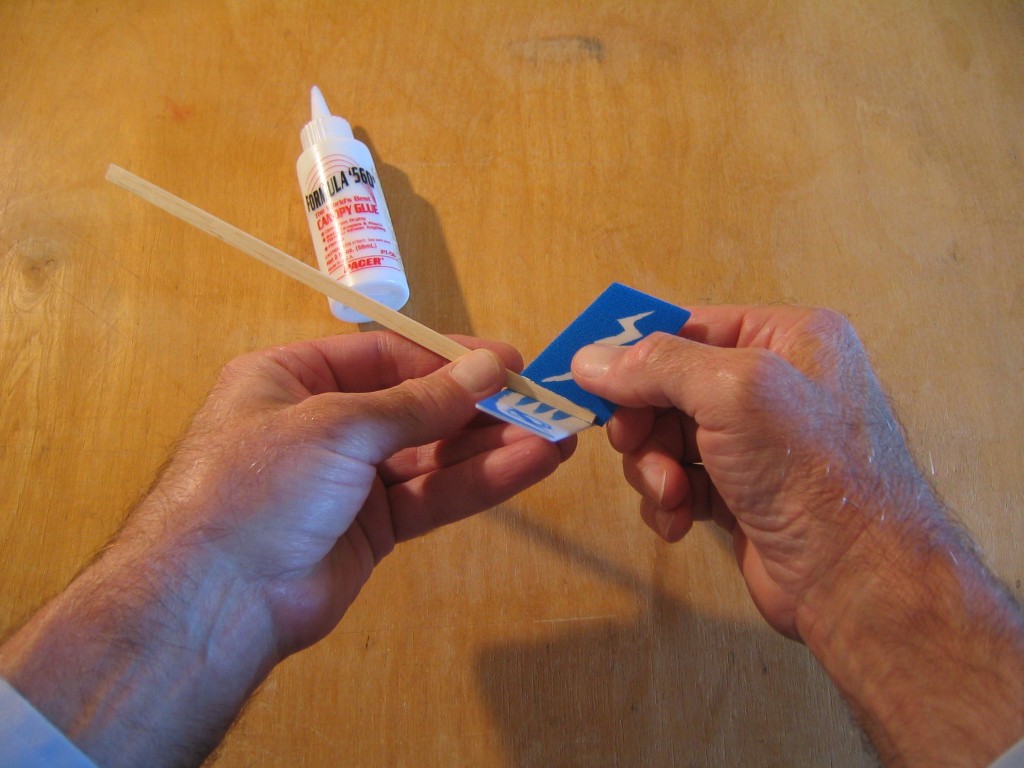
Press the fin into place at the back of the stick with the base of the fin just touching the tailplane.
Lightly press the fin in place to assure good contact. Make sure the fin is perpendicular to the tailplane.
Open the parts bag and get the plastic parts out. We will modify the mount and omit the clamp.
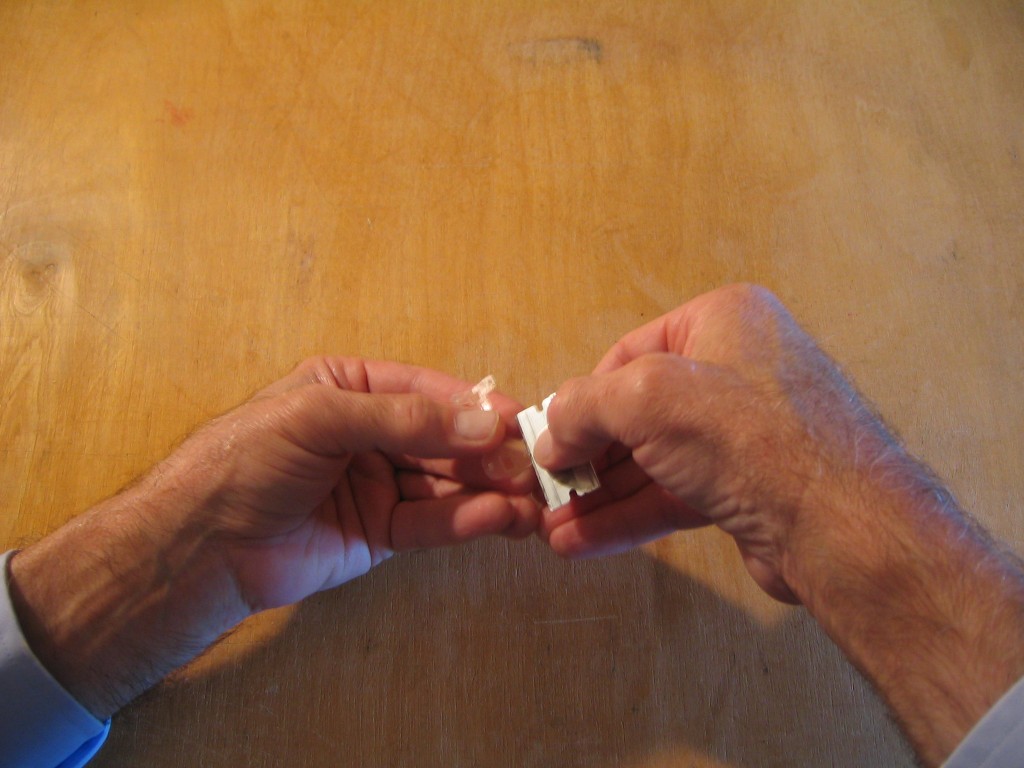
Cut off the four pins flush with the top surface of the wing mount. The holes in the wings do not match up with the locating pins. They aren’t necessary when the wings are glued in place.
Lightly sandpaper the top surfaces of the wing mount. Wash and dry all the plastic parts.
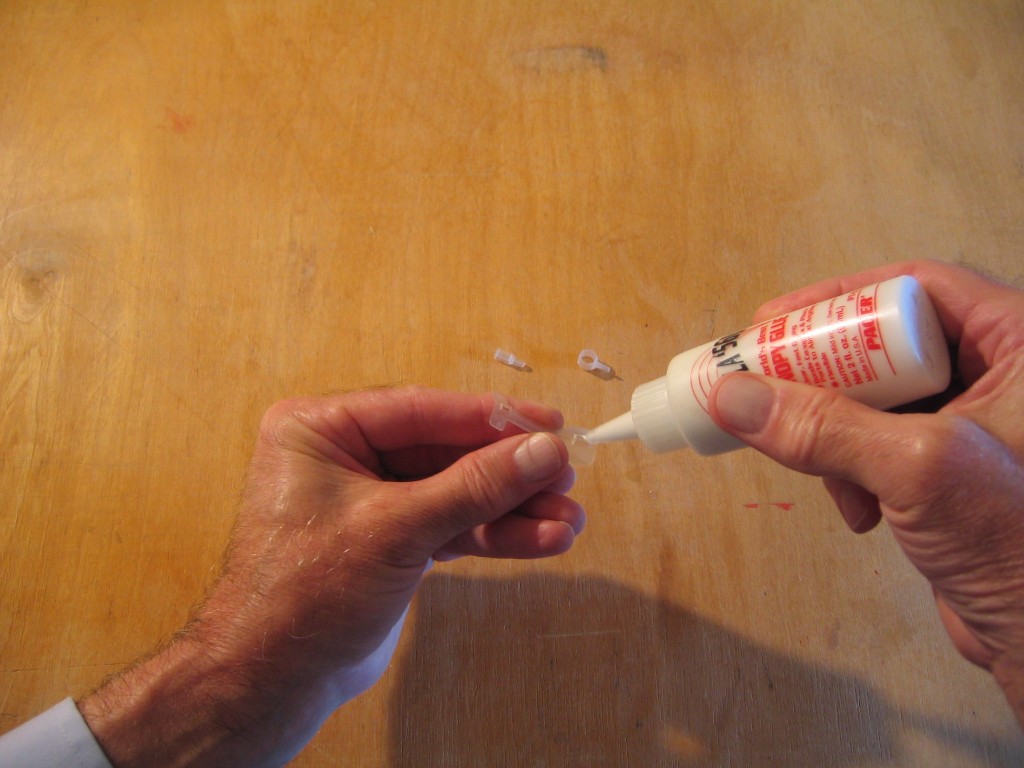
Apply glue to the lower edges of the boxes. Let the glue get tacky.
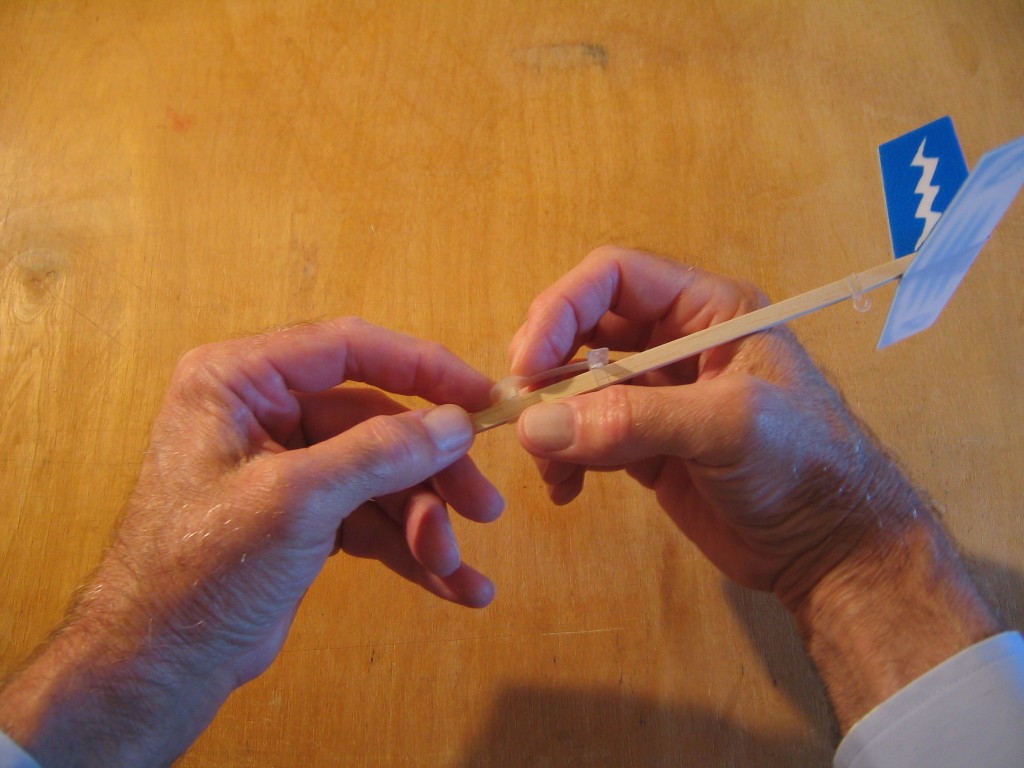
If you have trouble getting the hook and wing mount boxes onto the end of the stick, press the front edges of the stick against the table top to produce a slight taper.
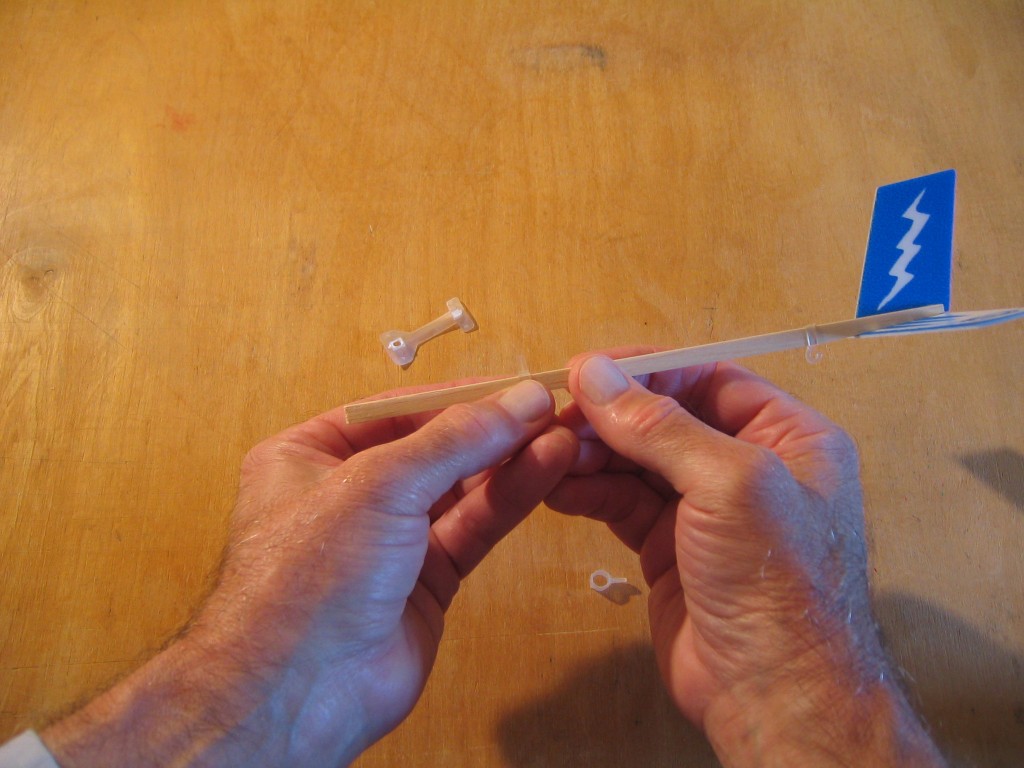
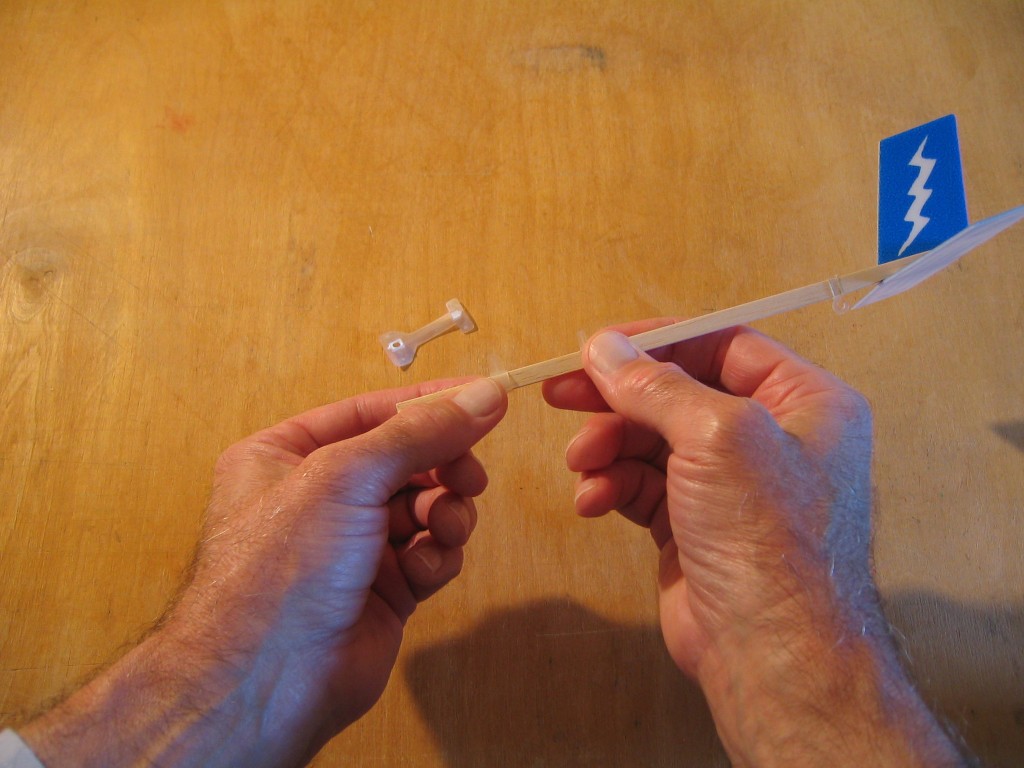
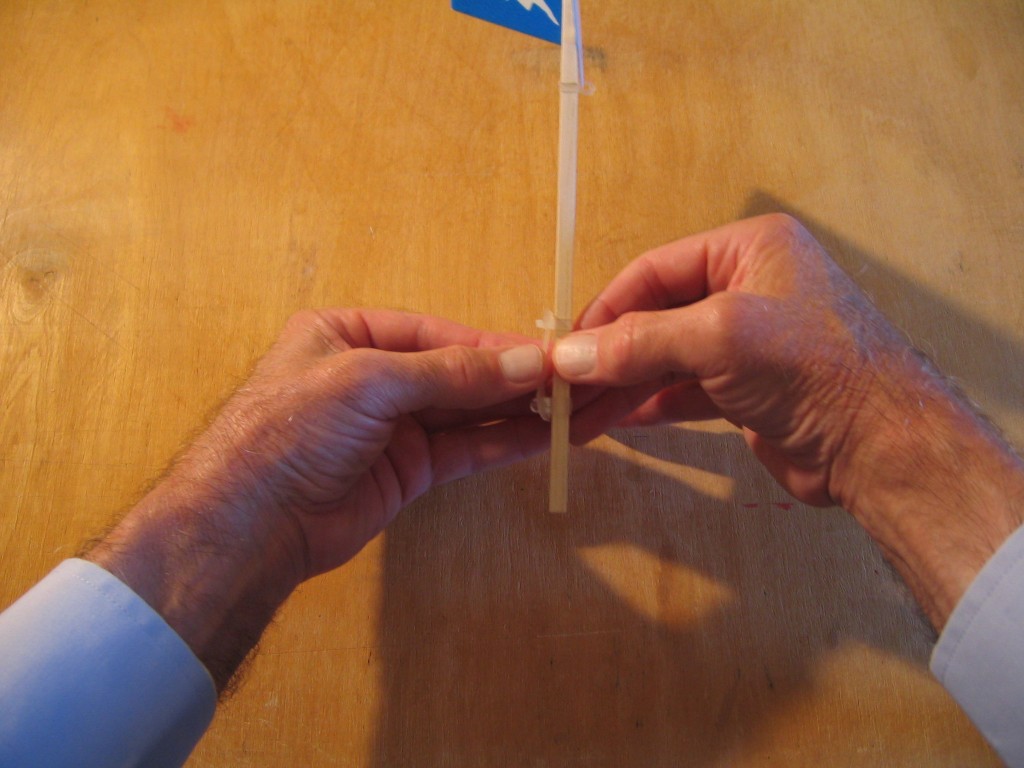
Slide the motor hook onto the stick, with the hook on the bottom and the opening facing back.
Slide the rear wing post box onto the stick. It is the shorter of the two. Both are symmetrical front to back.
Slide the front wing post box onto the stick. It is the longer of the two, and has round sides.
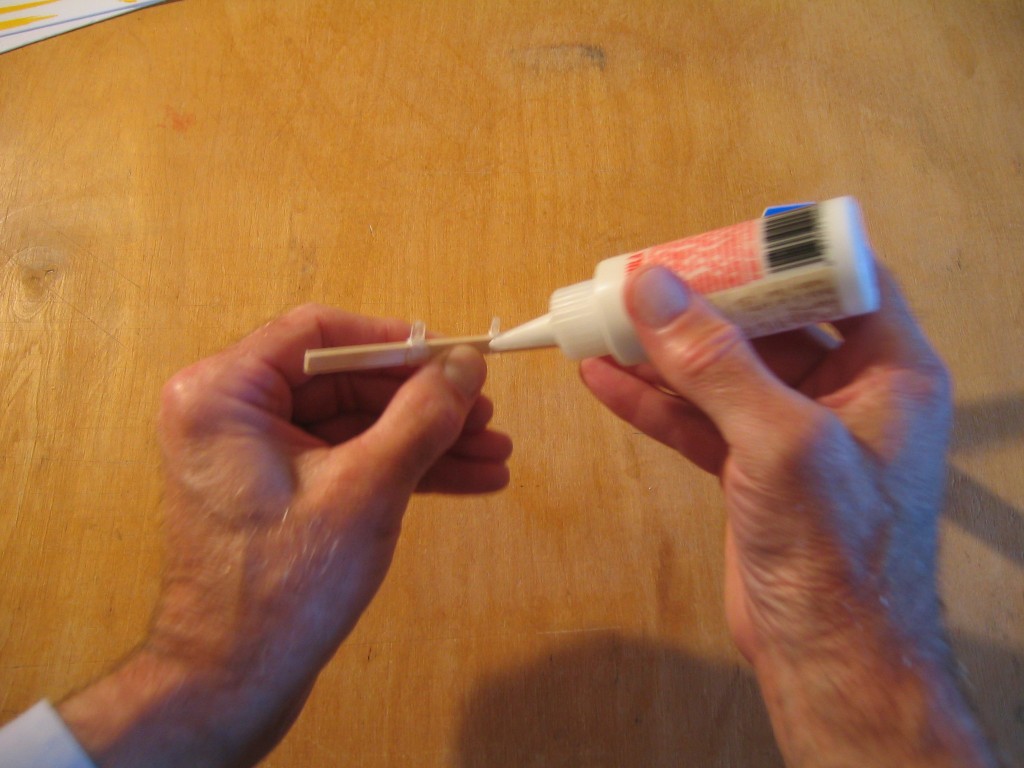
Slide them until they match the holes in the wing mount.
Apply glue around the bases of the two posts.
Press the wing mount onto the posts. Make sure it is firmly seated and the boxes of the wing mount are snugly around the bases of the posts. Make sure the wing mount is not tipped to one side.
Set it aside until the glue is completely dry. This glue becomes transparent when it is dry.
In the book instructions we tell you to put the wing upside down on a piece of paper, put a steel rule on top of the crease line and pull the paper up to form the crease.
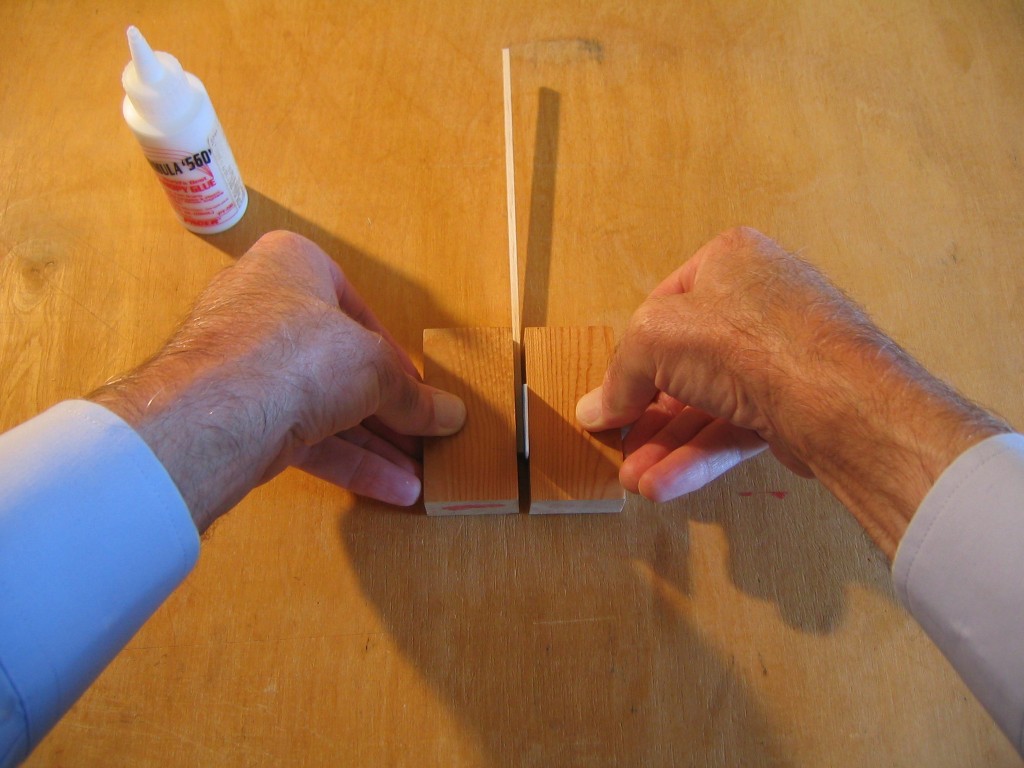
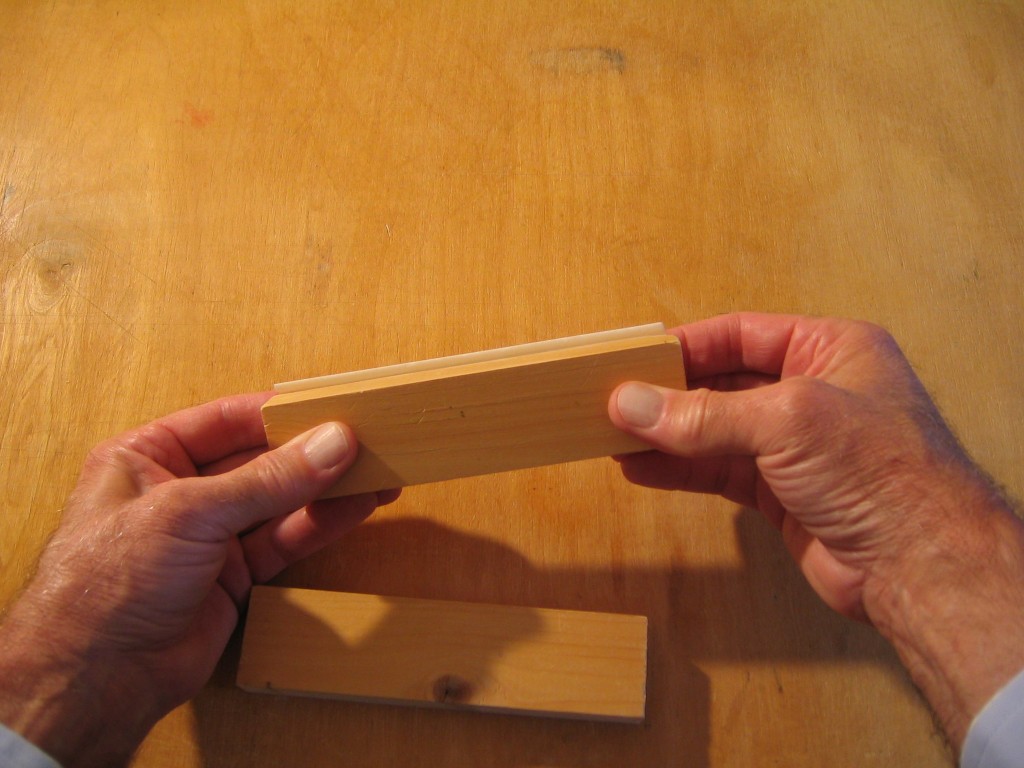
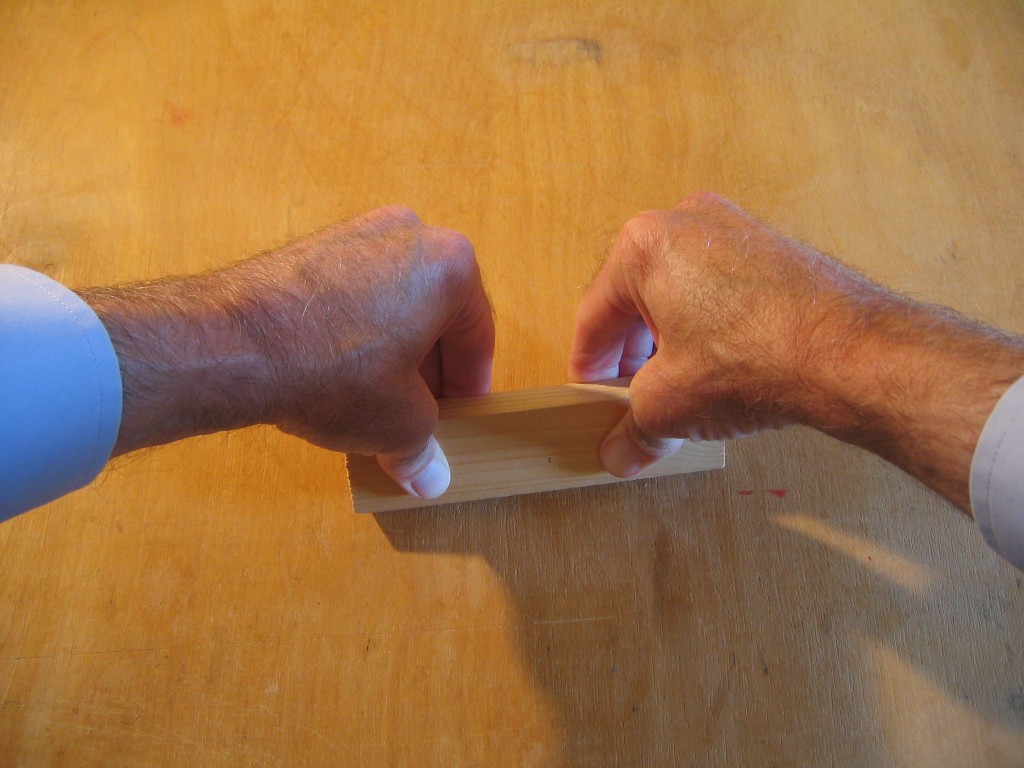
Another way is to put the crease line on the edge of a block of wood…
… and press down on it to bend it over the edge.
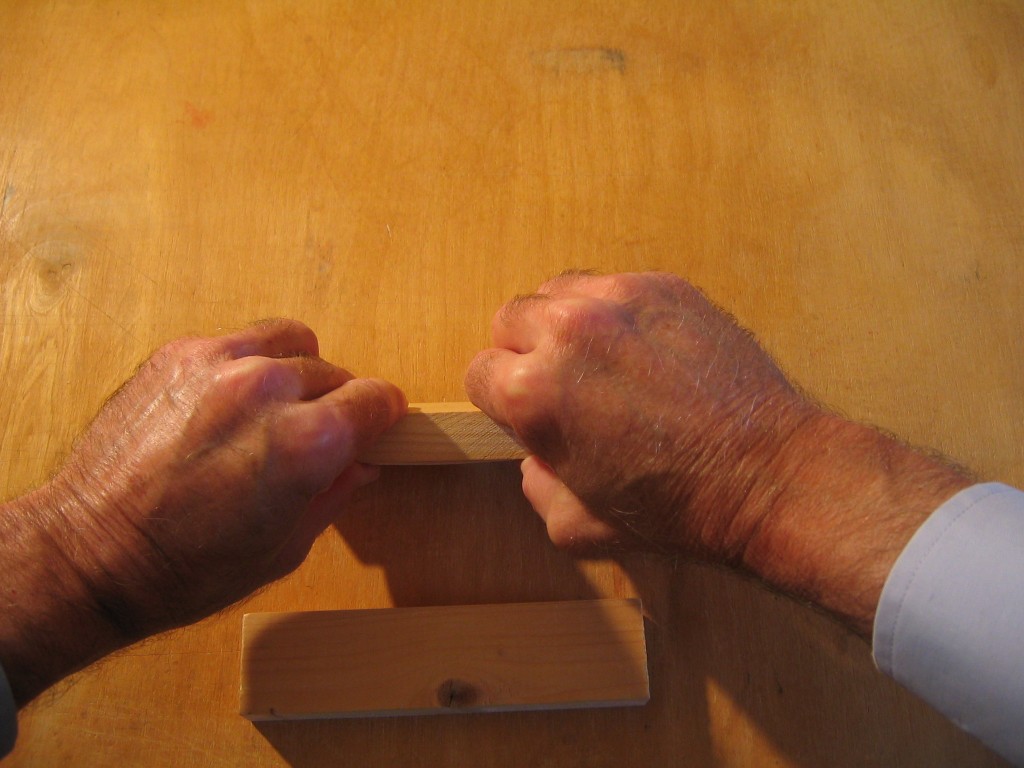
Squeeze with another block to get a uniform bend.
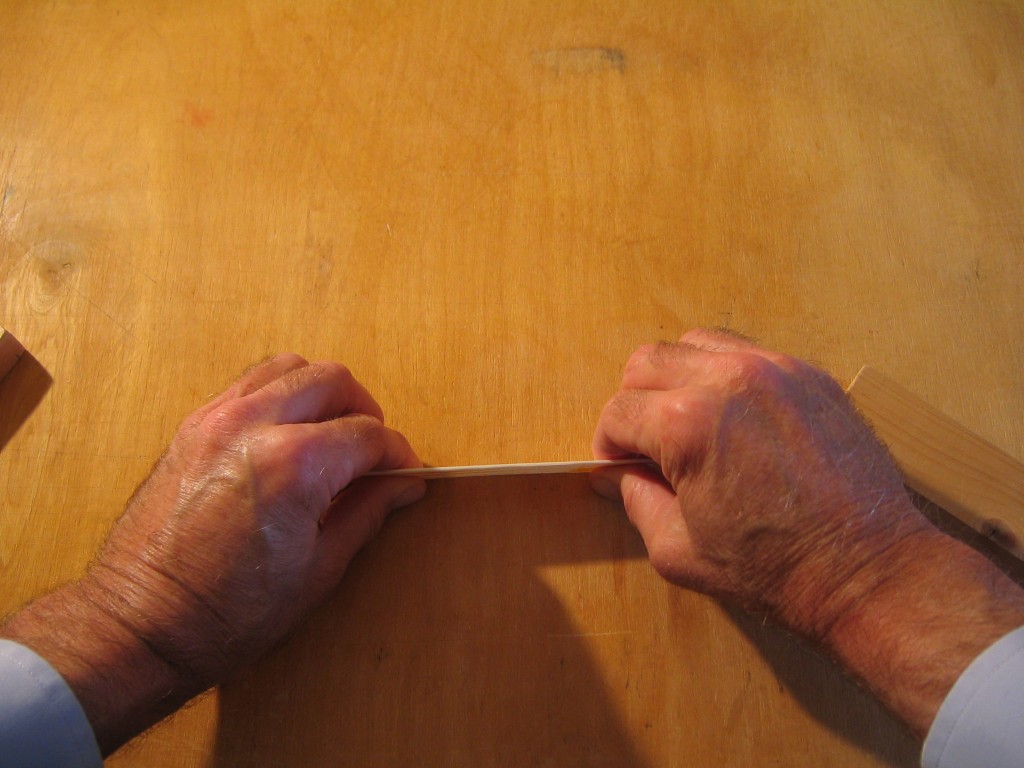
Press the edge against the table top to sharpen the bend.
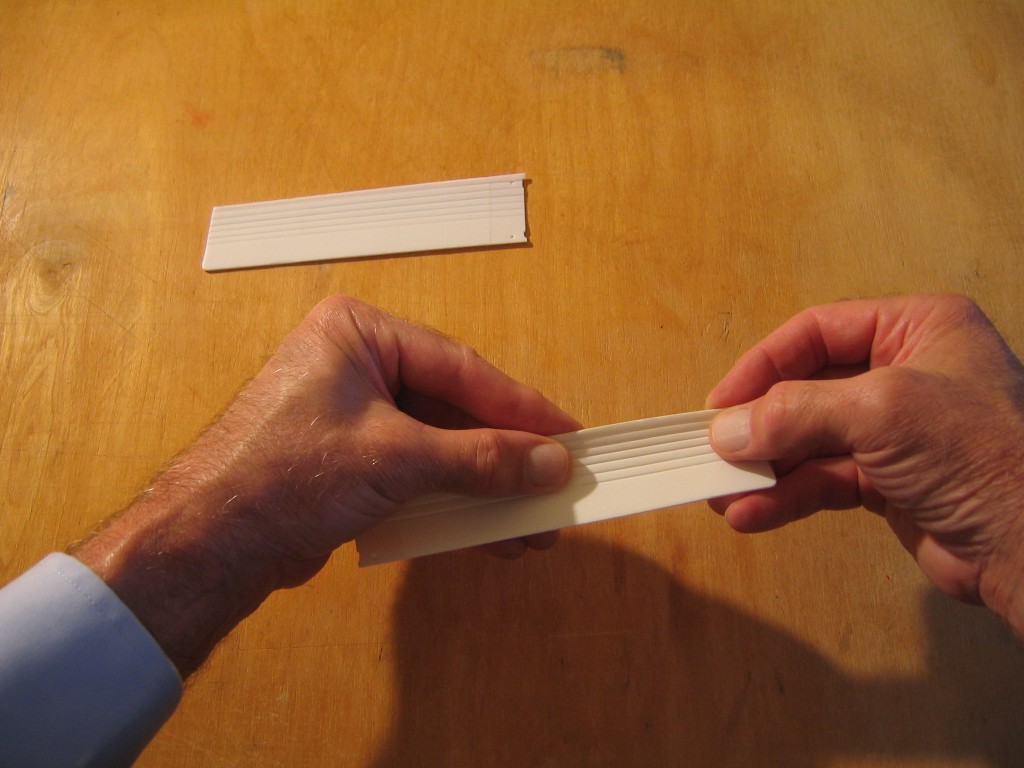
Shape the camber as necessary with your fingers.
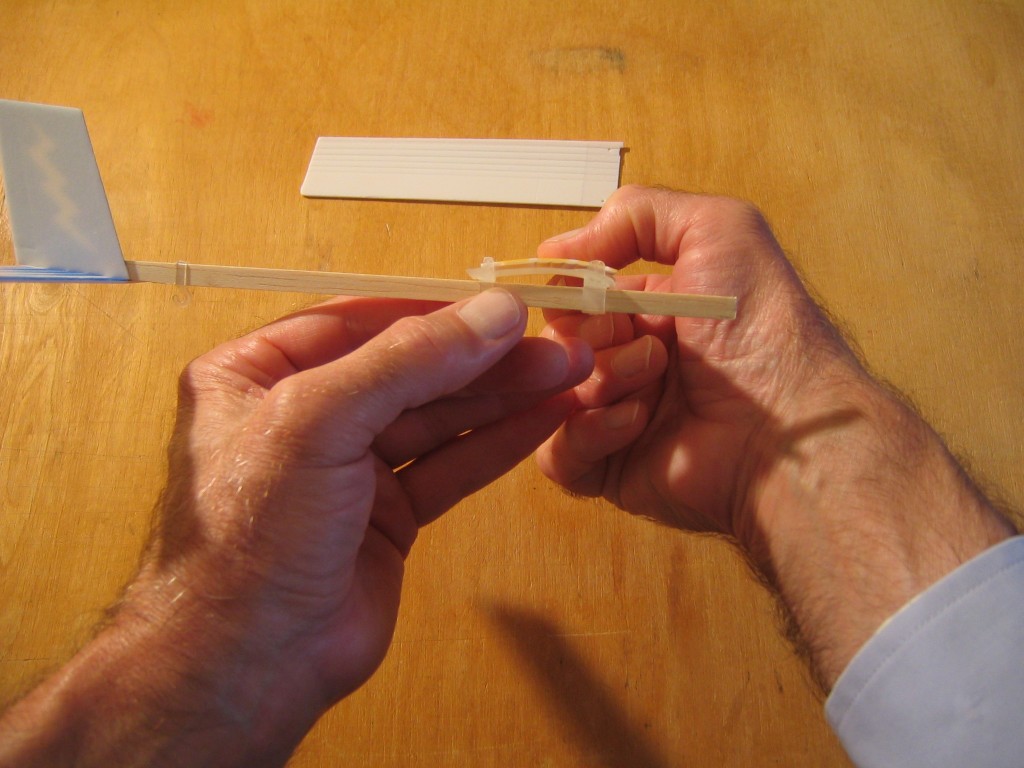
Check that the curve matches that of the top of the wing mount. Do the same for both wings.
Apply glue to the top surfaces of the wing mount. Spread it uniformly and let it get tacky.
Press the wings into the glue.
Make sure both wings are butted snugly against the central ridge on the wing mount and symmetrical with each other.
Press the wing clip down until both ends click in place. This will hold the wing down just until the glue dries.
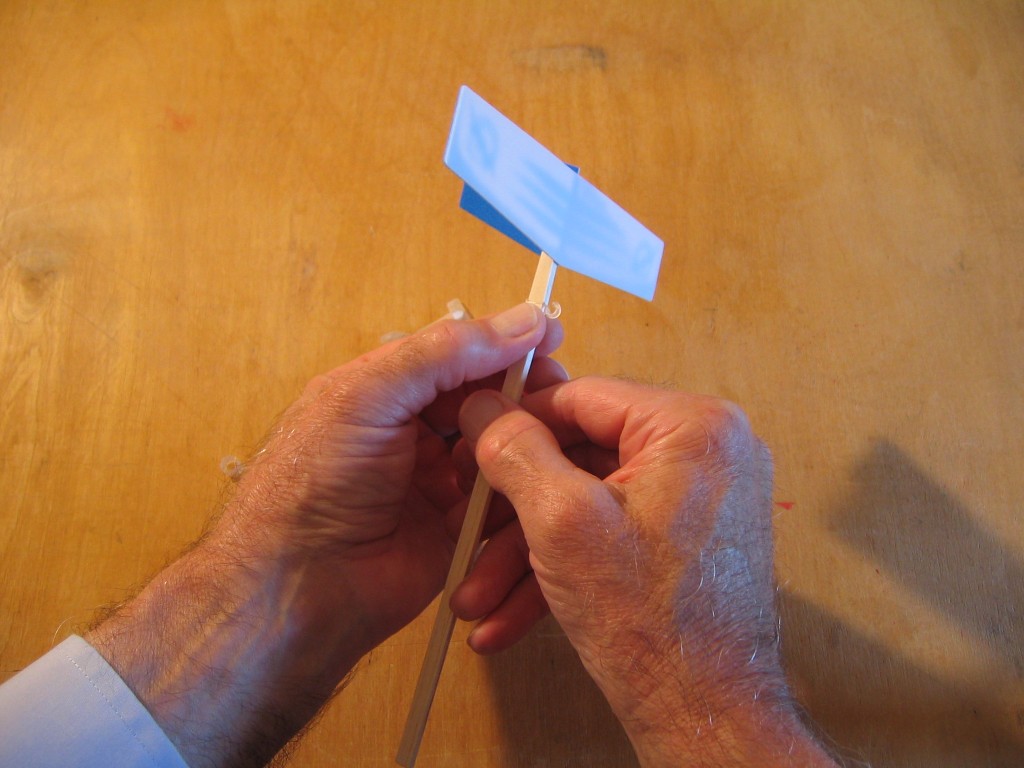
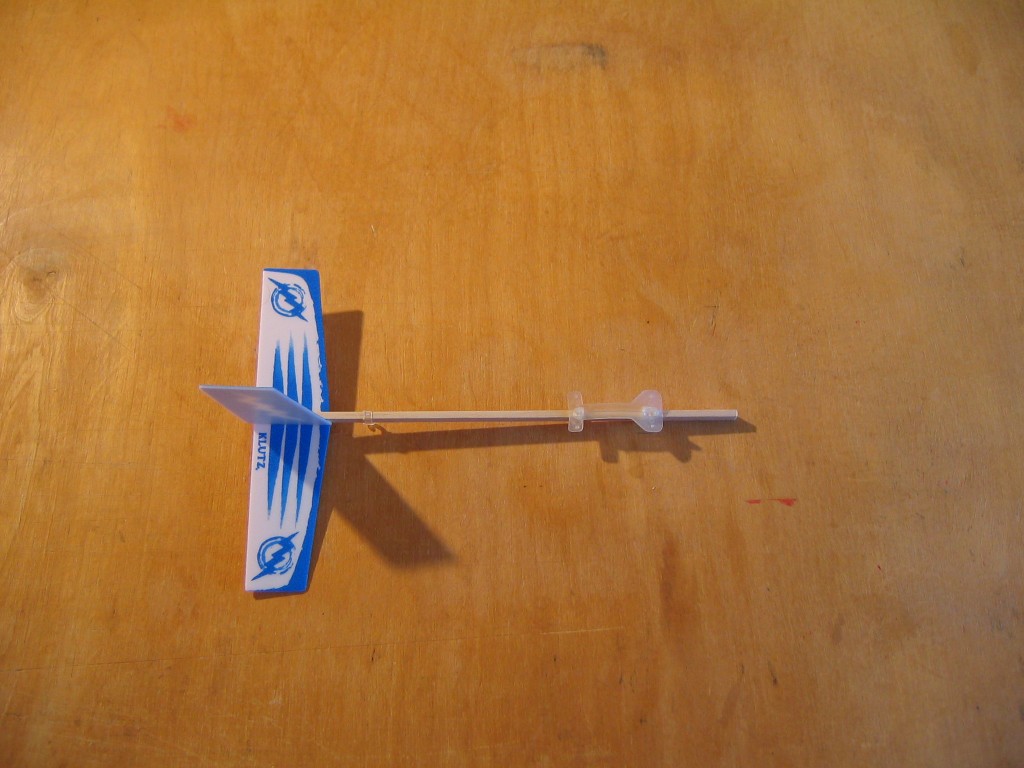
Slide the prop hanger onto the front end of the stick with the prop hook on the underside so it lines up with the motor hook.
Check that everything is symmetrical from the back.
Check that everything is symmetrical from the top. Let the glue dry completely. Check it every minute for the first few minutes.
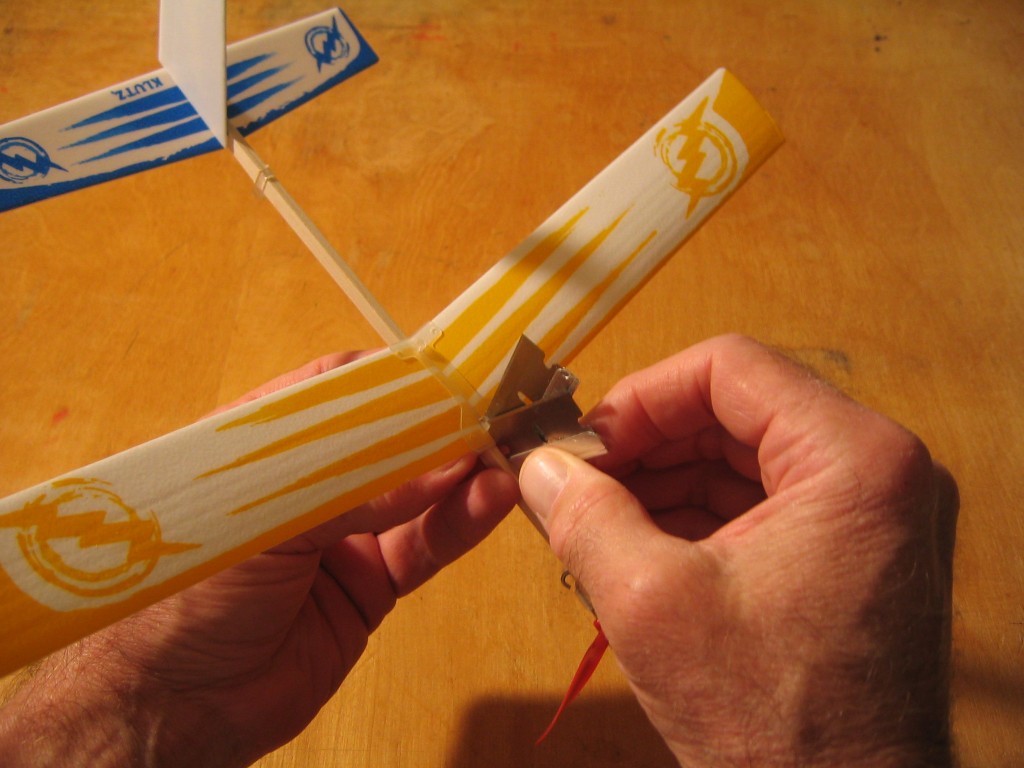
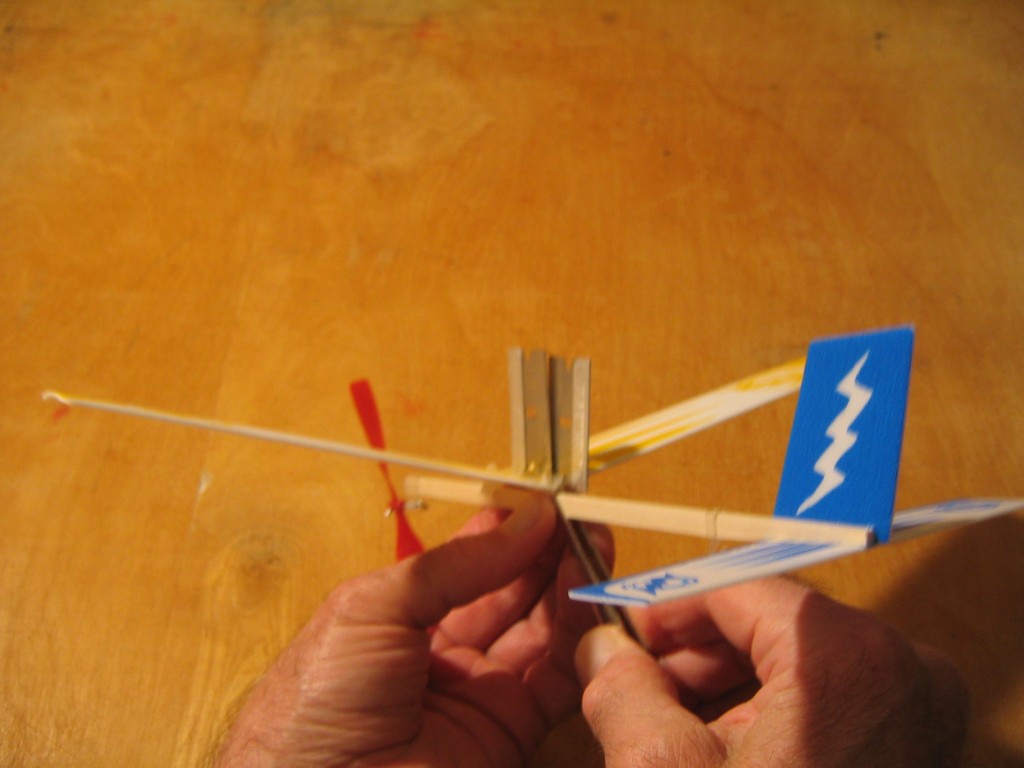
The wing clamp is not necessary with a glued joint. You may remove it to reduce weight. Pry the fingers away from the post and…
…push the wing clamp off.
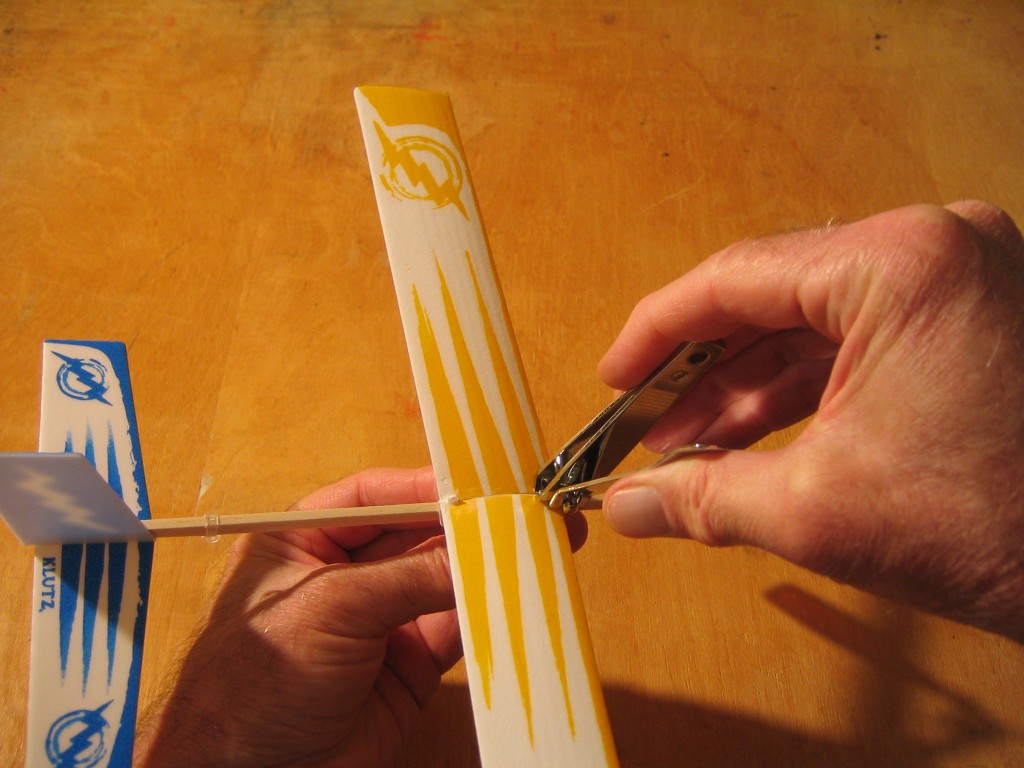
Clip the posts off close to the wing surface.
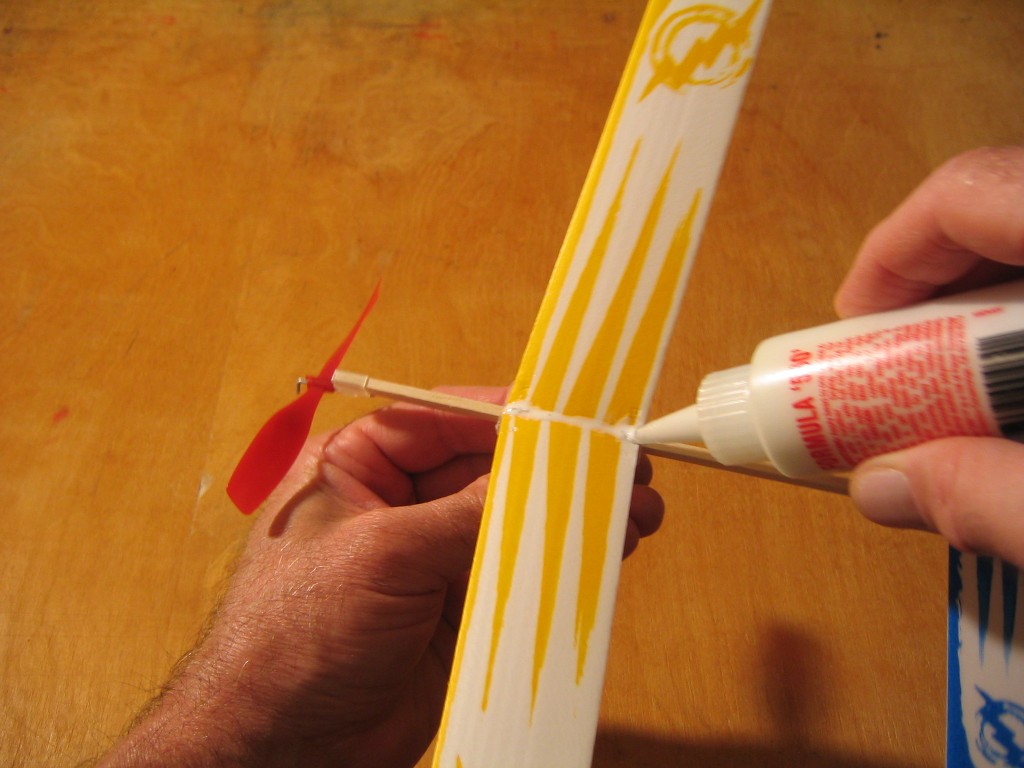
Apply a bead of glue over the wing joint. Also apply glue along the edge of the wing mount under the wing. After this glue dries, the Lightning Looper is ready to have a motor installed and go flying.
The prop hook may need to be opened a bit to get the motor on without risk of a nick. The kit comes with a 38″ length of 0.044″ x 0.065″ Tan Super Sport. You can order rubber strip from FAI Model Supply or A2Z in the standard 1/16″ width for replacement. You are told to make three 6″ motors. I made a 6″ motor and a 12″ motor. I put the 12″ motor on the plane. Wing position was adjusted to get balance at about the high point of the camber, or so the plane would glide slowly and steadily. A small balsa wedge may be forced into the forward wing mount box to keep it from sliding if it is loose. Put your name and phone number on the stick. Be careful how, when and where you fly this one. My first one flew away on its first flight, never to be seen again. If flying in a small park, use the 6″ motor limit the number of turns, start low and increase the number gradually.
If you want to loop the plane, double up the 12″ motor and use 400 turns in the motor. Use no side thrust or rudder for looping.
This video shows a flight with 1,200 turns on a 12″ motor, lubed and stretch wound. I used a bit of left rudder and left thrust to get a consistent left circle.
This video shows a flight with 1,500 turns on a new 12″ motor. We are moving up onto the spike on the torque curve, so this flight goes much higher than the last one. The first motor fell off during a high flight and I couldn’t find it in the grass. The new motor was still stiff, so the flight starts with several loops. It flies like this with the 12″ motor doubled, but with the motor at full 12″ length, it levels out and makes a high climb. With the motor softened, later flights did not start with looping, but made gradual ascents.
This is a beautiful flight with 1,500 turns on a broken-in motor. Nice, smooth, steady climb, cruise and descent.
To return to the Rubber Band Powered Flying Machines book review page, click HERE.
Gary Hinze

Those are some very detailed instructions, I will look at this again when I build my Lightning Looper.
Bill Kuhl
Making one of these is on my to-do list as well.