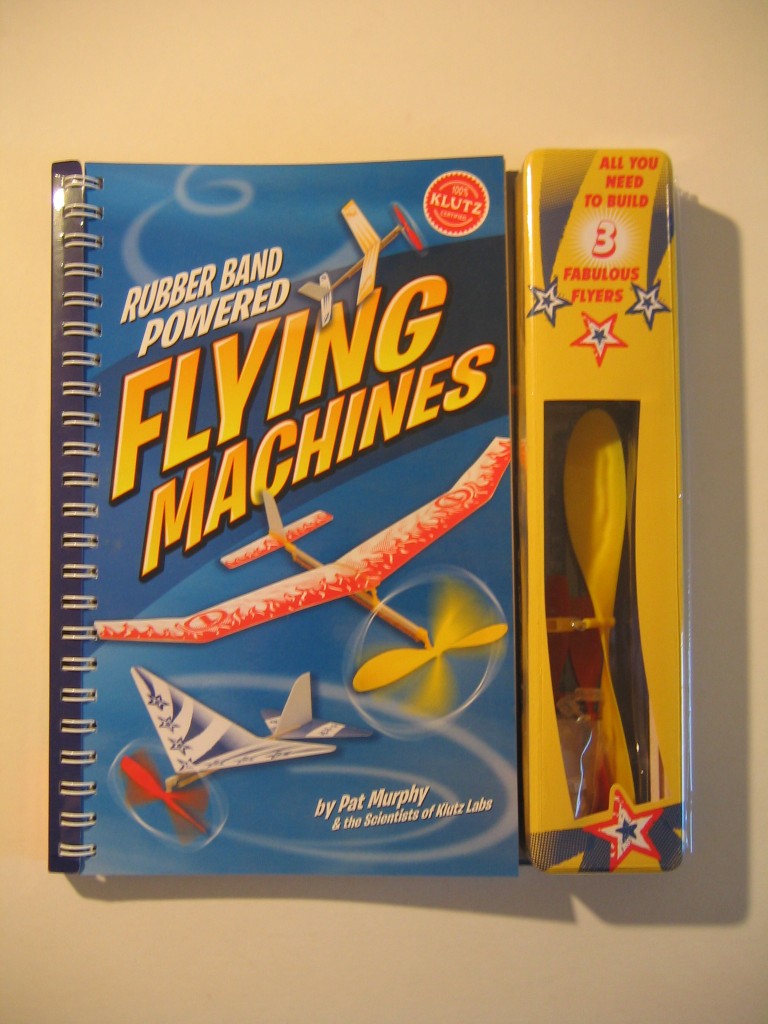
Klutz published Rubber Band Powered Flying Machines by Pat Murphy, an activity book for kids. The book contains parts and materials for making three free flight rubber powered airplanes. To see my book review in another post on EndlessLift, click HERE.
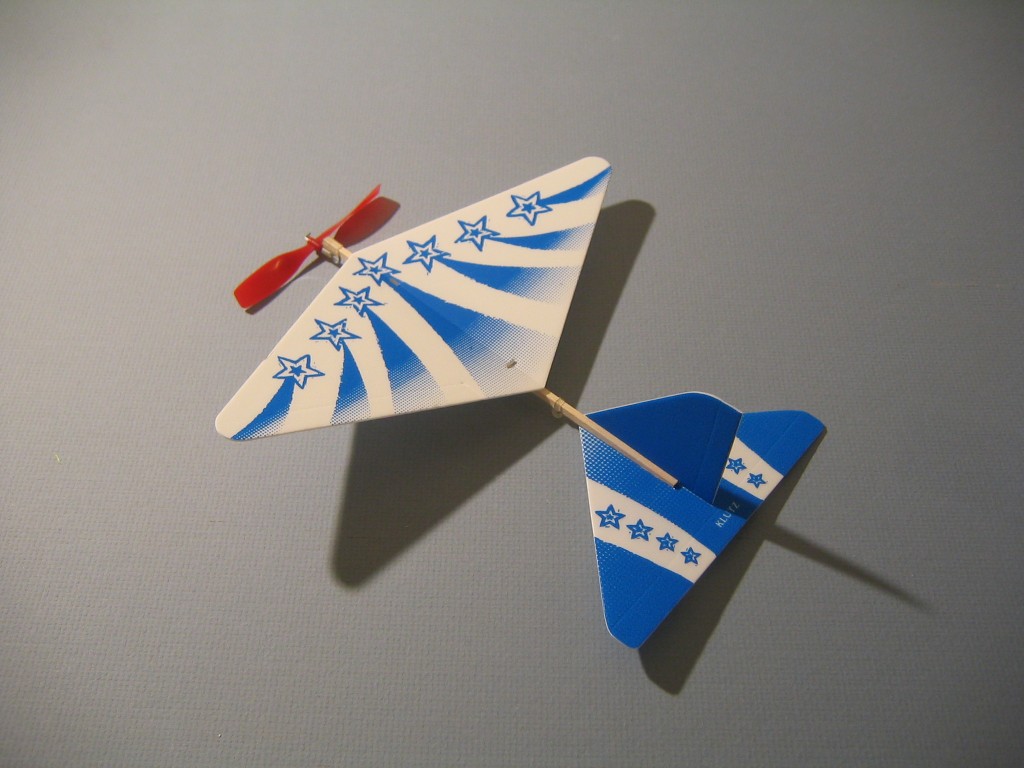
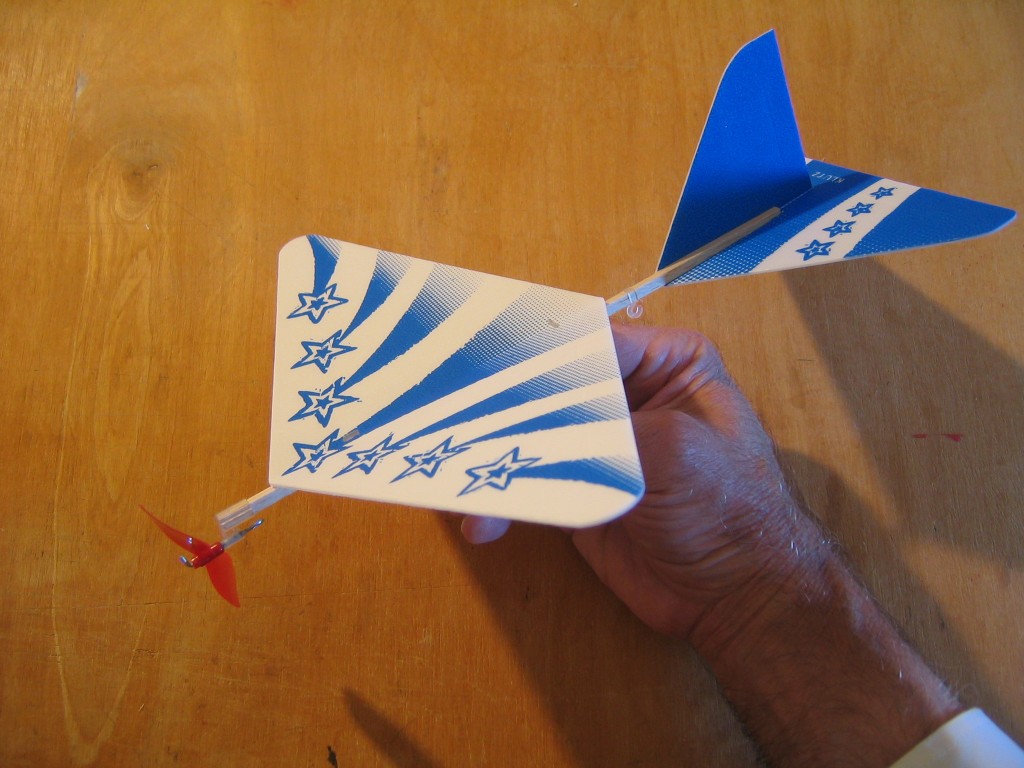
The second plane is the Shooting Star, a foam AMA Cub reduced to a 4″ prop size. It is 9 7/8″ span, 10 1/8″ long and weighs 5.36 grams without the 0.53 gram motor. This was intended to be flyable inside the house. Because of its relatively high weight and flying speed, this is quite a trick, requiring delicate adjustments of wing position, rudder deflection, thrustline, elevator and aileron to balance torque and fly smoothly. I recommend flying it in a gym or outside at first.
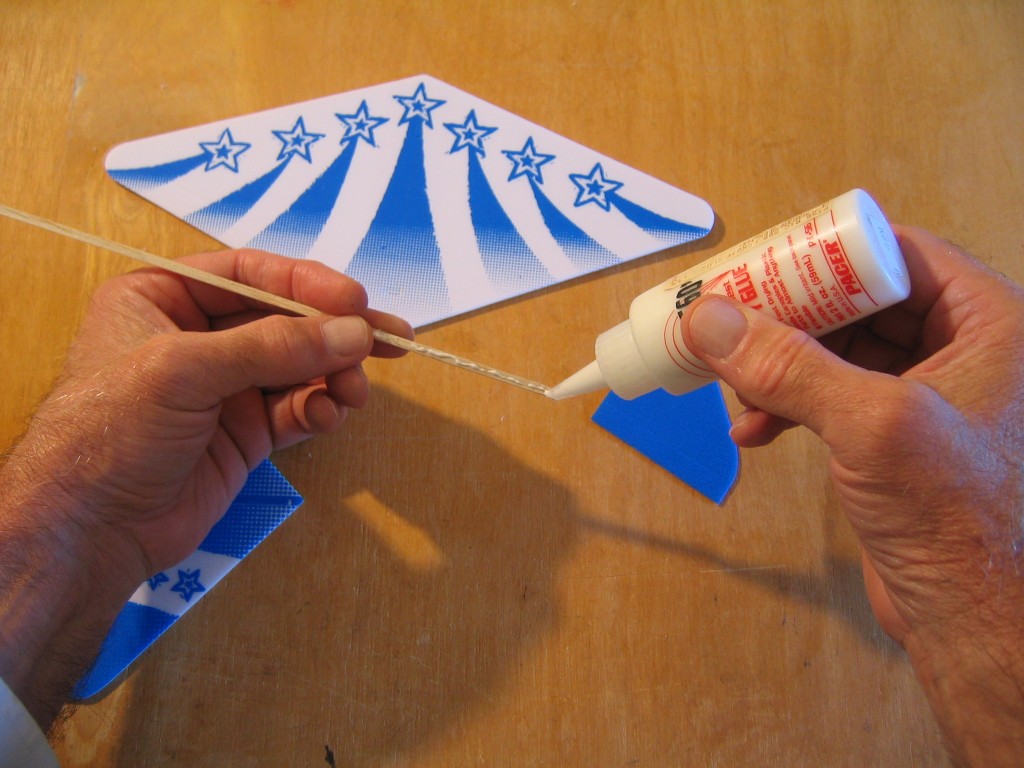
I prefer to use glue to build my Shooting Star. Tape was used in the kit because glue can dry out or leak and can get messy. Glue also takes a while to dry. I prefer glue because it allows more precise positioning of the parts. I found that tape did not make a permanent, strong connection of the wings to their mounts. I have used 560 Canopy Cement because it was formulated to glue plastic to wood. It also uses water as solvent and washes off easily. Other glues might work just as well. Elsewhere on this site you will see that I have been using Aleene’s Original Tacky Glue to build foam Squirrels. Test some of your glue on a bit of scrap foam to make sure the solvent in the glue does not melt the foam.
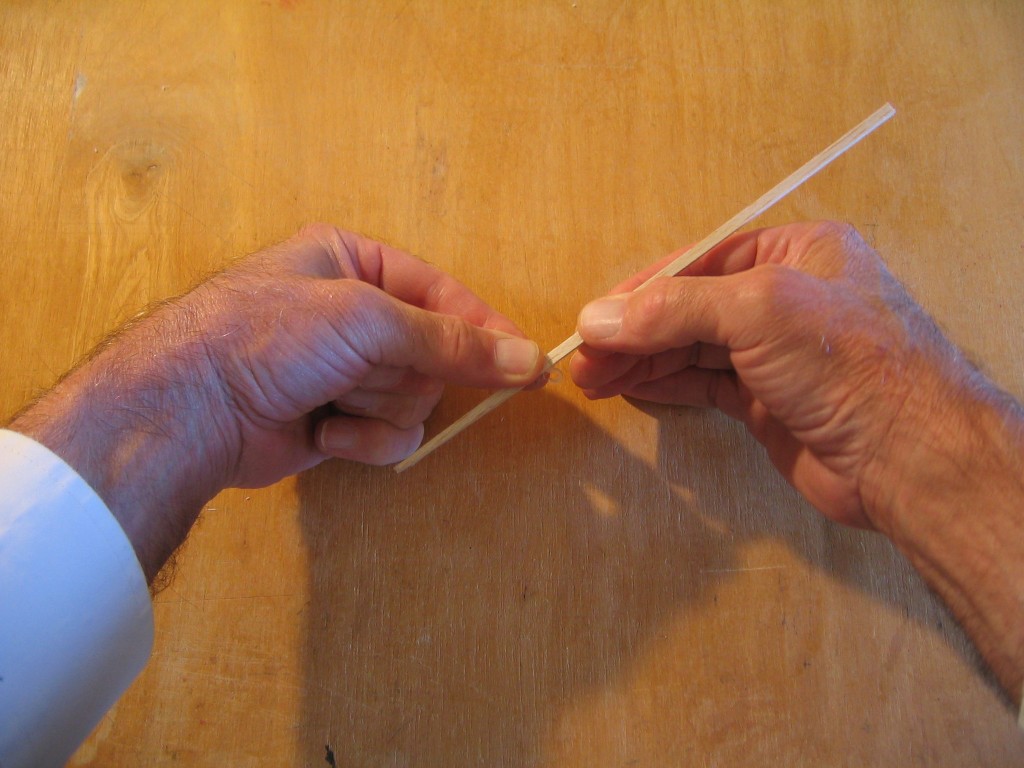
Some early production models have sticks made from light 6# wood that weighed 0.24 gram. This would seem to be an advantage, except that the 3 mm x 4 mm stick breaks easily at the prop hanger when it collides with walls. I recommend at least reinforcing the sides of the stick at the nose with a coating of glue. If the stick can be crushed by finger pressure, the wood is too soft. I have replaced my stick with medium 10# wood, weighing 0.41 gram, that has withstood many collisions without damage. The stick is close to 1/8″ x 5/32″ x 8 11/32″. If you use wood that size, the 1/8″ will be a tiny bit large and will need a little sanding to fit the wing mounts and prop bearing box.
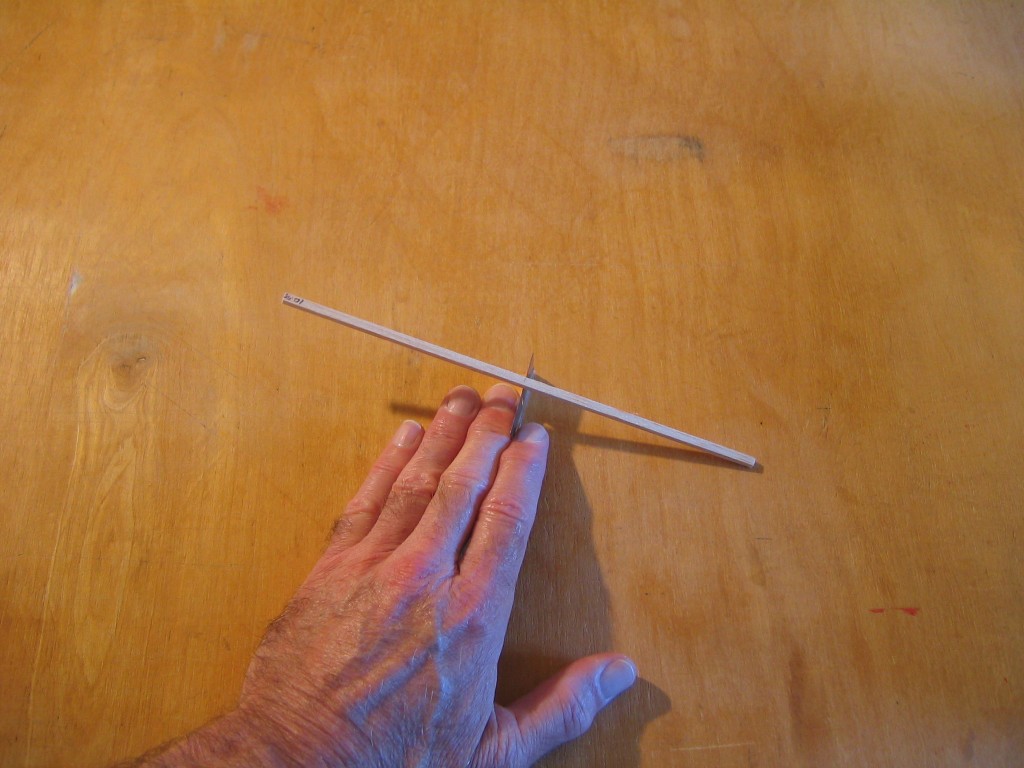
Measure and mark the center of the stick. Balance the stick to find the heavy end. Mark the heavy end. The heavy end will be put at the front. The back end will need to have a tailplane taper cut from the lower corner.
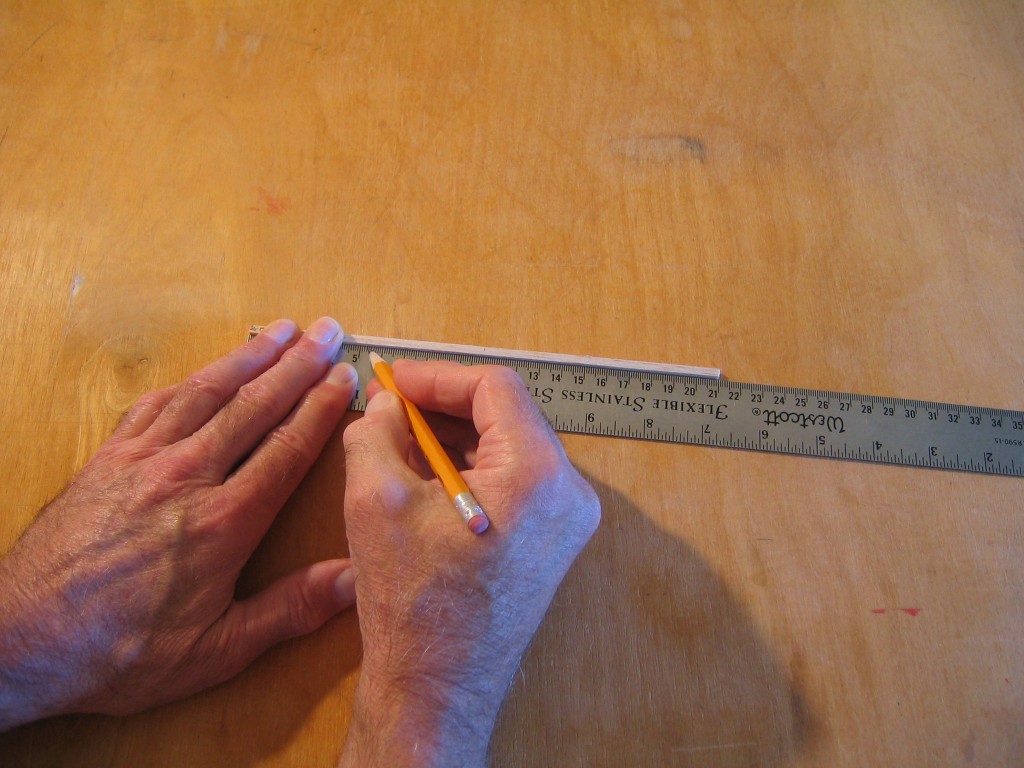
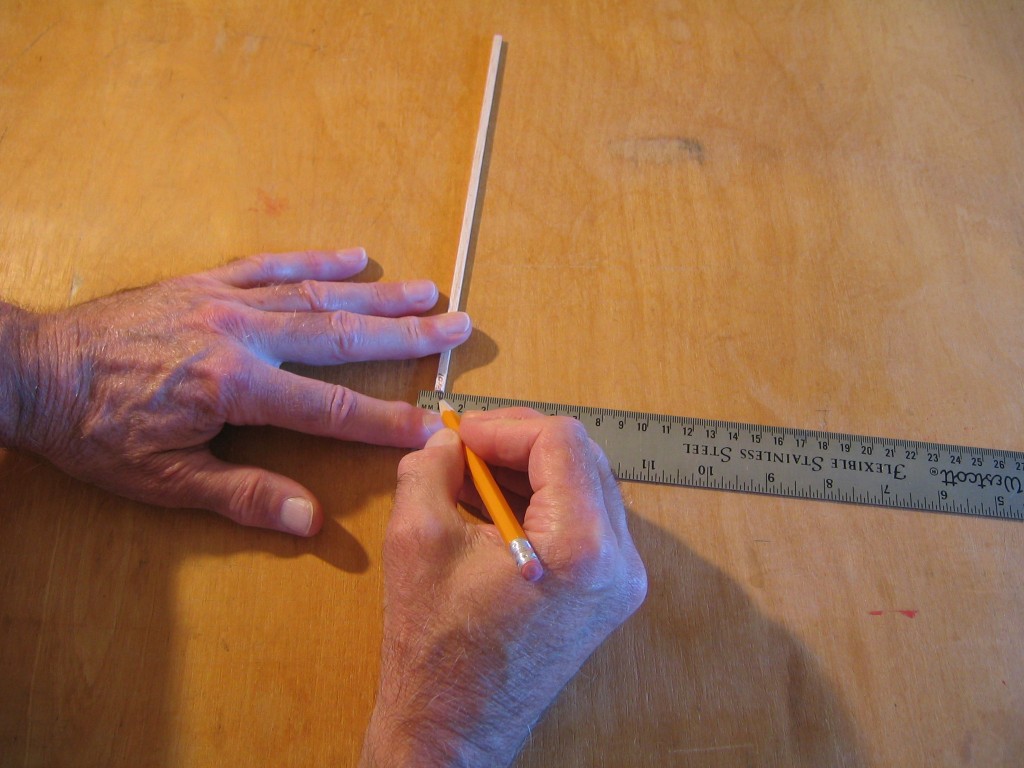
Mark the 53 mm taper length on what will be the bottom edge of the stick.
Mark the 2 mm taper depth on the back end of the stick, that is half the stick height.
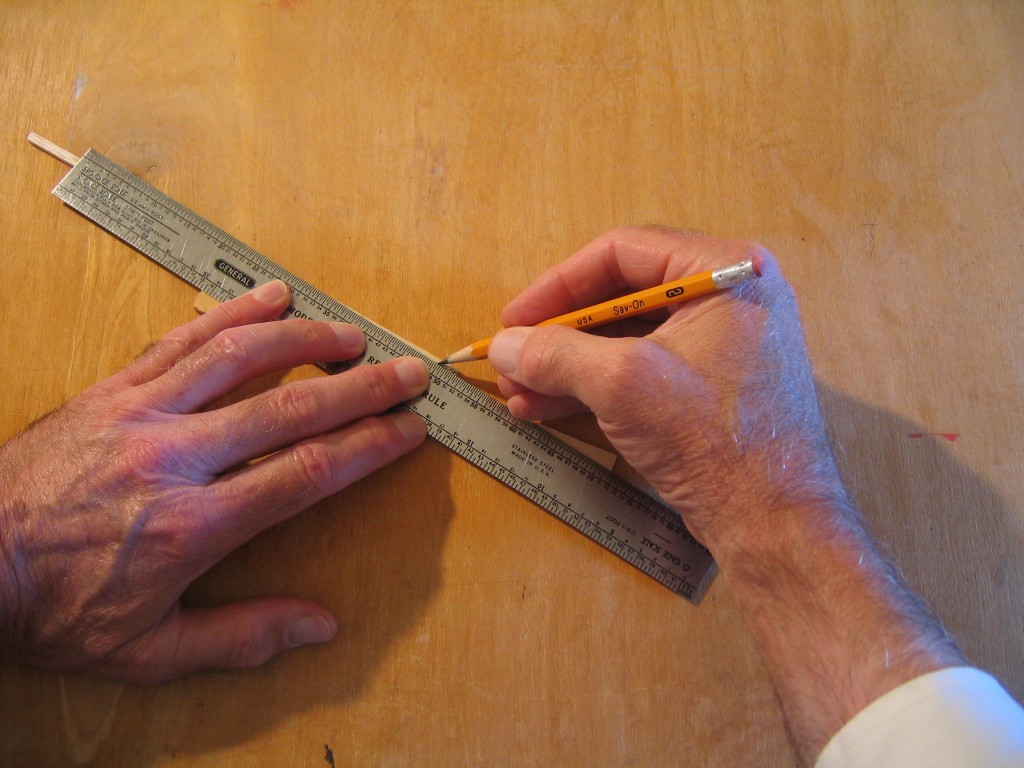
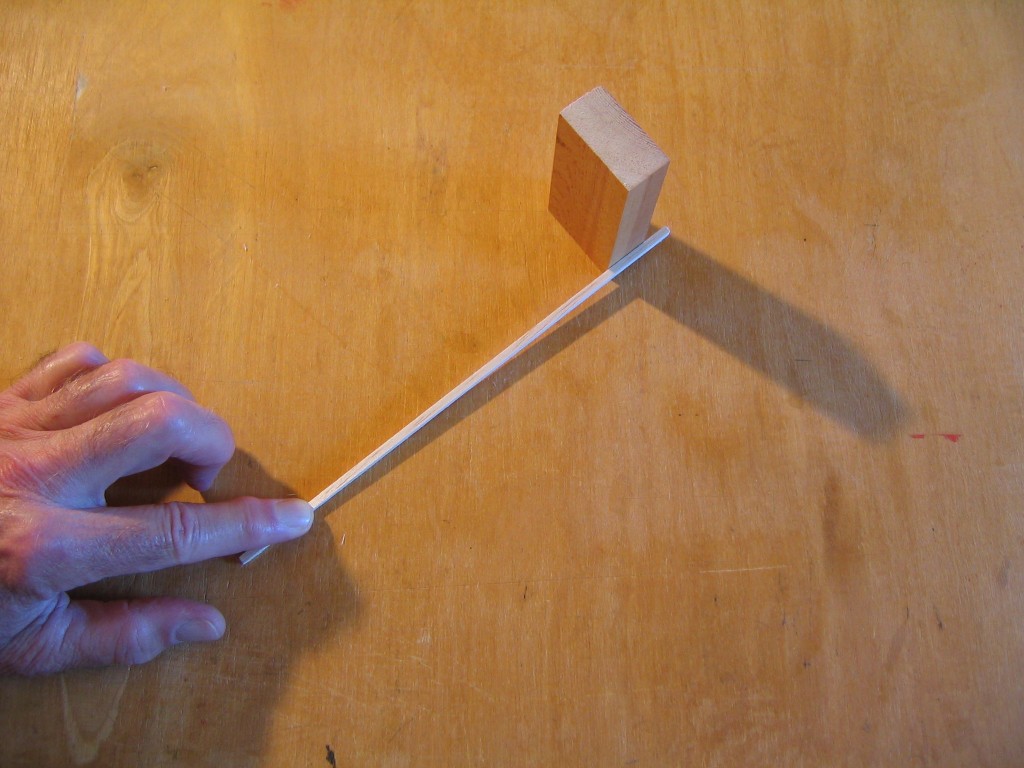
Use another stick to support the rule and use a sharp pencil point to mark the cutting line between the two marked points.
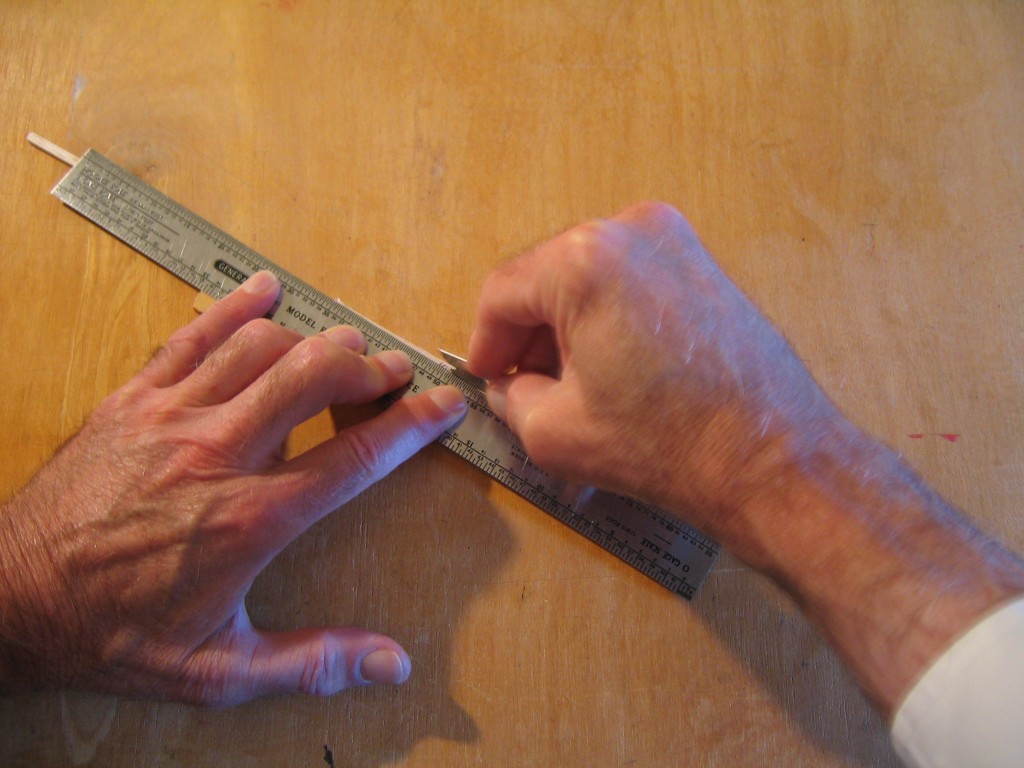
Cut the corner off the stick with a razor, tilting the razor slightly over the rule to avoid cutting into the finished piece. Making several gradually deepening cuts allows better control than attempting to cut it off in one cut.
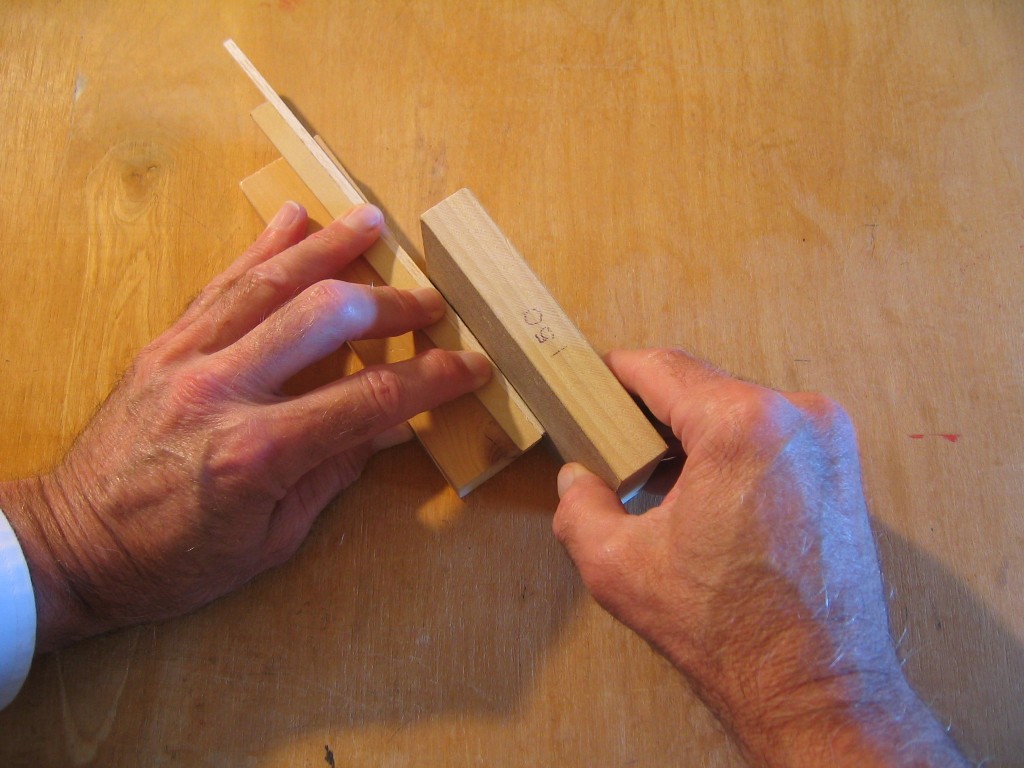
Put the piece up on a block to space it up from the tabletop, back it with another piece of wood and sand the taper down to the line. The sanding block is kept perpendicular to the table. Sand slowly with a light touch to maintain careful control so the taper is flat.
Press the taper face to the table top and check that it is perpendicular to the sides.
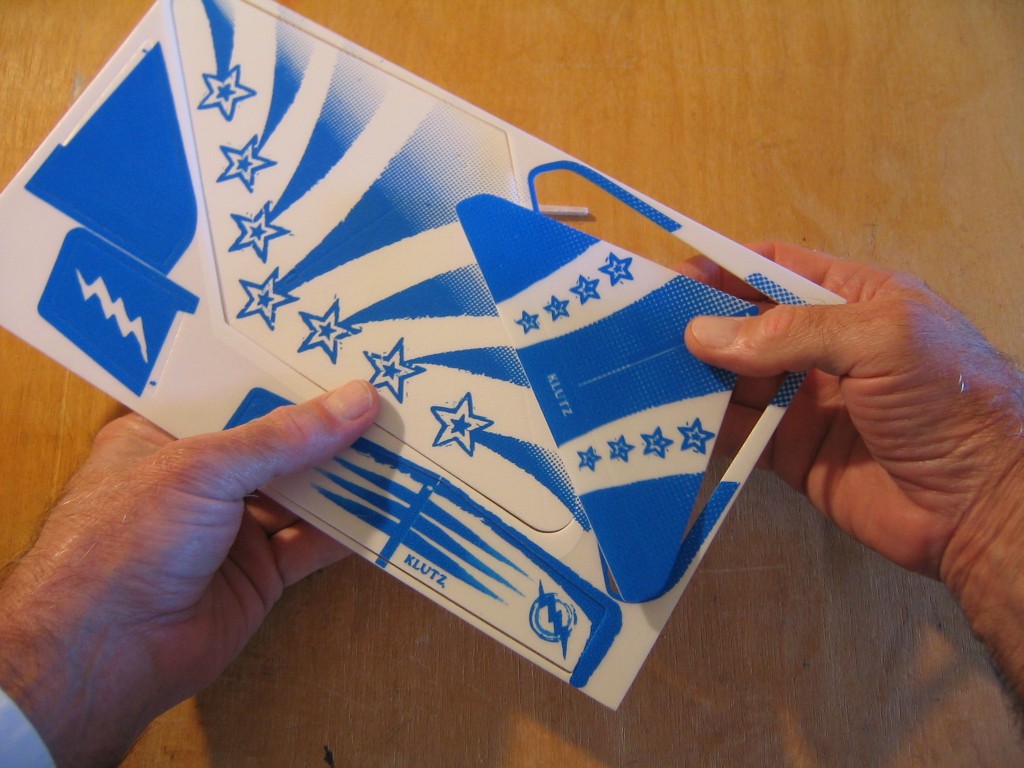
Break out the sheet foam parts. Handle the foam parts carefully, they are soft and fragile.
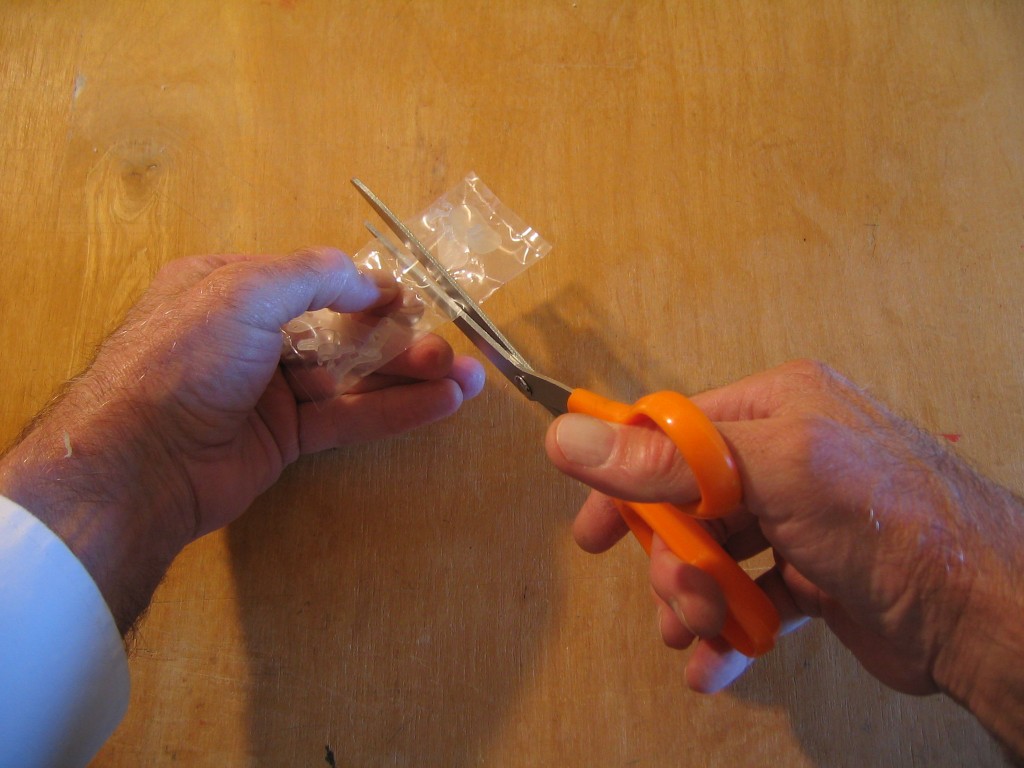
Open the bag containing the Shooting Star plastic parts. The other end contains parts for the Lightning Looper. Be careful about losing the parts, the clear plastic is hard to see.
Slide the motor hook onto the stick, just past the taper. The hook goes on the underside of the stick, the same side as the taper. The opening faces toward the back of the stick, the tapered end.
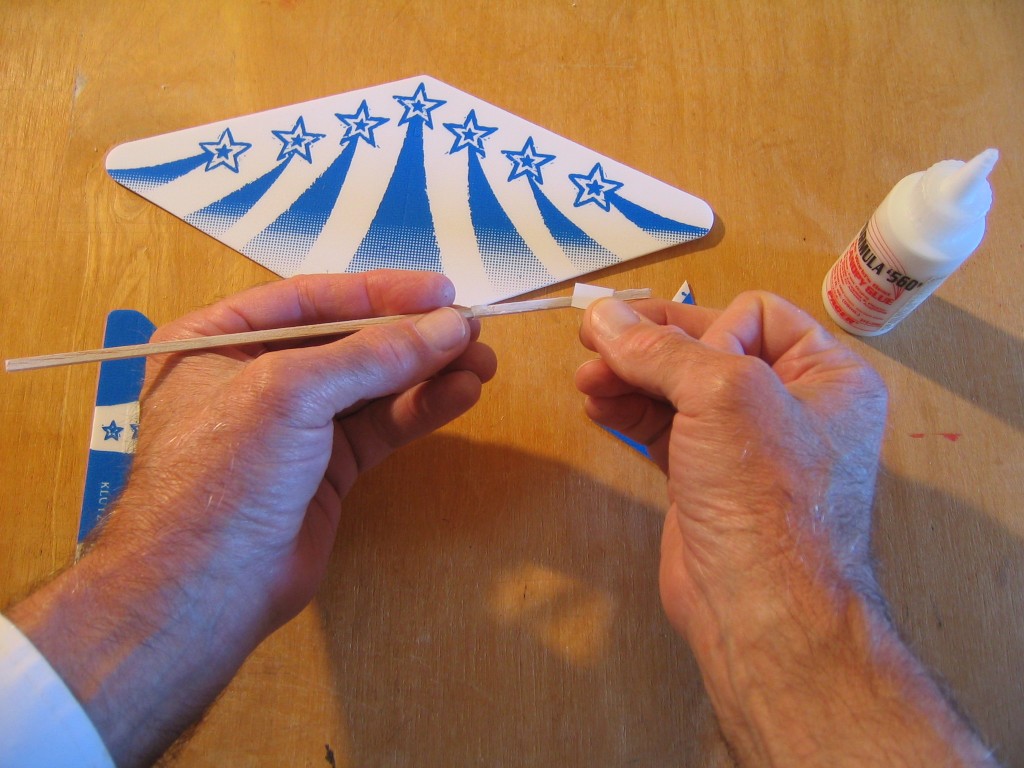
Apply a little glue to the face of the taper. Use only enough glue to uniformly paint the surface.
Spread the glue with a scrap of card or wood to get a uniform film of glue on the surface.
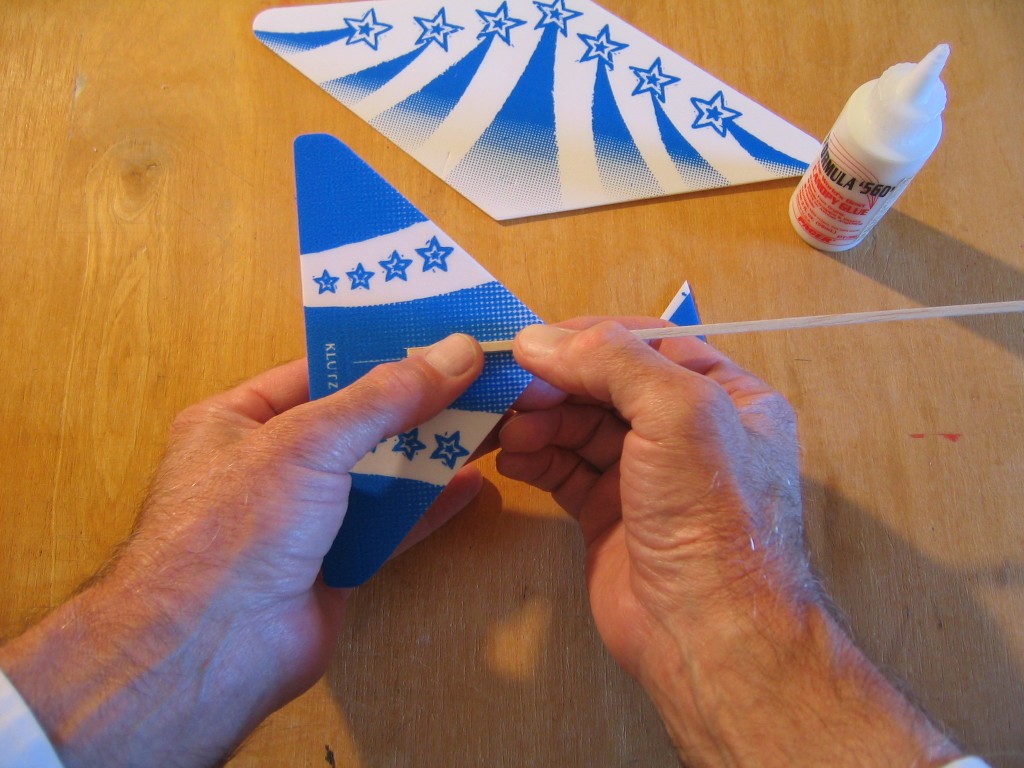
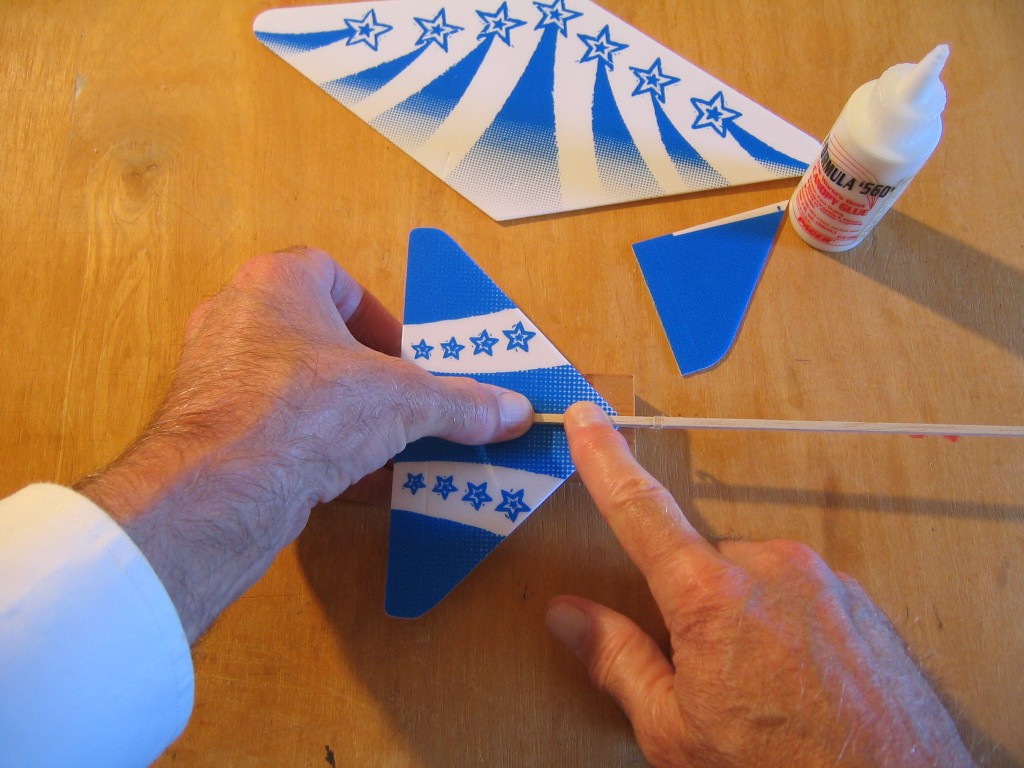
Carefully align the stick with the marking on the tailplane and press it in place.
Put the tailplane on a block to clear the motor hook and press the stick firmly and uniformly down.
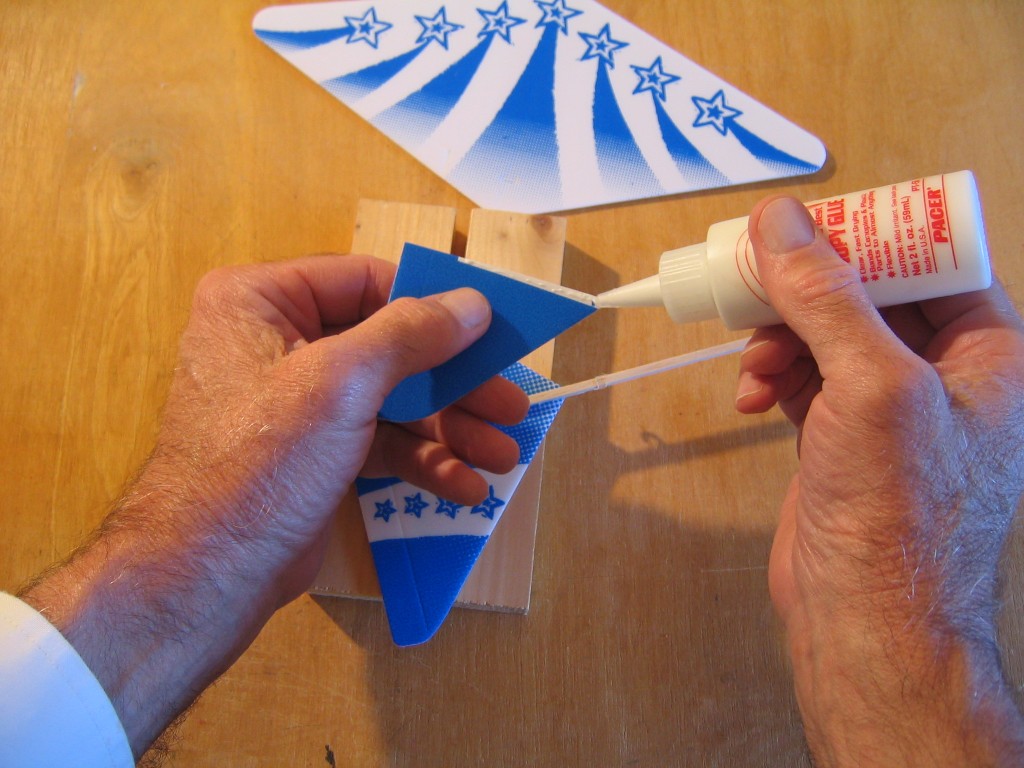
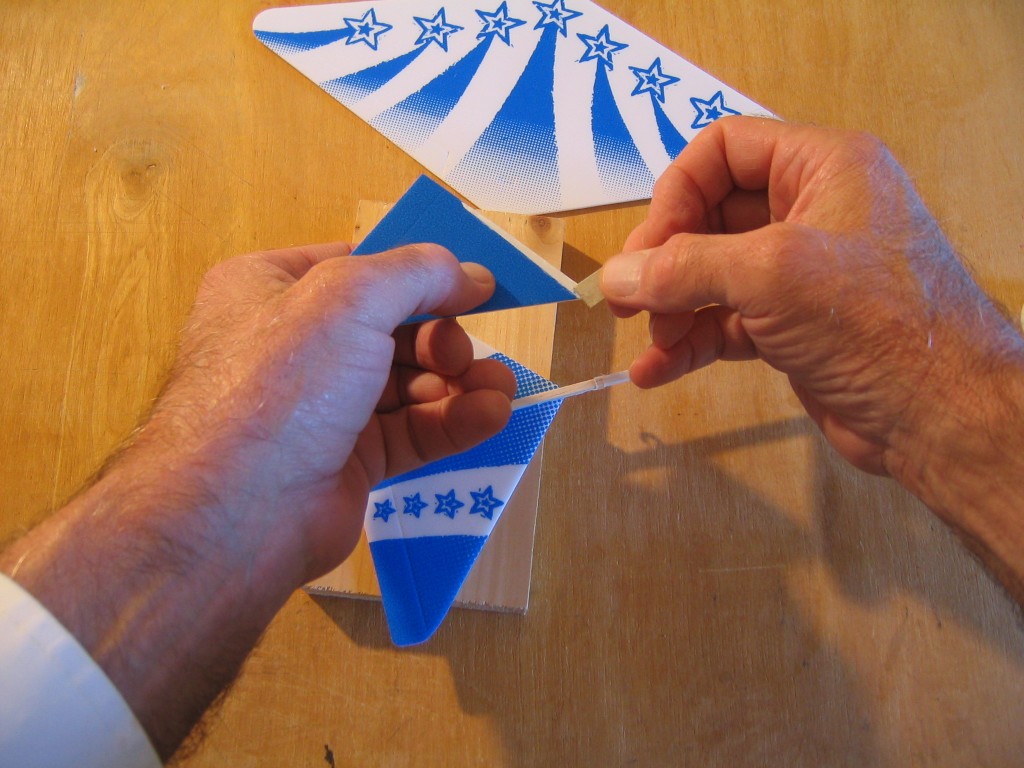
Apply a bead of glue to the white area at the base of the fin.
Spread the glue to a uniform film with a scrap of card or stick.
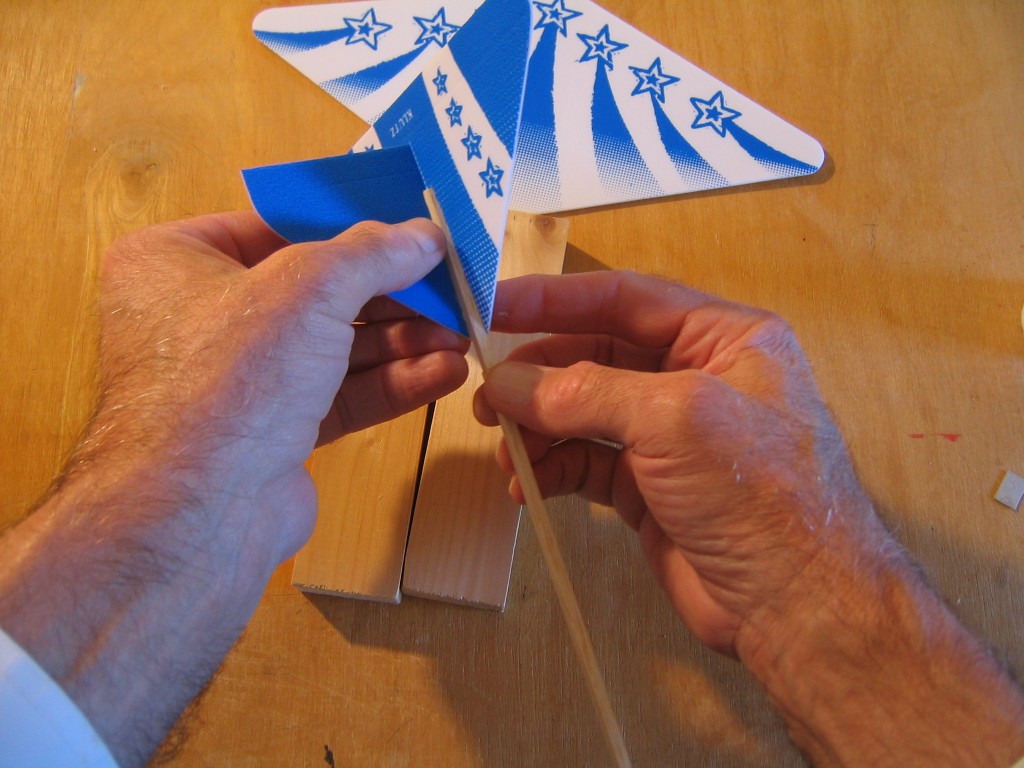
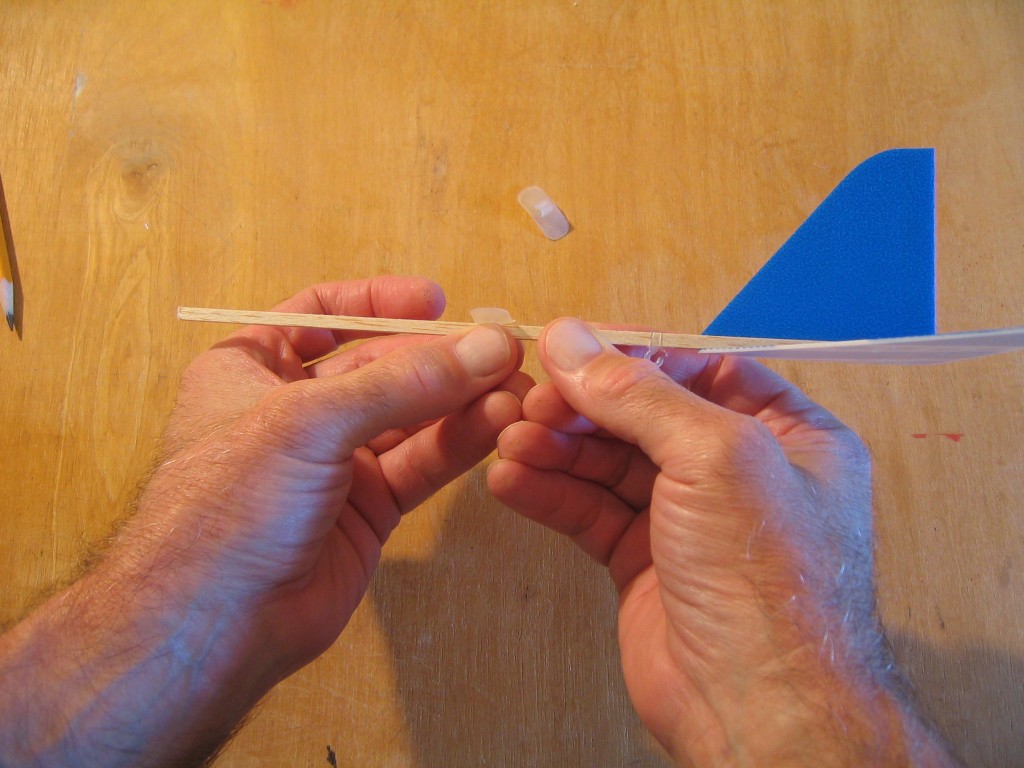
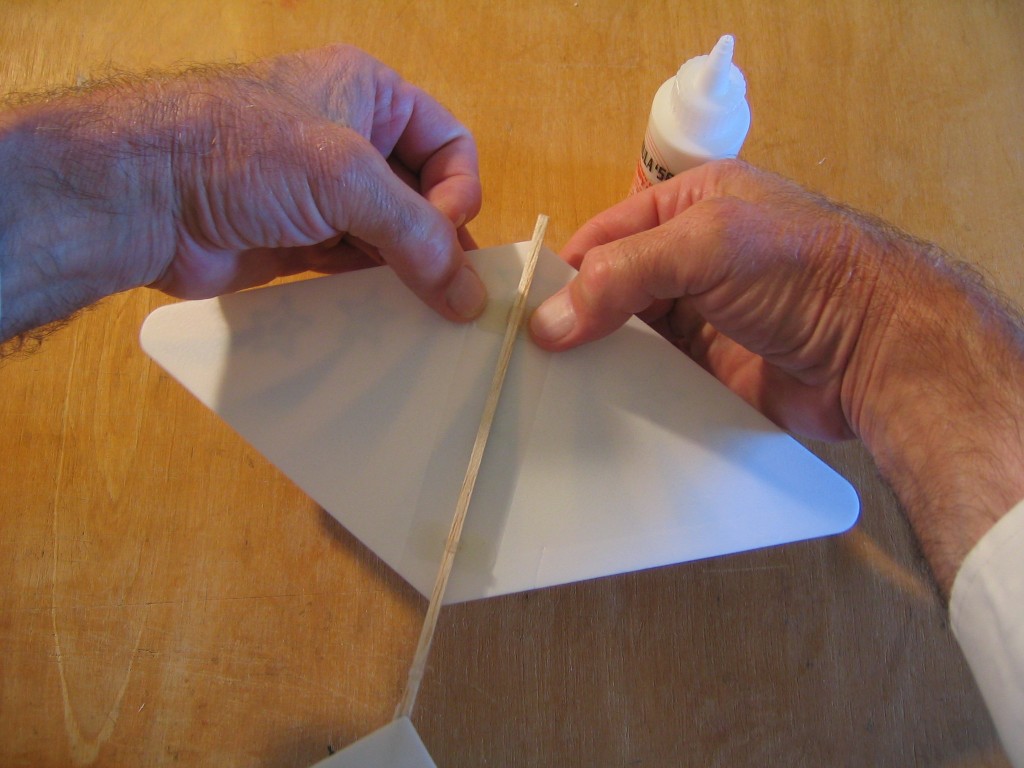
Press the fin in place alongside the stick, with its bottom edge in contact with the tailplane.
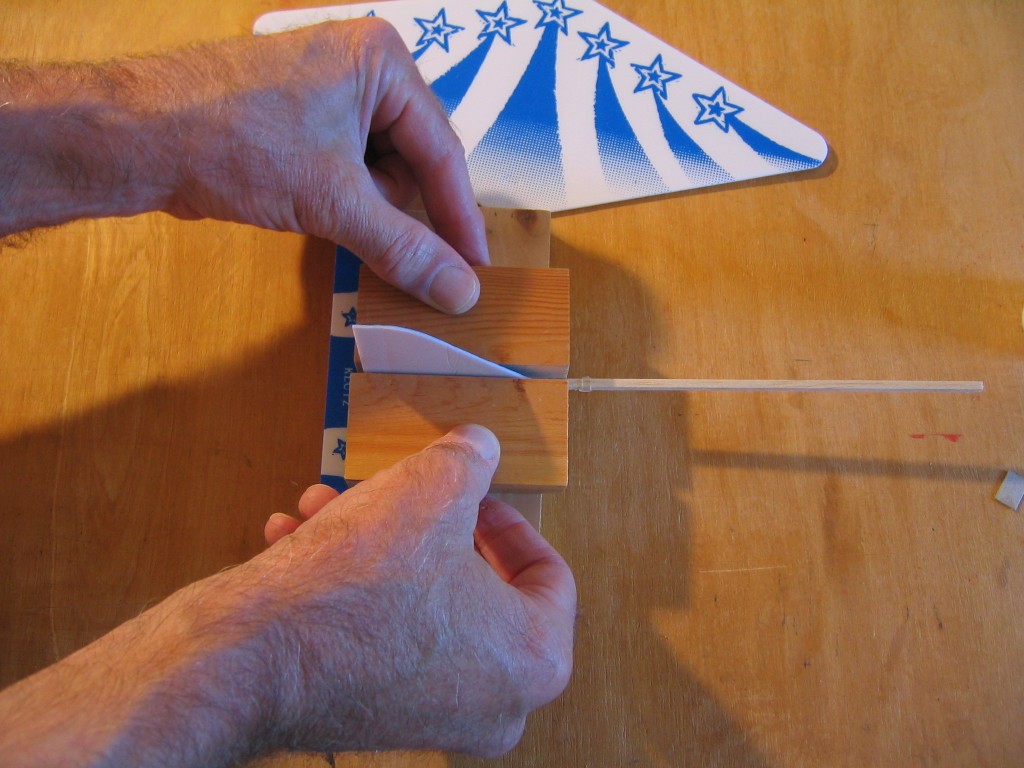
Lightly press the fin between blocks to assure it makes firm, uniform contact with the stick and is perpendicular to the tailplane.
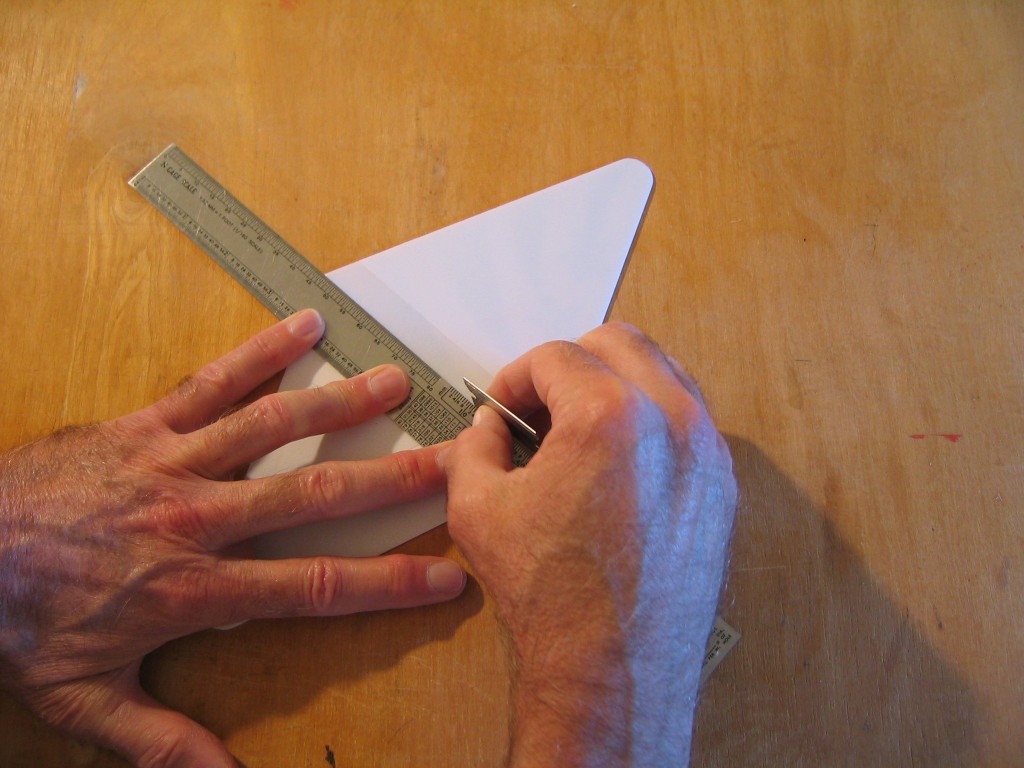
The wing did not seat well in the wing mounts. To make a more crisp dihedral break, I lightly scored the underside of the wing along the centerline with a razor blade. The cut is just deep enough to break the surface.
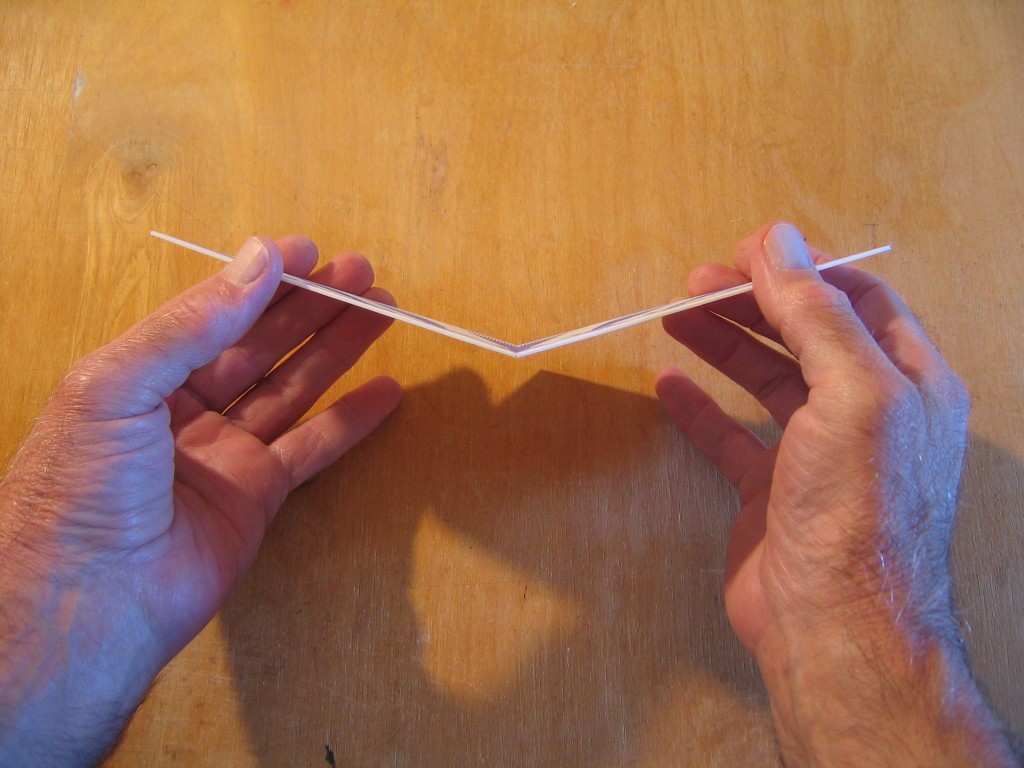
Bend the wing to make the central dihedral angle.
Punch out the holes for the wing alignment pins. Note the different orientations to correspond to the different orientations of the alignment pins. One goes in front, the other in back.
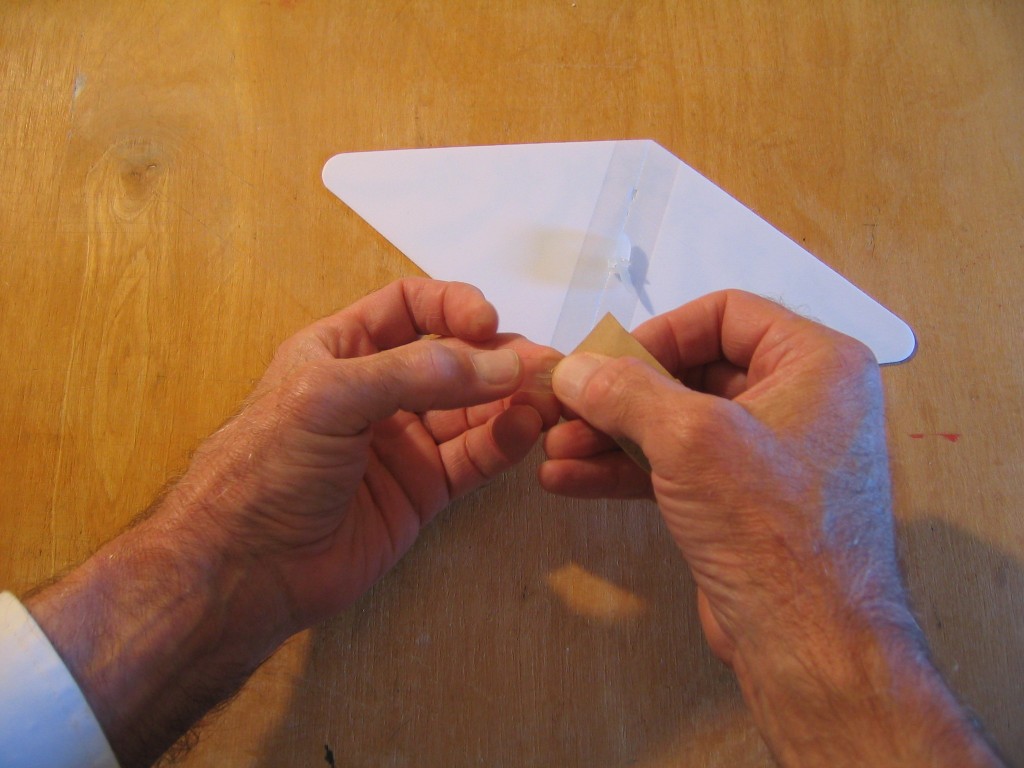
Lightly sand the top surfaces of the wing mounts with fine sandpaper to rough them up a little. This gives better grip to the glue. Wash and dry them.
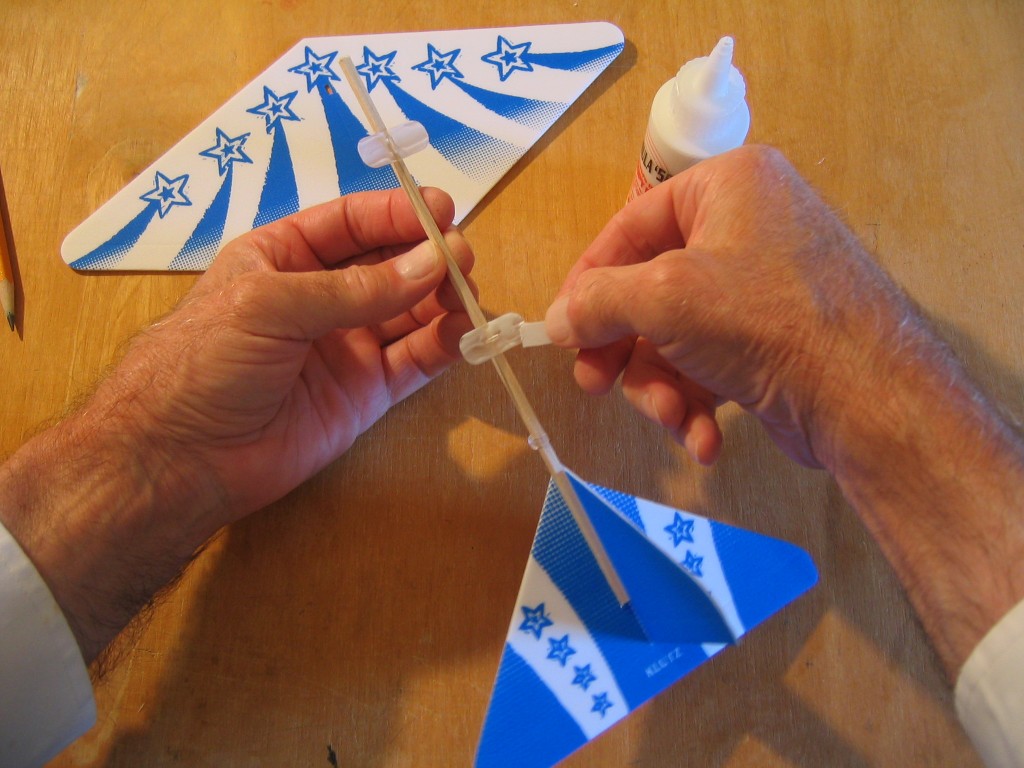
Slide the wing mounts onto the stick. They are different. The back one with the shorter box goes on first.
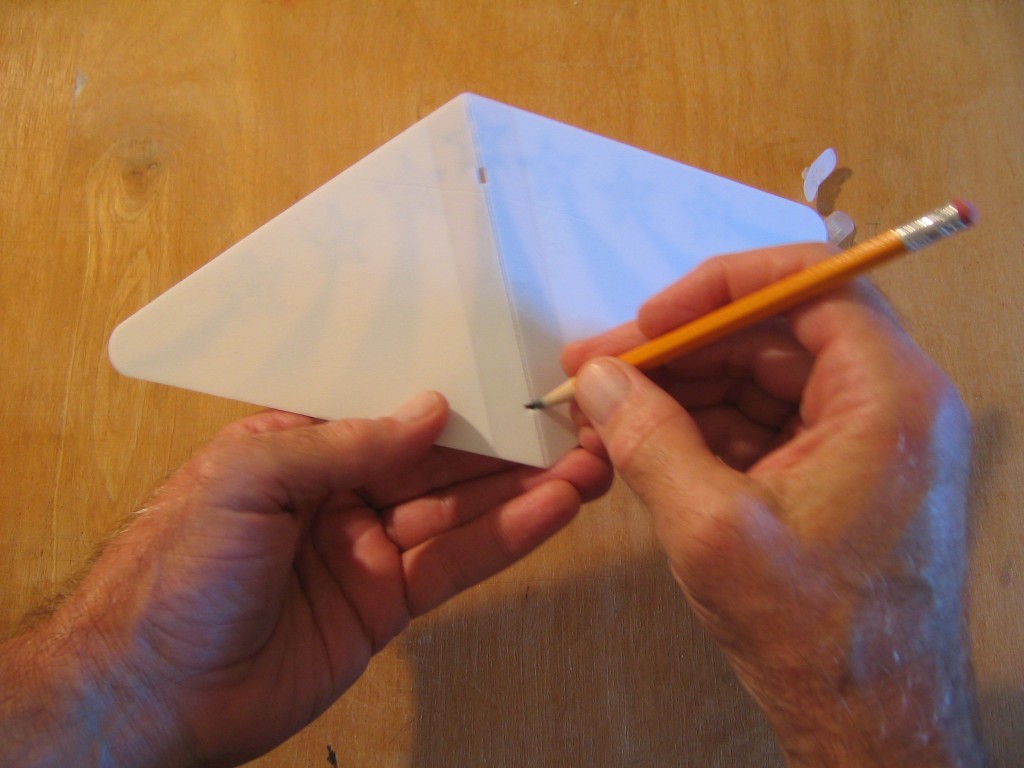
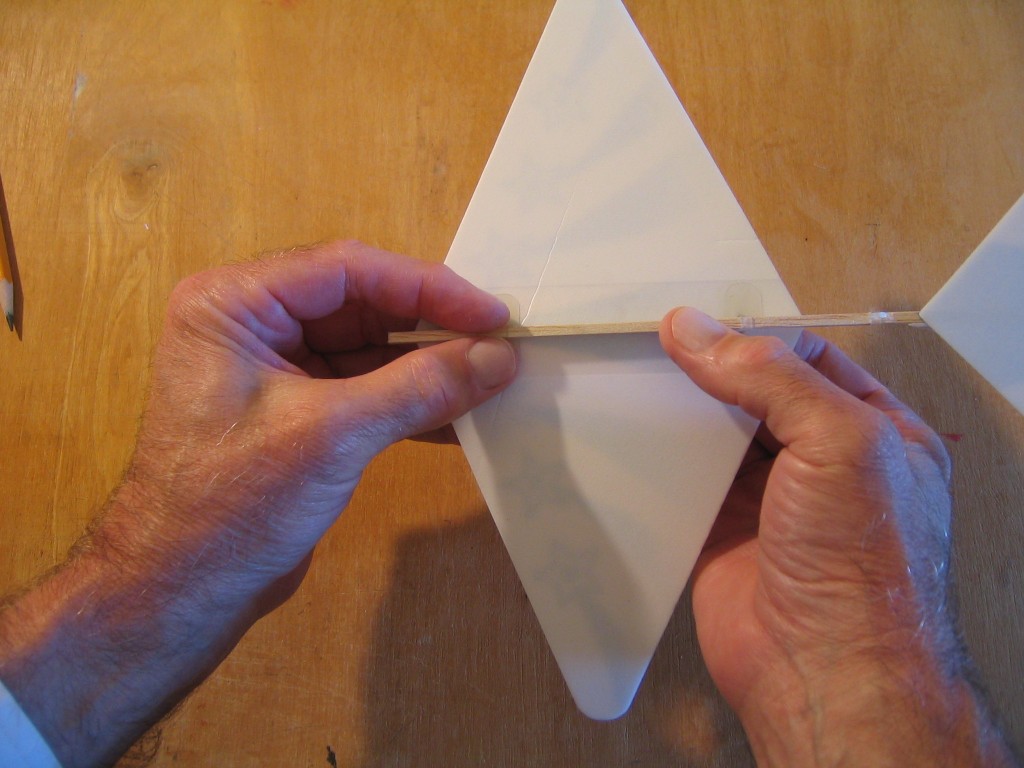
Align the wing mounts with the holes in the wing. Match the orientations of the pins with the orientations of the holes in the wing.
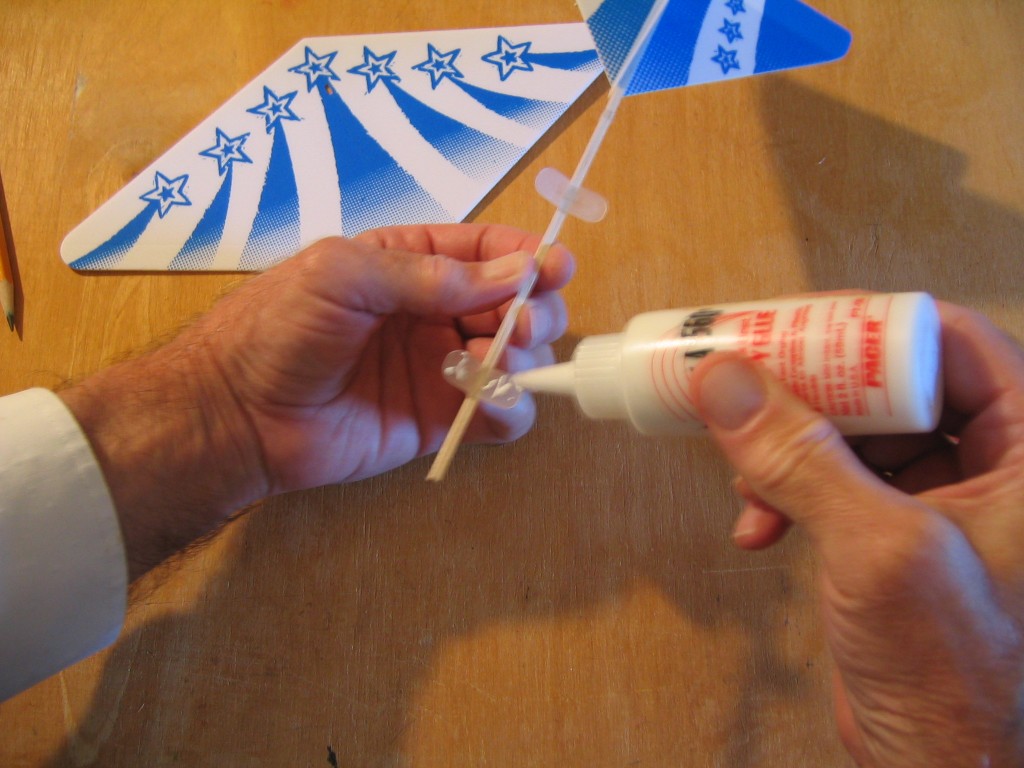
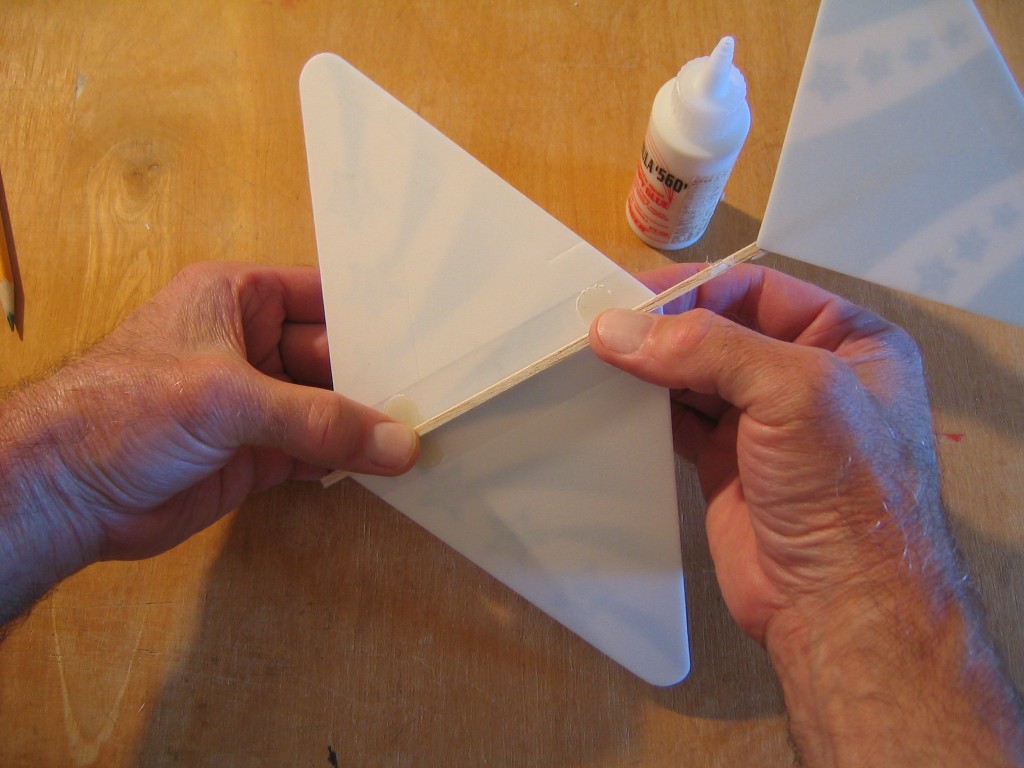
Apply glue to the wing mounts.
Spread it with a scrap of card. Let the glue get tacky. If it beads up, it isn’t tacky enough. Spread it around again until it stays in a uniform film.
Match the orientations of the pins and the slots and press the wing in place.
Squeeze the wing to the wing mounts. Recheck and squeeze again as necessary every minute for a few minutes until the glue has set.
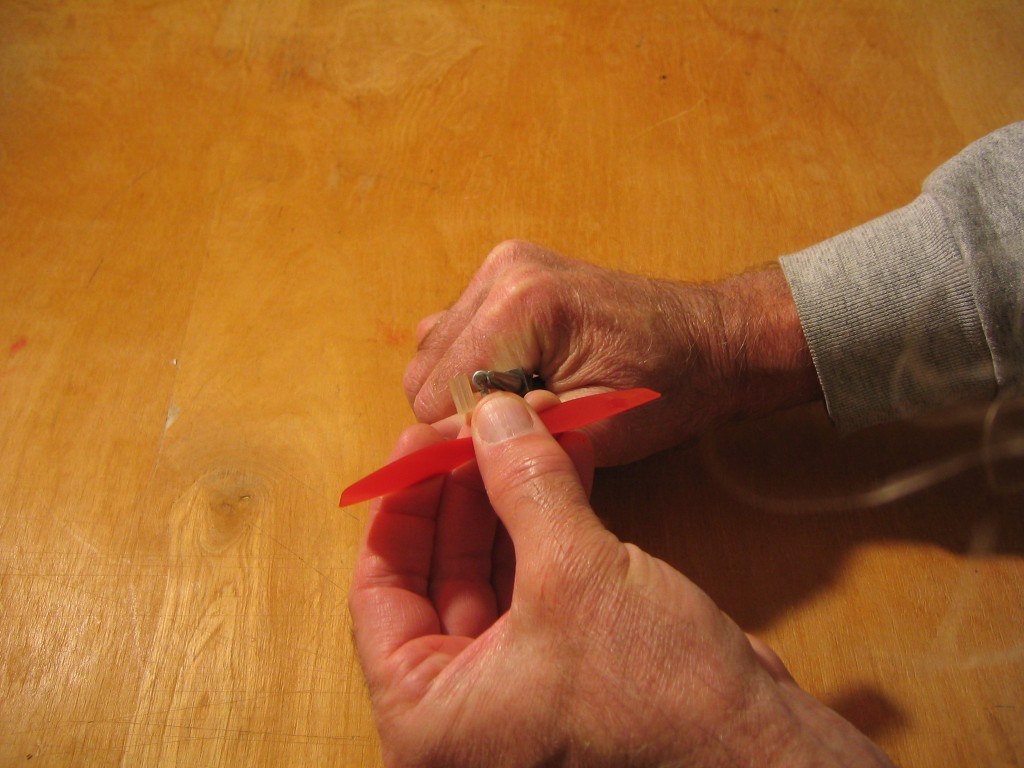
I opened the prop hook a bit to get the motor on without nicking it. If you are going to be using an O-ring, make sure it will fit through the gap.
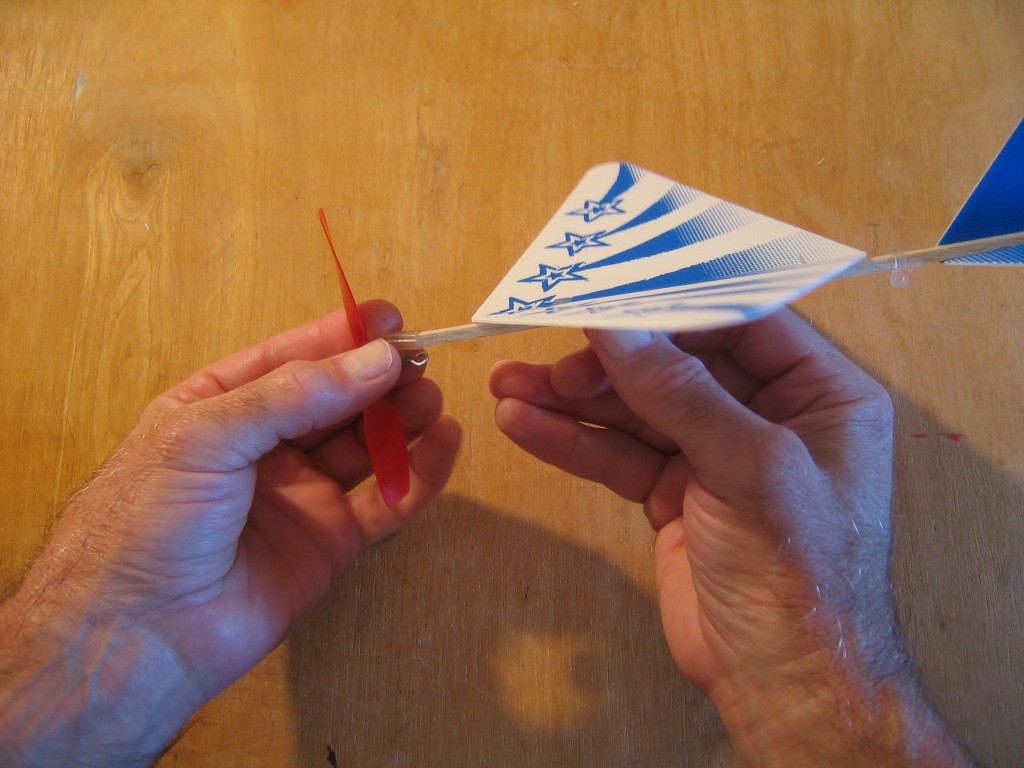
Slip the propeller assembly onto the front end of the stick with the hook down. If you have trouble, press the four edges of the front end of the stick into the board to taper them slightly and try again.
That completes the construction of the Klutz Shooting Star. It is now ready to have a motor installed.
The kit comes with a 38″ length of 0.044″ x 0.065″ Tan Super Sport. When you order rubber strip for this plane from FAI or A2Z, this size is equivalent to the standard 1/16″ width. You are told to make three 6″ motors. I made a 6″ motor and a 12″ motor. For finger winding, use the 6″ motor. The 12″ motor will require a winder and stooge. Use motor lube and stretch wind for most turns. A small O-ring makes it easier to get the tightly wound, slippery motor onto the hook. If you want to loop the plane, double up the 12″ motor and finger wind.
This plane requires very careful trimming and adjusting. It will take many trimming flights to get a good flight pattern. It is good for learning trimming technique, but it requires patience. Wing position is initially adjusted so the plane will glide slowly and steadily. Note the score lines on the left wing trailing edge, fin and tailplane. These are so you can bend the left aileron, rudder and elevator. I find that it is necessary to use a little down on the left aileron to counter motor torque and avoid a left dive into the ground. Bend it down about half the thickness of the foam. That levels the wings, but now it may not circle properly, so a tiny bit of left rudder is required. That can be assisted during powered flight with a bit of left thrust; bend the prop bearing a bit to the left so the prop pulls a bit left. To get the plane to climb steadily without bobbing up and down, it was necessary to move the wing pretty far back. I also used a tiny bit of down elevator to reduce the bobbing up and down, but a tiny bit more will keep the plane from climbing. Balance wing position and elevator to get a steady climb.
This video shows the second to last trimming flight. The wings are level and it is flying in a good size circle, but it is bobbing up and down too much. To correct that, I moved the wing back about another 1/16″.
This video shows a flight with 1,650 turns on a 12″ motor. It took about a dozen test flights to get it to fly this well. I started flying early in the morning when there was no wind. Unfortunately a very slight drift had come up and the flight circle drifted toward the edge of the field. The plane landed high in a tall tree.
Chose the time, place and number of motor turns carefully to avoid losing your plane!
This video shows a flight with the 12″ motor doubled to make a 6″ motor with four strands of rubber. I finger wound 400 turns into the motor. The wing was moved a bit forward and a tiny bit of up elevator was used. No rudder, aileron or sidethrust.
To go to the Rubber Band Powered Flying Machines book review, click HERE.
At the introduction, what do u mean #10 wood in “I have replaced my stick with medium 10# wood”
And also which kind of wood is provided in the Klutz kit (FireBird, Lightning Looper, Shooting Star)?
Thanx
One way to rate balsa wood is by density. Density is usually rated in pounds per cubic foot. 10# wood has a density of 10 pounds per cubic foot. The original wood in the kit had a density of 6 pounds per cubic foot. You can measure and weigh your wood and calculate its density. The density of balsa wood varies with growing conditions. Although toy airplanes usually have wood in the middle to high end of the range of densities, it will vary from kit to kit. The lightest woods are used by expert builders with other light weight components to build very light airplanes. Plastic propellers and components are not consistent with the light woods. The heavier wood worked well with this airplane, so well that I lost it in the top of a tall tree.