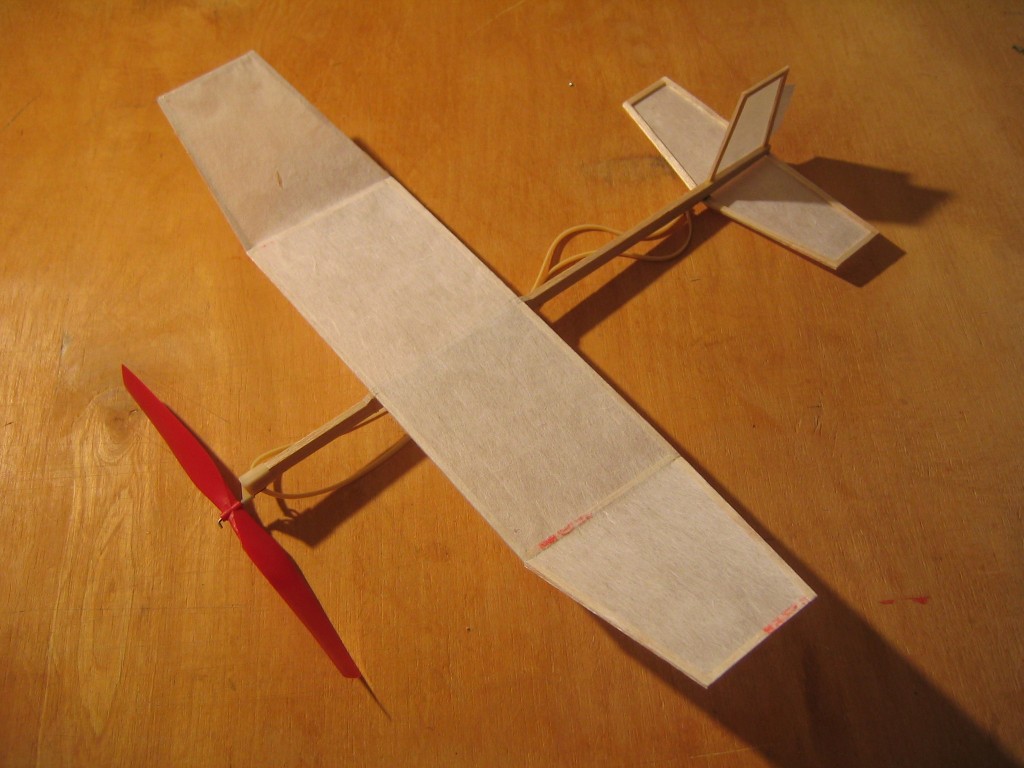
The Denny Dart series was developed by Neil Dennis from the AMA Cub. The intention was to develop a design that was a better flyer, but not much more difficult to build. After building and flying three different versions of the Denny Dart Mk II, I decided to try some changes. The most obvious change is that I replaced the triangular tips with trapezoidal tips. This eliminates the high drag of pointed tips and slightly increases the wing area. I also slanted the dihedral break lines to put some washin on the left wingtip panel and some washout on the right wingtip panel. This gives the left wingtip a bit more lift to keep the inside wing up in a left turn and resist rolling left into the ground when the motor is wound to high torque. The tail surfaces were kept to the same areas as the originals. You don’t need to understand any of this stuff to successfully build and fly this plane.
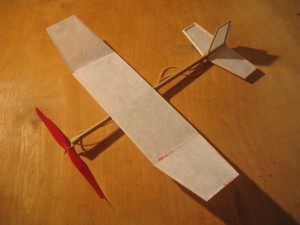
I named this version Denny Dart Mk II H. Not surprisingly, considering its geneology, it is a sweet flyer. You need to be careful how you fly this one; it could get away from you.
The Denny Darts are just as easy to build as the AMA Cub, but may take a little longer because there are a few more parts to cut out and glue. These illustrated instructions take you through the construction of a Denny Dart Mk II H one detailed step at a time. These instructions may also serve as a guide for building techniques of the other marques of the Denny Dart. In the process of building this plane, you will learn many of the techniques of model building that you will be able to use on many future projects.
Clicking on a picture opens it in another window. Clicking on it again makes it larger so you can get a closer look at details. Click your browser back arrow to get back to this page.
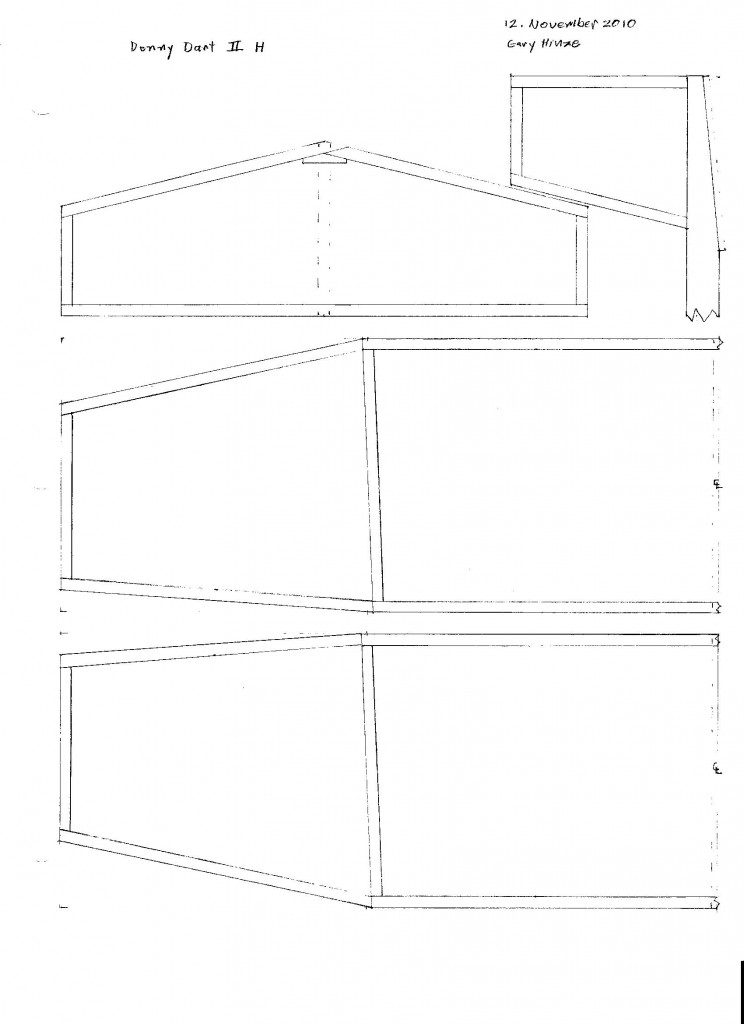
I drew the prototype plans right on the tissue paper. For you to build one, you will need a plan. You may copy and print this plan on 8 1/2″ x 11″ paper. Right click on the plan, then click Save Picture As, then go to your picture file and print it out. You may need to scale it and minimize the margins in your print software to get it the right size. Each wing half is 7 1/2″ long from tip to centerline. The tailplane is 6″ long.
If you have trouble printing this plan, You can make your own drawing easily enough from these dimensions. The 6″ span tailplane has a 2″ root chord and a 1 1/4″ tip chord. There is no center rib, but I did put a 1/2″ long gusset in the vertex. The 2″ span fin has a 1 3/4″ root chord and a 1 1/4″ tip chord. There is no root rib, the fuselage stick forms the base of the fin, just as on the AMA Cub.
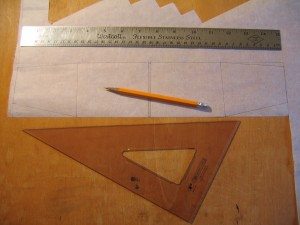
The wing is laid out inside a 3 1/8″ x 15″ rectangle. There is 1/4″ tip sweep back on the top edge and 3/4″ of tip sweep forward on the bottom edge. The wing can go on the plane either way. The center started as an 8″ span rectangle, but the trailing edge points of the dihedral break are moved 1/16″ left and the leading edge points are moved 1/16″ right. They are reversed in the picture because this is a bottom view. Canting the dihedral breaks produces washin on the left tip and washout on the right tip that counters motor torque produced roll. The hard 1/16″ x 1/8″ x 3 5/8″ wing mounting stick must be carefully centered and exactly perpendicular. It takes the place of the center rib. There are no intermediate ribs.
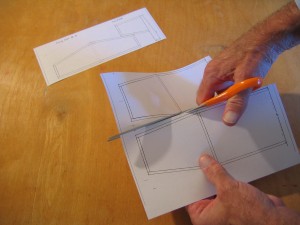
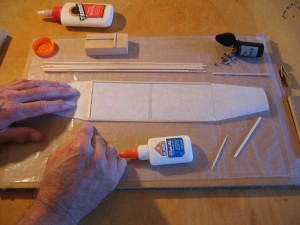
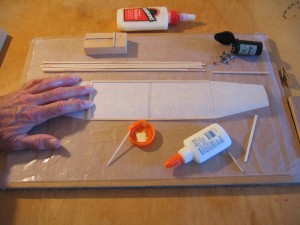
The wing is drawn in two pieces that must be cut out and glued together.
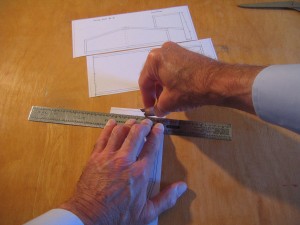
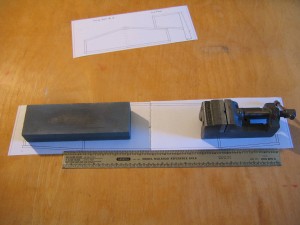
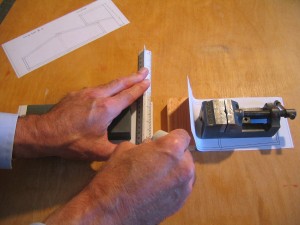
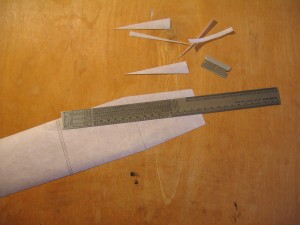
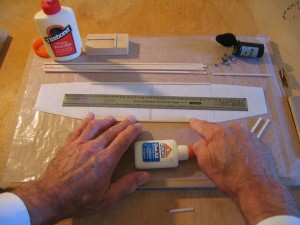
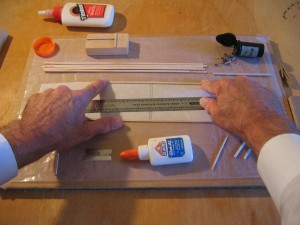
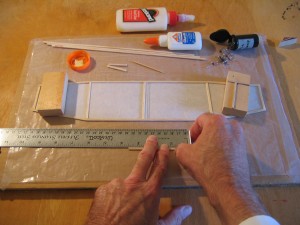
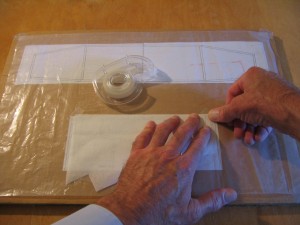
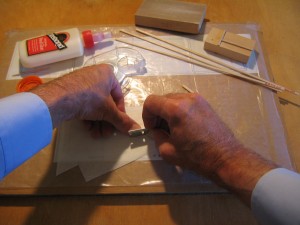
The end is cut off one wing along the centerline, marked CL. Hold down the wing pattern that still has a paper margin with a weight, place the trimmed half on top, line it up carefully so the center lines coincide and the long edge of the wing is straight. Put a weight on top of the second piece to held it securely in place.
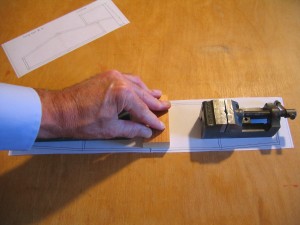
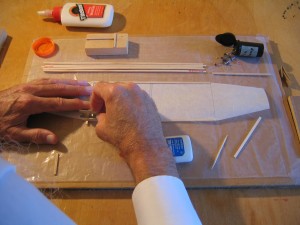
Lift the top sheet and block it up out of the way. Run a thin line of glue over the margin that extends beyond the center line. Drop the top paper down and press it in place.
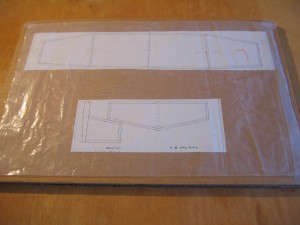
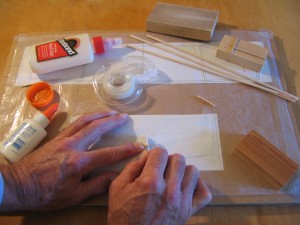
In the usual way, the plans are taped to a building board and covered with a glue resistant cover. This building board is four 12″ x 18″ pieces of corrugated cardboard cut from boxes and glued together. The 11″ x 17″ glue resistant sheet is cut from the plastic bag from a breakfast cereal box. Wax paper is also good. It is taped to the board at each corner and at the midpoint of each edge.
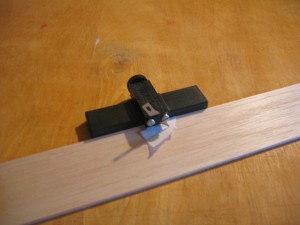
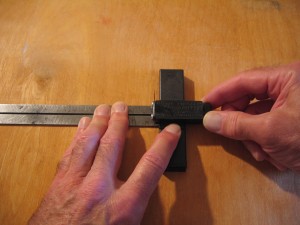
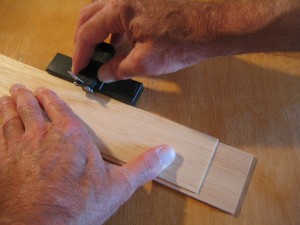
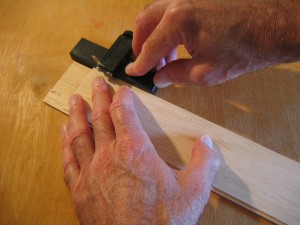
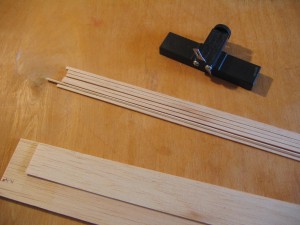
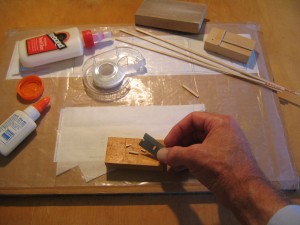
The frameworks for the surfaces are made from the same 1/16″ x 1/8″ strips as the AMA Cub and Squirrel. Actually, you can make Denny Darts from the materials in an AMA Cub kit. You can buy 1/16″ x 1/8″ balsa strip, but it is much less expensive to strip your own from 1/16″ sheet wood, rather than pay someone to do it. Use medium-light wood. The picture shows a Master Airscrew balsa stripper. It has a knife on a movable bridge that allows different spacing between the face of the fence and the blade. You can cut strips in a continuous range of widths. The thin knife can be too flexible at full extension, so I put a spacer sheet under the stock being cut. The blade clamping plate screws are loosened and the blade tip is allowed to rest on top of a piece of thin tissue paper over the spacer. The screws are tightened to hold the blade in place. Set a ruler against the face and adjust the cut width by turning the knob.
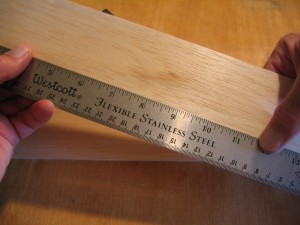
The edge of the stock guides the fence. To get straight strips, you must check the edge of your stock against a straightedge. If it is not straight, use a straightedge and razor blade to carefully make a straight edge.
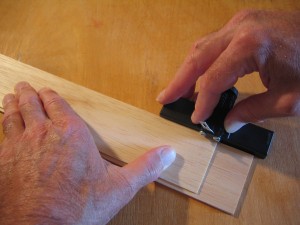
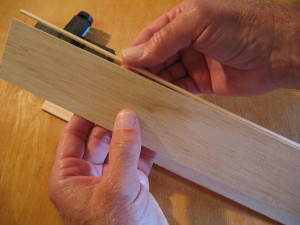
Put the stock on top of the spacer so it overlaps the edge a little. You want the fence to be guided by the edge of the stock, not the edge of the spacer. Start by putting the front half of the stripper flat against the edge of the stock and the cutting edge of the knife against the end of the stock. Slide the stripper along the edge, keeping the fence in uniform contact with the edge of the stock. Cut along the span of the holding hand, then move the holding hand ahead. Always keep the holding hand and cutting hand opposite each other.
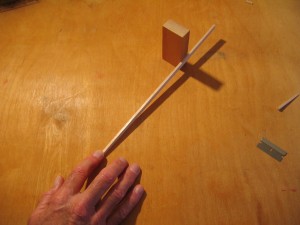
When you come to the end of the stock, keep the back edge of the fence in contact with the edge of the stock. If you apply pressure to the front end of the fence, you may round the corner and spoil the straight cut.
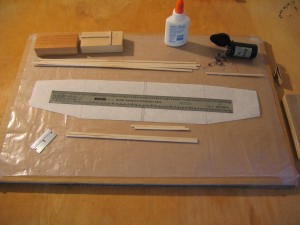
Slight bending will remove the strips from the sheet. Make as many pieces as you need. You will need six 1′ pieces for each plane. You will also need a 3 5/8″ piece made from medium hard balsa.
When I built the prototype, I drew the wing plan directly on the Kozo paper I used for the covering, cut out the paper and glued the sticks right to the paper. That is what is shown in these photos. You will be taping your cover paper over the plan and gluing the sticks to the paper. Other than that, the steps are exactly the same. The covering paper should be thin enough to let you see through it to the plan. The AMA Cub uses onion skin paper. The Squirrel uses tissue paper. Tissue is a little lighter in weight. Paper has a bad habit of shrinking in dry air. The shrinkage can warp delicate balsa structures. Lightly crumple the paper into a ball and smooth it out. The slight wrinkles absorb the shrinkage. (Kozo does not have that problem. It does not need to be wrinkled.)
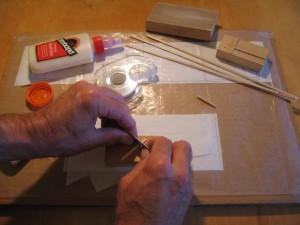
Parts are cut starting from the end of the stock, to reduce waste. Line the stick up over the plan with the end extending just a bit past the end of the drawing. Line the razor blade up with the cutting line. Notice that this cut is made at a slight angle. Press the blade into the wood enough to make a crease. Without moving the stick, mark the cut for the other end with a crease.
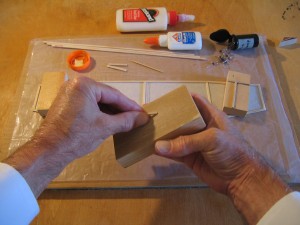
We do not cut wood over the paper covering and plan. That would damage the paper, plastic sheet and plan. The wood is placed on a block of wood, a small scrap of plywood or cardboard to make the cut. Press the blade into the wood straight down or with a slight sliding action. Keep the blade vertical to make a square cut. Harder wood may require rocking the blade or cutting multiple times with the corner point of the blade. The wood for this project is soft, so the cuts should be easy to make. The leading and trailing edge sticks are identical, so you can place this stick on top of a stock piece and mark the ends with razor creases. Save the cut off pieces to make the ribs. One end is already cut to the correct angle, so each rib may be made with a single cut.
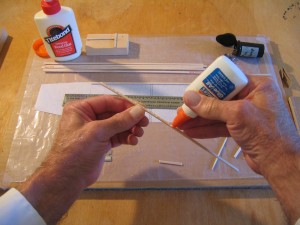
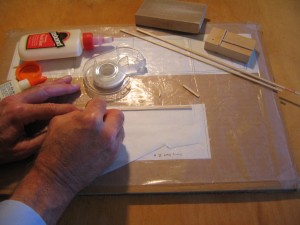
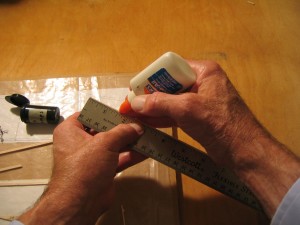
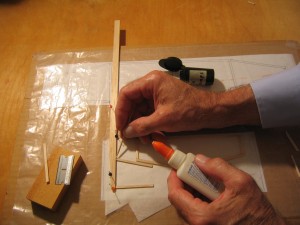
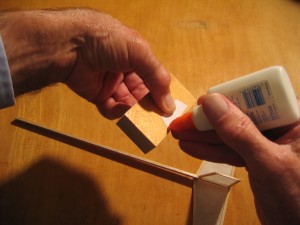
Apply a thin line of glue to the surface of the stick that will be in contact with the paper. Check carefully by placing the stick over the plan before lifting it up to apply the glue. This small bottle with an adjustable spout allows the glue line to be dispensed neatly, using the glue bottle as a pen and a finger against the stick as a guide. Spread the glue uniformly with a small scrap stick or bit of cardboard.
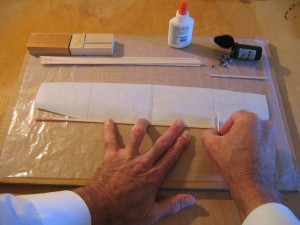
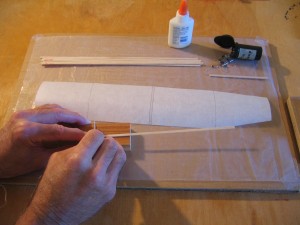
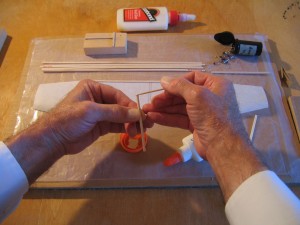
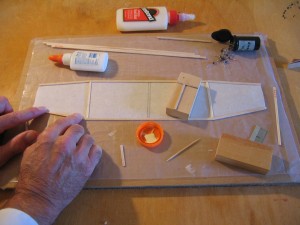
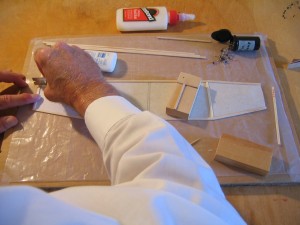
Carefully line the stick up over the plan, hold it down with one hand and run a finger over it to press it firmly against the paper. When you get confident, you can start two fingers in the middle and run them apart to press the stick to the paper. Check to be sure it is placed exactly where the plan shows. If it is not right, don’t try to bend it into place. Peel it up entirely and reposition it. A bent stick will cause a wrinkled covering. Similarly glue the second wing spar in place.
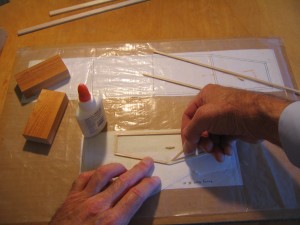
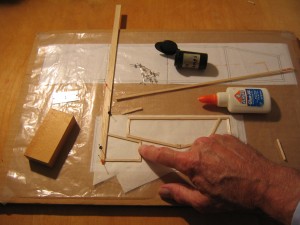
The center panel ribs are made from the two pieces that were left over when the main spars were cut. They already have the right angle cut in one end. Rotate the end until it fits against one of the spars, align it carefully over the plan, mark and cut the other end of the rib. It should be a slight friction fit between the spars. If is too short, there will be a gap in the joint and the joint will be weak. If it is forced in place, the spars will spread apart and the wing will not be flat.
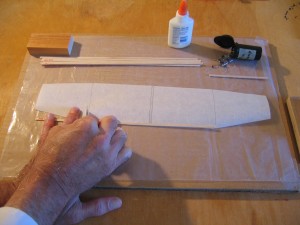
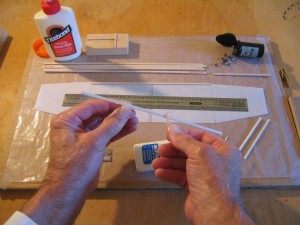
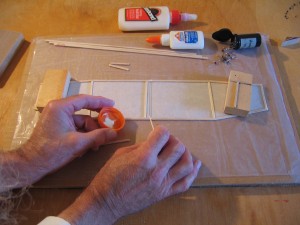
I spread Elmer’s glue on the face of the stick to glue it to the paper, but I used Titebond to glue wood to wood. I put a little in a plastic cap from a milk carton and dab it onto the ends of the stick with a round toothpick. Touch each end to the spars to get a little glue on them and slide the rib into place, aligning it carefully and then press it down. Do the same for the other end of the wing.
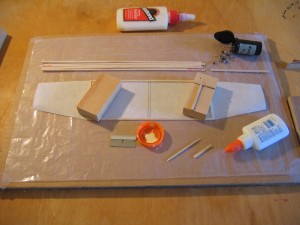
I placed small blocks on the framework to keep it flat until the glue cures. Usually these strips of wood would be held down by the pin clamps shown at the upper right of the building board. These are small disks of plastic punched out of bottle caps, cottage cheese carton lids and other thin High Density Polyethylene plastic. A leather punch makes 1/8″ diameter disks. A paper punch will make larger disks. A pin is pushed through the center of the disk. There is enough friction to hold small balsa parts to the building board. The pin is pushed into the board alongside the stick and the disk holds the wood part snugly to the building board. Pins should not be pushed through thin strips of wood; that weakens the part. Be careful with very soft balsa that you don’t crush the wood with the disk.
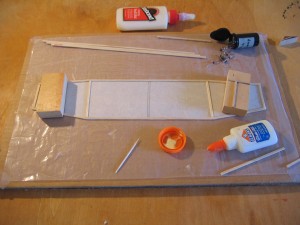
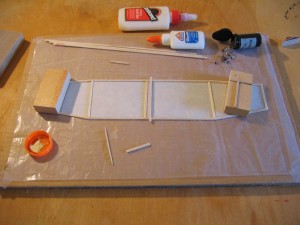
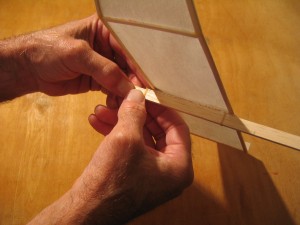
Next cut the leading and trailing edges for both wing tips. Line the razor blade up with the lines to get the correct angle of cut. Glue them to the paper only. Do not glue them to the wing spars. They must be bent upwards and will be glued later to form the dihedral angle. Look at the header picture to see how the wingtips are angled upwards from the center panel of the wing.
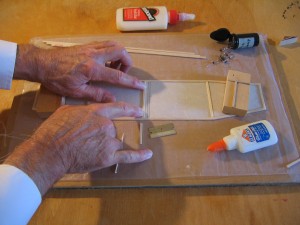
Cut and glue the wingtip ribs in the same way as you did the center panel ribs. Glue the tip ribs to the tip leading and trailing edges. Place blocks to hold everything flat as the glue dries.
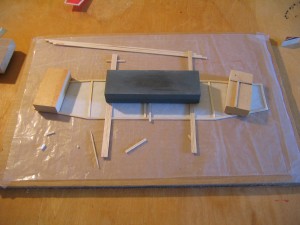
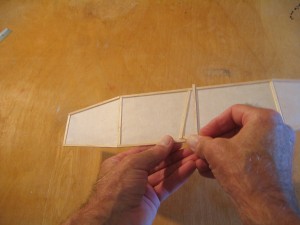
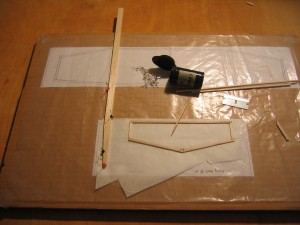
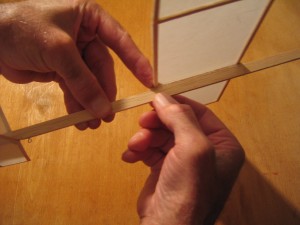
Cut a piece that will be a light friction fit between the wing spars and insert it between the spars, a little to the side of the double line in the center of the wing. Do not glue it in place. The purpose of this temporary strut is to hold the paper flat while we glue the wing hold down stick to the wing spars. The 1/16″ x 1/8″ hold down stick needs to be strong, so use somewhat harder wood. Cut it 3 5/8″ long. (Ignore the 3 1/2″ in the picture, it was just a bit too short.)
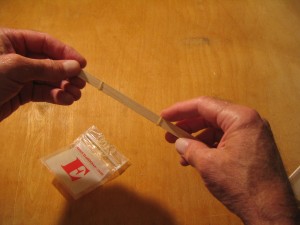
Sand a bevel into both ends of the stick, both on the same side. Sand at about a 40 degree angle and sand until the end of the stick almost disappears. This bevel will allow you to roll dental rubber bands up on the end of this stick to hold the wing to the fuselage stick. You can see this in the header picture.
Place drops of glue on top of each wing spar between the parallel lines at the center of the wing. Place the hold down stick in the glue with the ends projecting equally beyond each spar, line up carefully directly over the parallel lines and press down. The beveled face goes down.
Not only must this stick be precisely perpendicular to the wing spars, it must be absolutely flat. I placed 1/16″ shims on either side of the hold down stick and carefully placed a flat weight over all three to keep it flat as the glue dried. Give the glue plenty of time to dry. You can work on something else as the glue dries.
When the glue has completely dried, push the temporary strut out from between the wing spars. You don’t need a center rib because the wing hold down stick does that job, too.
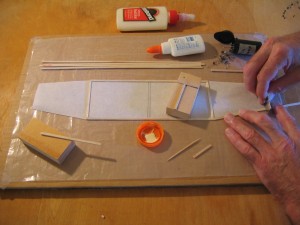
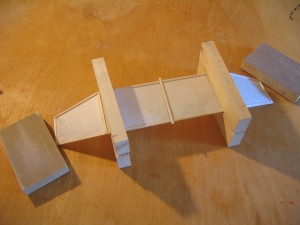
Prop the center panel up 1 1/2″ from the table on blocks. Place blocks on top of the center panel to keep it flat. Bend the tip panels down until the nearest corner touches the table top. Make sure the tip corners touch the table top without force. Place blocks on the tip corners that touch the table top. With the pointed end of a toothpick, work glue down into the four open joints. Get it into the inside corners between the center panel ribs and the tip spars. Let this glue dry completely. When you come back, you will find that the glue has shrunk and there are dimples. Apply more glue to fill those dimples. Neil recommends gluing short strips of paper over these gaps. Let the glue get totally hard before moving the wing. You can work on the fin and tailplane while the glue dries.
The AMA Cub plan is printed right on the covering paper and the sticks are glued directly to the plan. If you can print the plan on the paper you want to use for covering, you can build it that way. Most model airplanes are built by gluing the sticks together right over the plan, but the covering is applied off the building board. In this case, the tissue will be taped over the plan and the sticks will be glued directly to the tissue covering, right over the plan. I started by taping a scrap of Kozo paper over the tailplane and fin plans. This paper does not have a strong grain. If you use other paper, check for grain direction by tearing the paper in both directions. The grain runs in the direction it is easiest to tear. Put the grain direction along the longest direction of the part.
We will start by cutting out the smallest part of the tailplane while we can still get to it on the plan. The gusset at the vertex of the tailplane is made from a 1/2″ long piece of the 1/16″ x 1/8″ strip. Put the strip down on the plan with one end at the end of the gusset drawing and mark the other end with the razor blade. Cut it to length on the cutting block.
Place the piece over the plan and make a crease in line with the back of the spar. Do that on both sides. Put the piece on the block and cut both lines. The finished piece should look just like what is shown on the plan. If it doesn’t look right, trim it or make another. This little gusset strengthens the joint at the front apex of the tailplane.
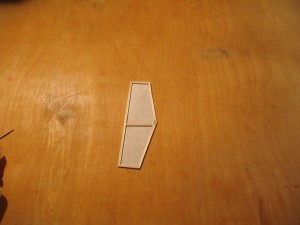
Cut and glue the pieces of the tailplane as you did for the wing. When all the pieces are down, apply some glue to the inside of the front apex with a pointed stick along where the gusset is shown.
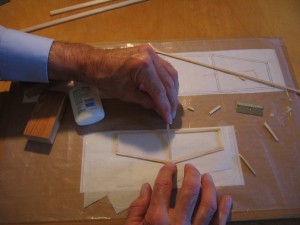
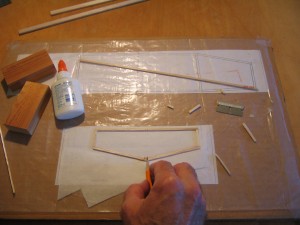
Press the gusset into place with a helper stick. With a pencil, mark the extensions of the parallel lines onto the tops of both sticks. This is where the fuselage stick will be glued to the tailplane.
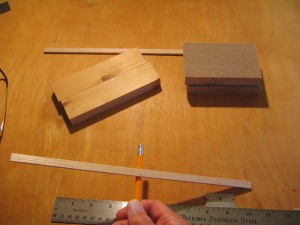
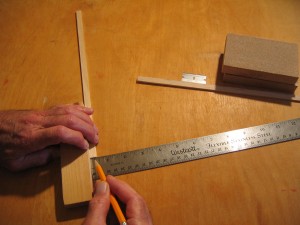
The fuselage stick is an integral part of the fin. We must make the fuselage stick before we can make the fin. It is made from a 12″ long piece of 1/8″ x 3/8″ medium soft balsa. It must have a proper taper cut in the lower back corner to set the tailplane at the correct angle. Mark the center and balance it. The heavy end will be put at the front of the plane, the taper will be cut from the light end. The taper will be 2″ long, so put a pencil mark 2″ from the back end on the lower edge of the stick.
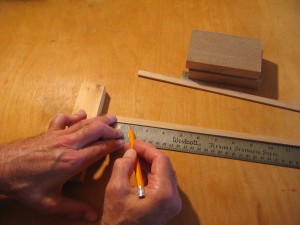
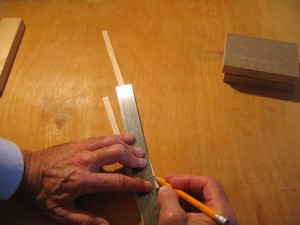
The taper is 3/16″ deep, so put a pencil mark 3/16″ up from the bottom edge of the stick. That is exactly half of the 3/8″ width of the stick. Place a straightedge on the stick with another stick to steady it and mark a pencil line connecting those two marks.
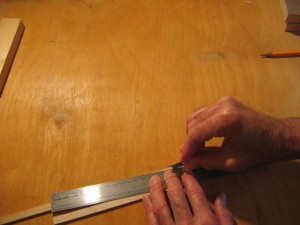
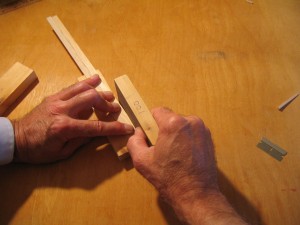
Cut the triangular taper piece off. Lean the razor blade slightly over the straightedge to be sure you do not cut into the finished part. This will leave a little extra wood that will be removed in the next step. It is easy to remove extra wood, it is hard to put it back on. Put the stick on top of a block of wood with the cut taper face overhanging the edge of the block. Back it up with another stick. Place the sanding block with its edge flat on the worktop so the face is vertical. Finish sand the tapered face down to the pencil line. You may start with 100 grit paper and sand quickly until you get very close to the line, then finish with finer 150 grit paper, sanding with slow gentle strokes and light pressure to get more precise control.
Place the taper on the tabletop and press it down firmly. Check that the stick is perpendicular to the surface. Put a thin line of glue along 2″ of the top right edge of the back of the stick, opposite the taper. This glue will hold the bottom edge of the fin covering paper to the stick. (This is similar to the AMA Cub, except that the paper will be held by a thin line of glue, not glue all over the entire width of the stick.)
Put the motor stick down on the paper over the plan so the end of the stick corresponds with the end of the drawing of the stick, right below the fin. Press it down and pin it in place. Next the sticks forming the fin framework will be cut and glued on. The glue joints at the base of the fin must be strong. Sanding the sticks on the ends that join the motor stick so they are flat and square will make strong joints.
After gluing them in place, put glue all around the base of the stick to form a fillet. The glue joint at the base of the fin must be strong. Cut and glue the top of the fin in place. Let the glue dry.
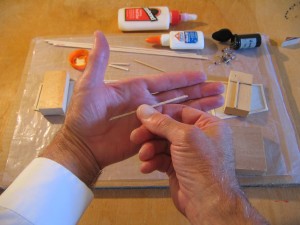
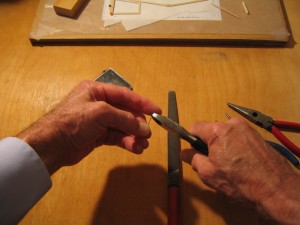
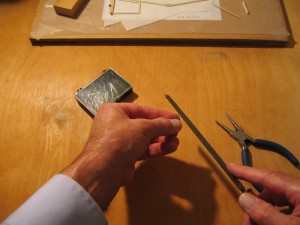
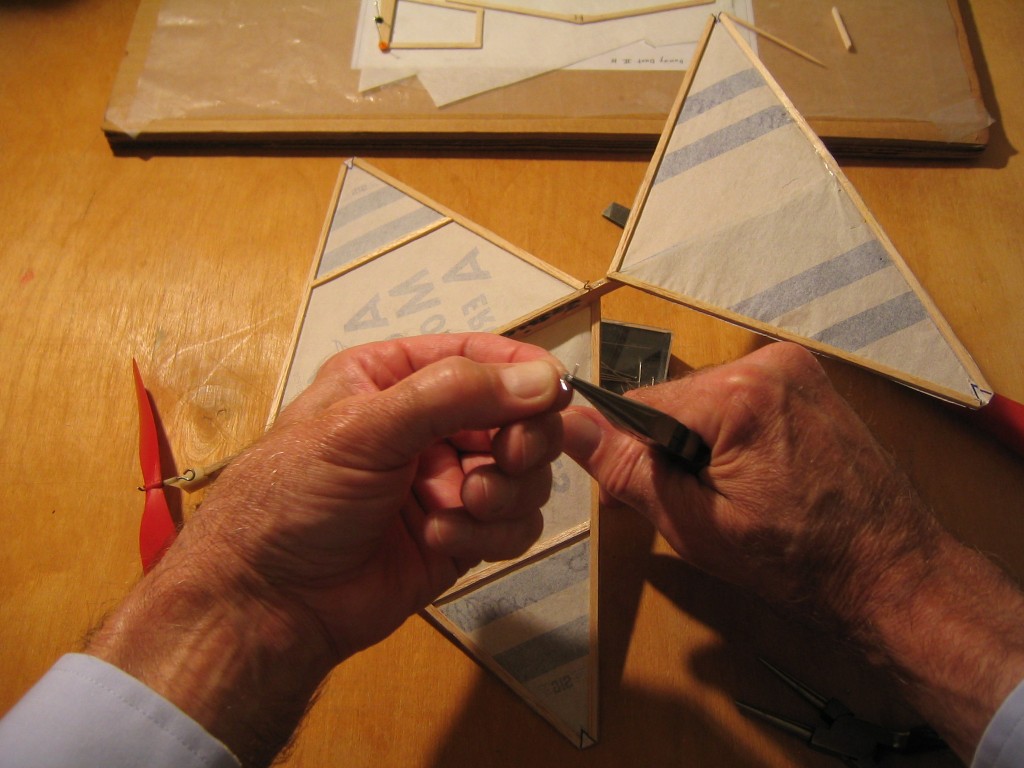
While the glue is drying, we can make the rear motor hook from a straight pin. Start by cutting the head off the pin. Always hold both parts when cutting wire to prevent any pieces from flying off and hitting someone. File the sharp chisel point off the end of the wire.
Round the end of the wire to prevent it from cutting the rubber motor when it is slipped onto the hook.
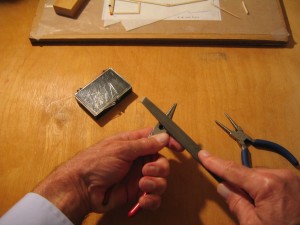
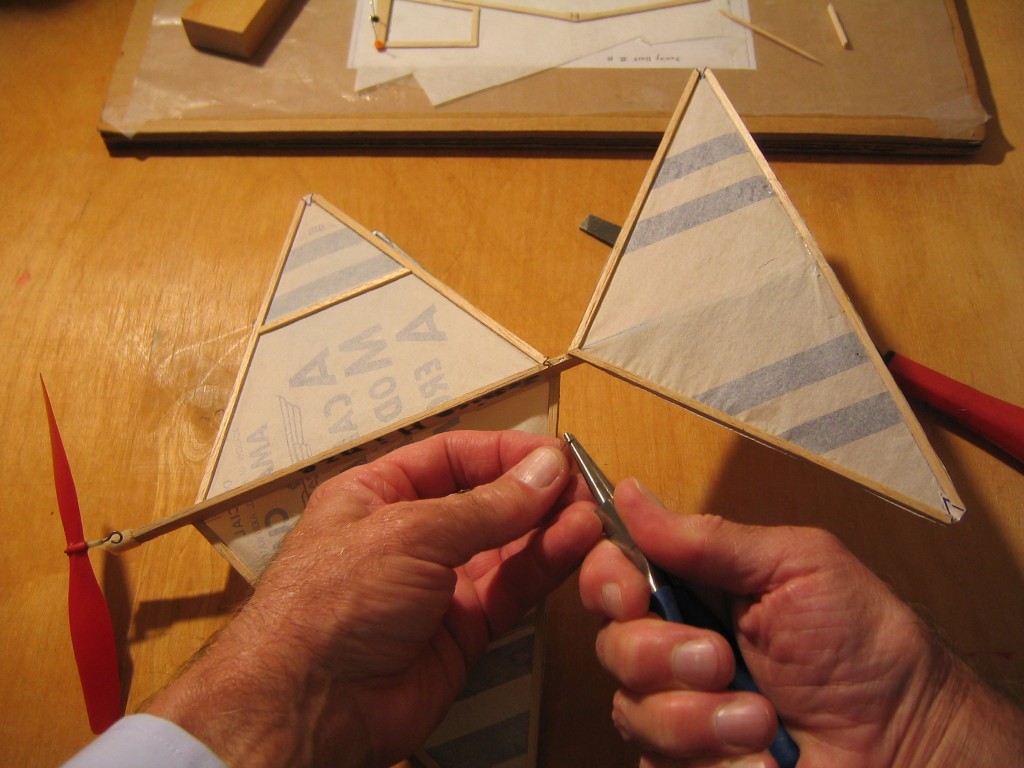
I refer to one of my previously made hooks on an AMA Cub to remind me which way to make the bends. The blunt end is gripped in round nose pliers and wrapped into a right handed helix, about 1/8″ in diameter. Go around until the working piece overlaps the starting end. If you don’t have round nose pliers, you can use regular pliers to grip the wire as you wrap it around a nail.
With needle nose pliers, make a 45 degree bend a little way down from the loop.
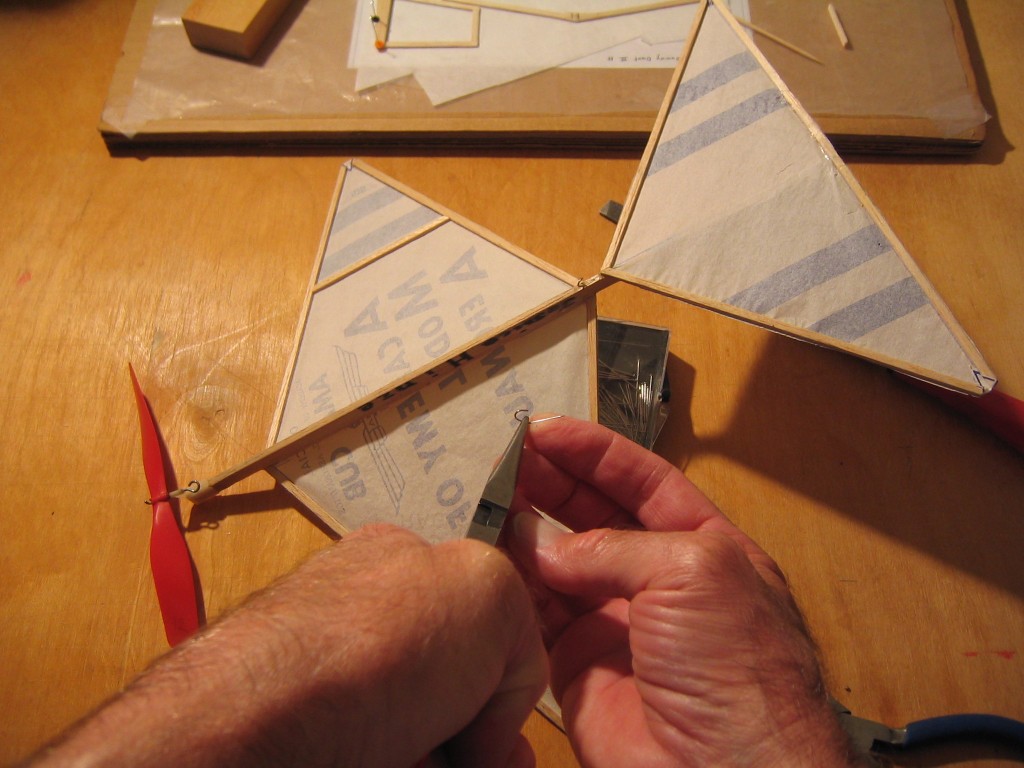
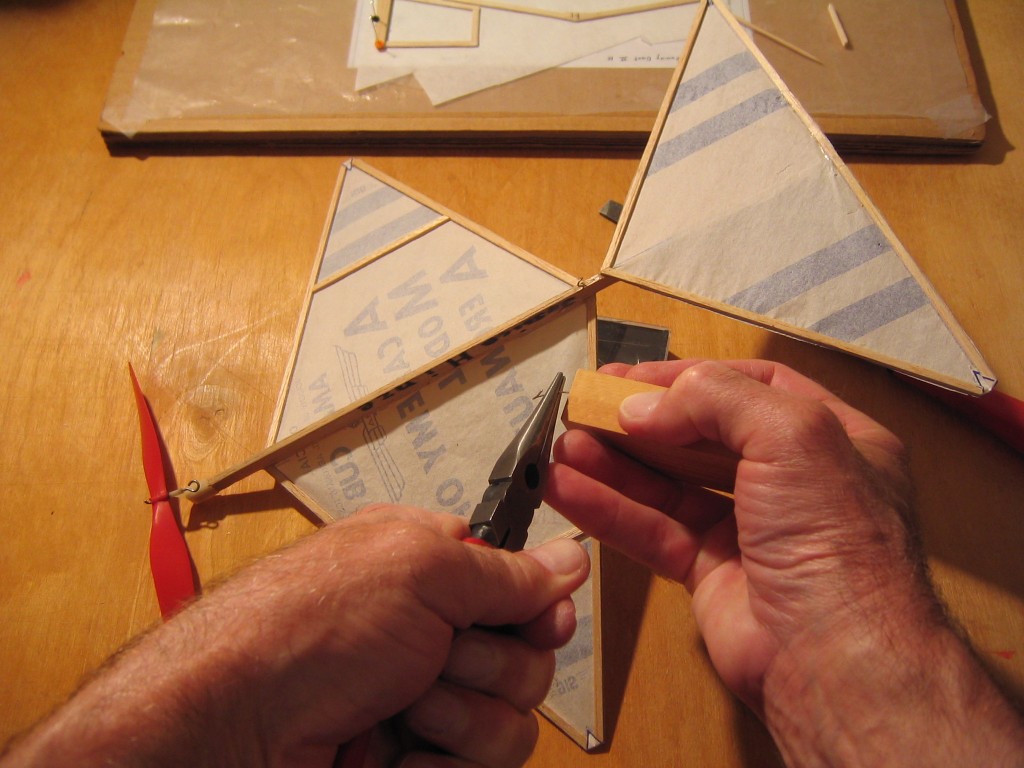
About half way down the remaining piece, make a reverse 45 degree bend. If you make a sharp reverse bend in the wire, it will break. I filed a small radius curve in the corner of my pliers. You can also make this bend around a small brad or piece of wire. To avoid poking my finger, I pushed this bend with a block of wood. You can bend about 90 degrees in the pliers, then you must take it out of the pliers to finish the bend in your fingers.
Hold the hook in your fingers and finish the bend.
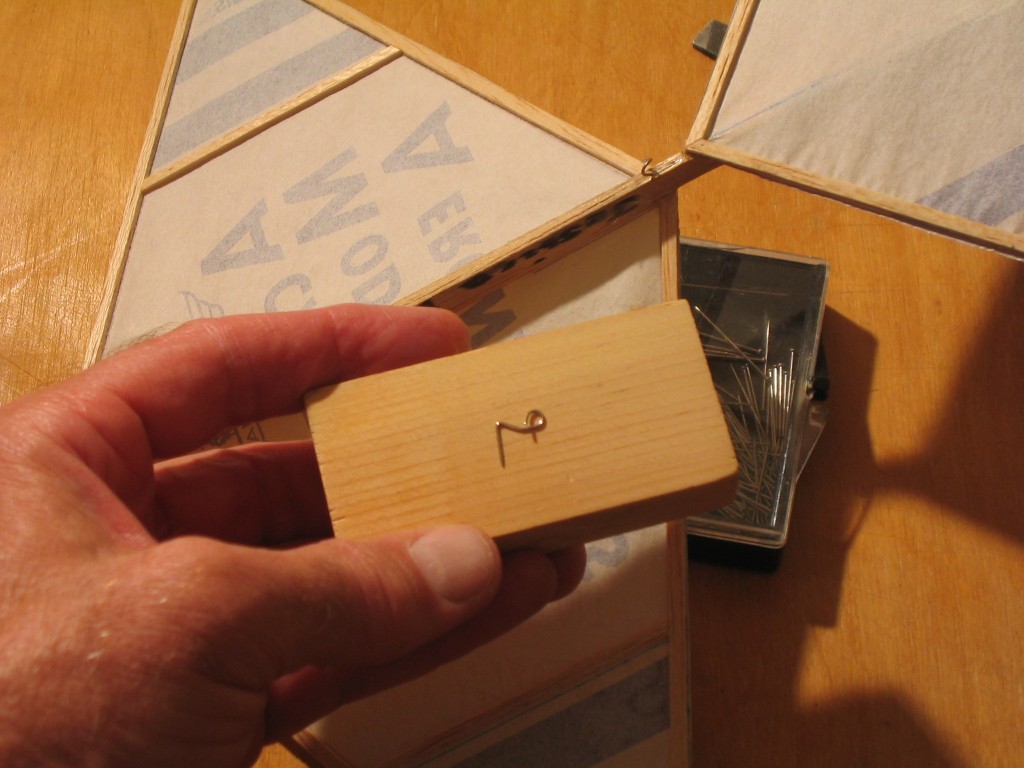
Here is the finished motor hook. The wire makes a little more than a complete loop, with a short straight piece sticking out a little to the left side of the airplane to make it easier to get the motor on. The right hand helix encourages the motor to twist onto the hook. The pointed end is stuck into the motor stick and the next bit is glued flat to the bottom centerline of the motor stick.
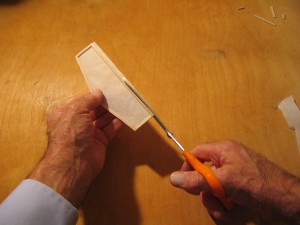
By now the glue should be dry on the fin and tailplane and they are ready to cut out. There are several ways to cut the extra paper off. One is to cut around the perimeter of each part with the point of a razor blade right on the building board. Another is to remove the assembly from the building board, push the point of the razor through the paper and slice right through the paper. This requires a new, sharp razor. A dull razor will catch and tear the paper. In both cases, cut right along the edge of the wood, but take care to not cut into the wood.
Scissors may be used to cut the paper off, but on longer cuts the frame will jam against the crossing blade and make it difficult to continue the cut without digging into the wood. Scissors are good for the shorter cuts.
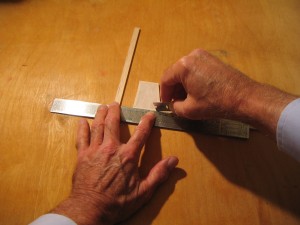
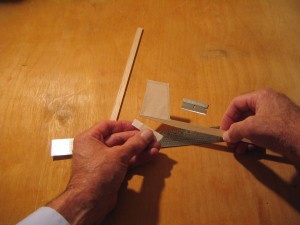
Turn the fin over and make a cut just through the paper just beyond the line of glue that holds the paper to the motor stick. Use another stick to support the straightedge as you make this cut. Make a short cut down from the leading edge of the fin to that cut.
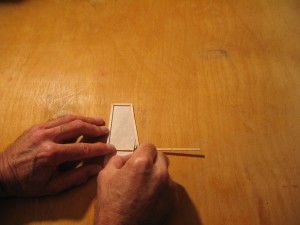
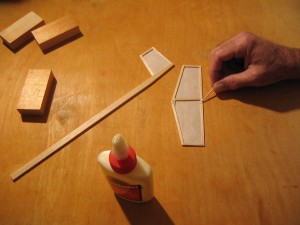
Cut a stick to be a snug fit between the apex and the trailing edge of the tailplane, a little to one side of the centerline. This should be a slight friction fit. Do not glue this temporary strut in place. It is to hold the paper flat while the tailplane and motor stick are being glued together. When the glue is dry, it will be pushed out.
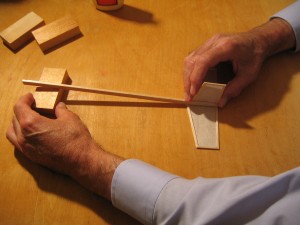
Spread glue between the pencil marks on the leading and trailing sticks of the tailplane. Put the motor stick down in the glue and line it up carefully with the centerline marks. Slide a block under the front of the motor stick until it just supports the stick.
Block it up to hold it in place until the glue dries. Check to be sure that the sticks are in contact and the fin is perpendicular to the tailplane. When the glue has dried completely, push the temporary strut out with a stick.
Press the motor hook into the bottom of the motor stick right ahead of the tailplane. Pull it out, put glue on both parts that will be in contact with wood and press it back in place. Dab glue all around and over the hook where it contacts the wood. Some people wrap and glue thread around the stick and the hook to hold it in place.
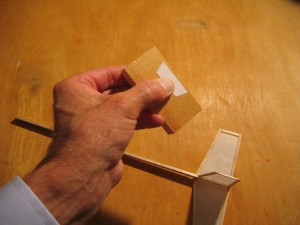
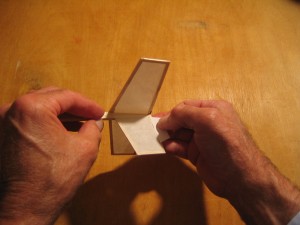
Cut a paper rudder 1/2″ wide and 1 1/2″ long with the ends tapered 1/8″. Run a thin line of glue along the long side.
Place the rudder on the trailing edge of the fin and press it in place.
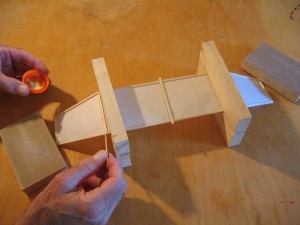
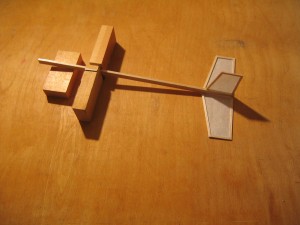
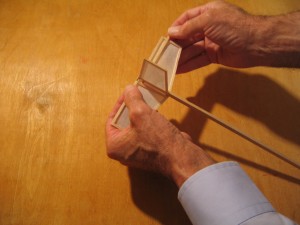
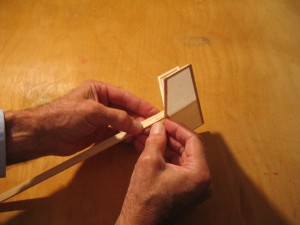
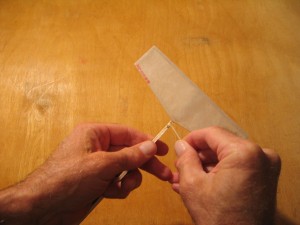
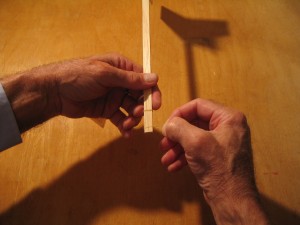
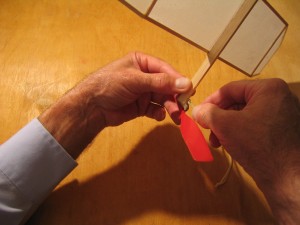
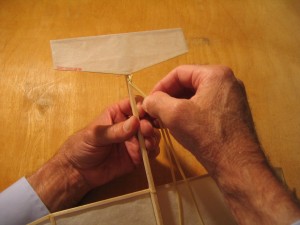
Wrap two small dental rubber bands around the motor stick. Double them up as needed to get them pretty tight. Roll them down the stick until they are about in the right position for the leading and trailing edges of the wing.
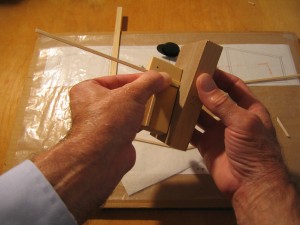
Place the wing hold down stick on top of the motor stick. Hold the motor stick between the thumb and middle finger with the index finger pressing down on the center of the wing spar. With the thumb and index finger of the other hand, roll the rubber band up the taper and onto the wing hold down stick. Turn the plane around and do the same at the trailing edge.
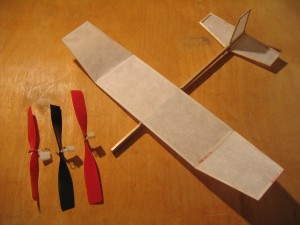
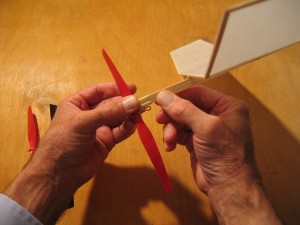
I had a choice of three propeller assemblies that would work for this plane; the 5 1/2″ Sig propeller used on the AMA Cub, the 6″ MPC propeller used on the Dandiflyer or the 7″ North Pacific propeller. A larger diameter propeller is more efficient and turns more slowly, giving a longer motor run, so I chose the 7″ diameter propeller. The plastic bearing box slips over the end of the stick. it should be a somewhat tight fit with no wobble. If it is loose, use pieces of paper, card or balsa to shim it in place. Sometimes the balsa gets a little crushed. If that happens, soak the end of the stick in a dilute solution of glue in water. The water will make the balsa swell up and the glue will harden it.
Make up a 10 1/2″ loop of 3/32″ rubber strip for the motor. I lubricate my motors with a mixture of equal volumes of liquid green soap and glycerin, bought at the pharmacy. Baby shampoo or other liquid soap can replace the green soap. The lube keeps the motor from sticking to itself and tearing itself, permitting more turns to be put into the motor. Put one end of the loop into the propeller hook and the knot end into the motor hook. Having the knot at the back end keeps it from spinning and rubbing on the stick.
Your Denny Dart Mk II H is now ready to fly. If flying outdoors, it is best to fly when there is no or very slight air movement. Fly in a large, open, flat area free of obstacles. Start with some test glides. Point it at the ground about 50 feet ahead of yourself and give it a gentle push. If you push too slowly, it will drop to the ground. If you throw too fast, it will zoom up and stop. See if you can get it to fly at a steady speed. If the nose goes up or it bobs up and down, move the wing away from the propeller. If it drops steeply down, move the wing closer to the propeller. What you want is a smooth, steady glide with the slowest rate of descent. When you have a good glide, start with about 600 turns in the motor to check stability, trim and circle diameter under power. It should climb slightly above head height before coming down. Bend the rudder just enough left to keep the turning circle safely within the confines of your flying site. You may also bend the propeller hanger slightly so the propeller points slightly to the left. Increase the number of turns by 200 for each successive flight until you reach your ceiling or are happy that the altitude will not cause your plane to fly away. Every batch of rubber is different, but as a rough guide, don’t wind your motor more than about 1,250 turns.
Gary Hinze
November 2010
I have been using lightweight grocery store produce bags to cover the small models. I use very slightly thinned (with water) rc canopy glue to adhere the plastic film, works very well.
hi, the measurements you are using are inches or centimeters
The measurements are inches.
i built a denny dart SO version, flew very well off the board. just donated it to a budding high school SO class after demoing it for the teacher at his school
very great i love it
Thanks for the design! I’ve had great flights from this plane
Wow! Great article!
I’m going to make one!