AMA Cub Teaching Notes
Winding the Motor
At this point the students have built the airplanes and made the motors. The motors have been lubricated and put on the planes. The teacher knows how many turns to put in the motor for the first test flight and will use a winder.
One student at a time will be taught to wind and launch. The other students should be off the floor, out of the flight circle, but close enough to watch and listen. (After the first two or three wind and launch teaches, you might have one student winding while the other is flying, to speed up the process. You will need two experienced teachers to do that.)
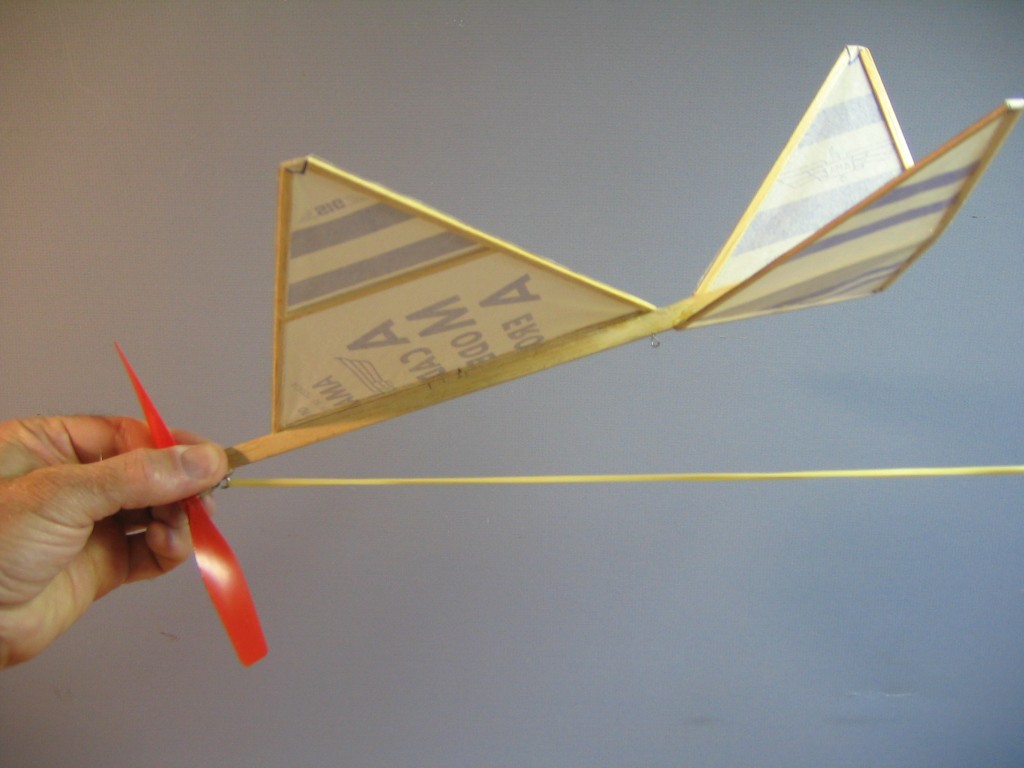
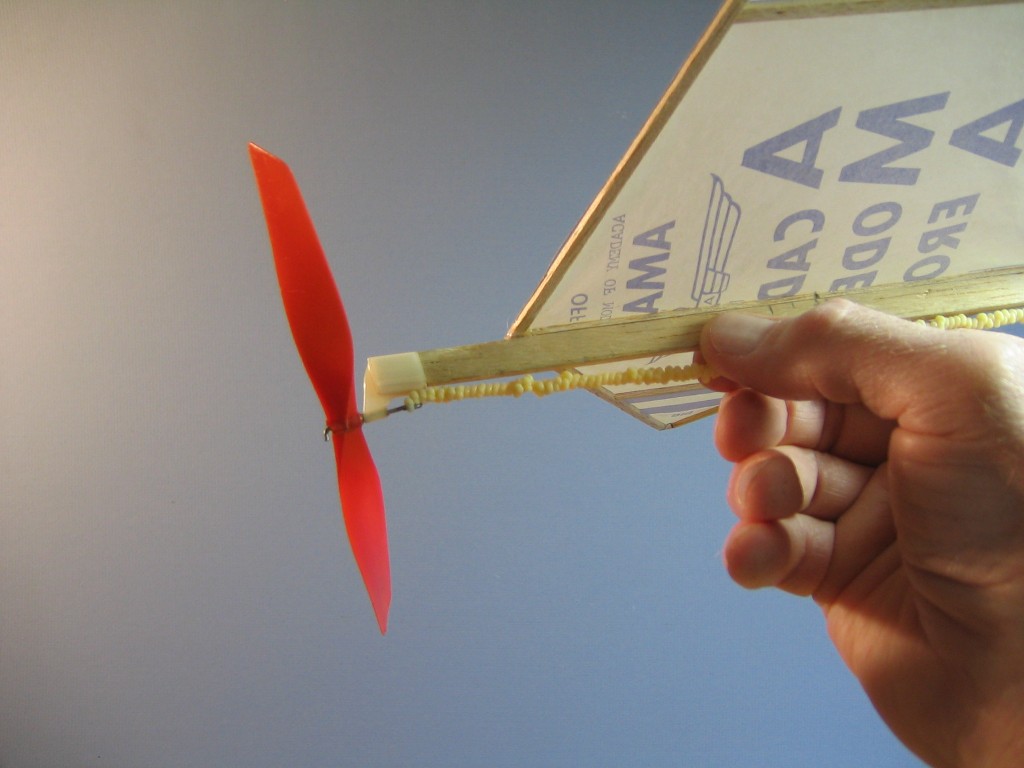
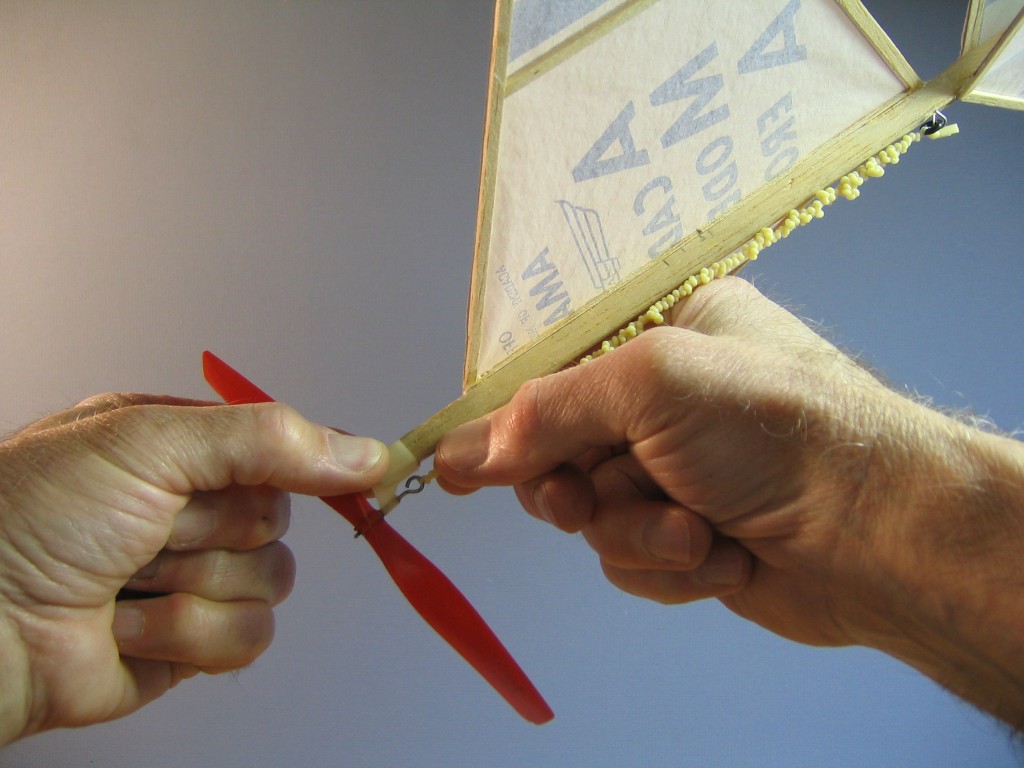
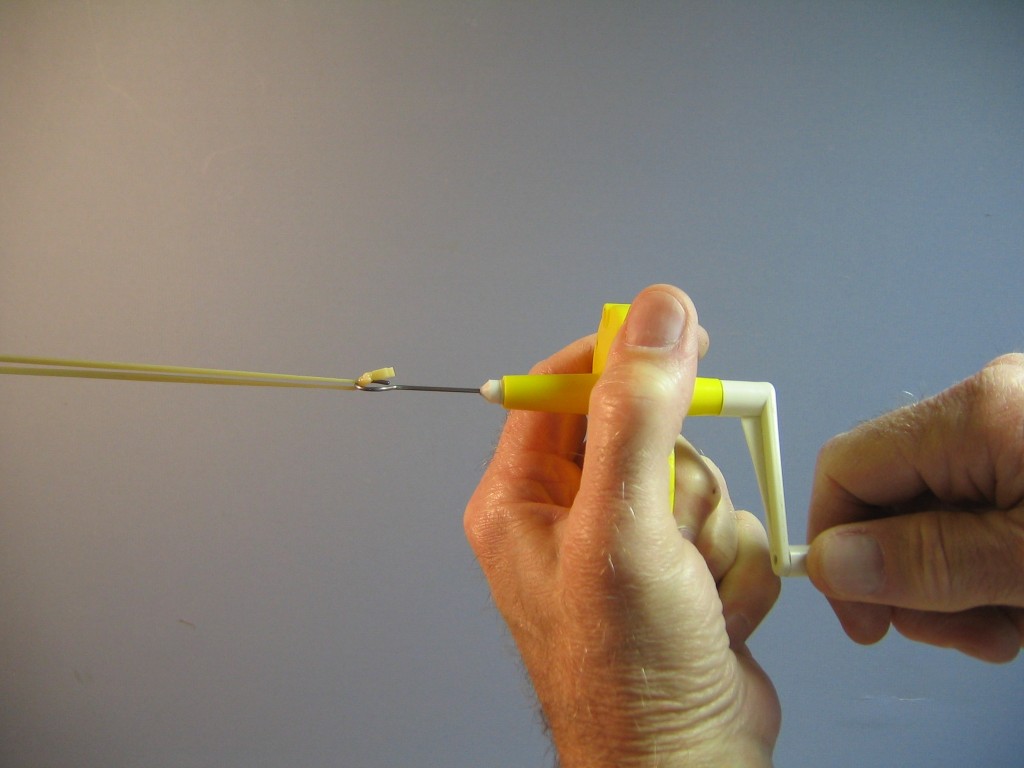
First show the student how to hold the plane for winding. The prop hanger is gripped from the front between the thumb and first finger, with the prop between the fingers to keep it from turning. Give the plane to the student and ask them to hold the plane. Put the winder hook into the motor at the knot. Have them hold the plane waist high, so if the motor snaps, it won’t hit them in the face. Tell them to point the tail slightly up to clear the motor during winding. Correct as necessary until they have it right. Explain that you will be stretching the motor while winding it and that will pull on the plane. Stretching the motor allows more turns to be put into it and reduces rubber abrading itself, making it last longer. The student must grip the prop hanger tightly enough to prevent it being pulled from their fingers. If it gets loose, the stretched rubber will catapult it into the winder, likely damaging it and hurting the winder. Ask them “Are you ready?” They should say “Ready” when they are ready.
As you wind, explain what you are doing. Stretch the motor three to five times its relaxed length. Here I will assume you are using a 10:1 winder. If your winder has a different ratio, adjust the numbers accordingly. We are going to start with 400 turns for the first test flight. (You may want to use a different number, depending on the motor used and the available ceiling height. We want to use just enough turns so the plane will climb slightly overhead, but not approach the ceiling.) The first test flight is to check trim and circle. We want to make sure the plane does not zoom up and stall, does not dive into the floor, does not bank too steeply and sideslip into the floor, does not turn too tightly and does not turn so wide that it hits the wall. The winder needs to count the turns being put into the motor. In order to count accurately, no one should talk to or interrupt the winder. I count turns by 10’s. Ten turns of the crank puts 100 turns into the motor, so we are going to count ten turns of the crank four times, like this; One, two, three, four, five, six, seven, eight, nine, ONE, one, two, three, four, five, six, seven, eight, nine, TWO, one, two, three, four, five, six, seven, eight, nine, THREE, one, two, three, four, five, six, seven, eight, nine, FOUR. We now have 400 turns in the motor. As you put turns into the motor, you gradually move the winder closer to the rear motor hook, arriving at the hook at about the time you finish putting in the full number of turns. If you have an O-ring in the motor, you are done winding. If you do not have an O-ring in the motor, put in a couple more cranks to account for the turns lost when you take the motor off the winder hook.
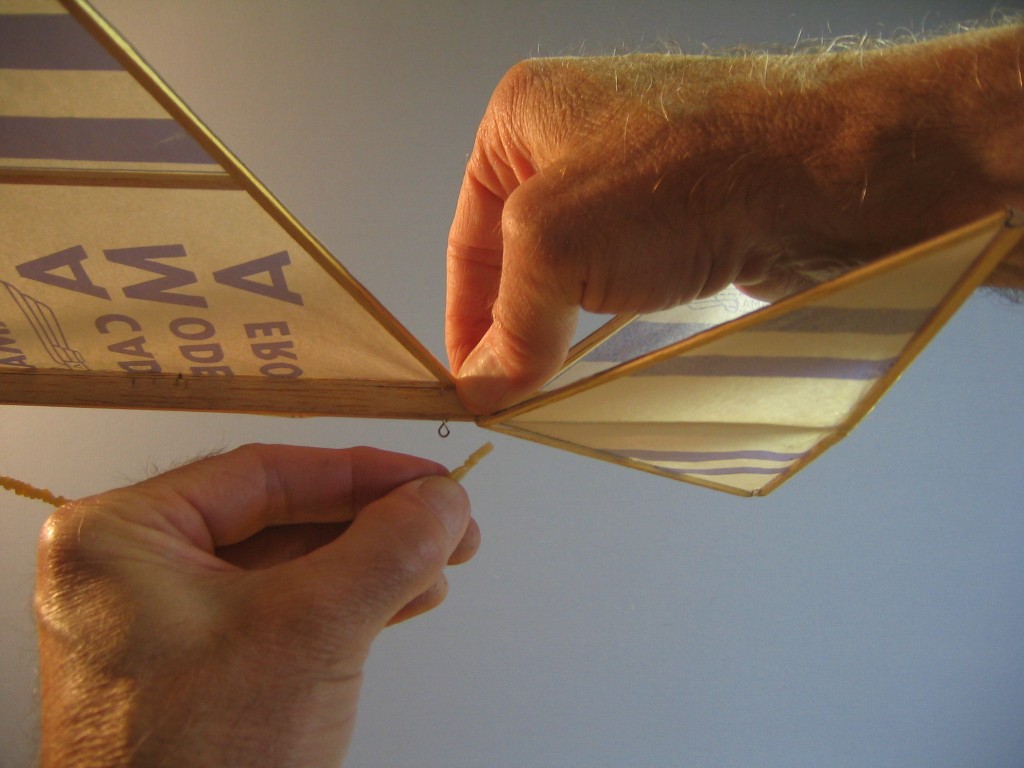
The next step is to transfer the motor from the winder hook to the rear motor hook. To get the tightly wound motor off the winder hook, it is necessary to unwind a short piece near the hook. Grip the motor tightly about a quarter inch from the hook with the left fingers while holding the winder in the right hand. When you have a tight grip on the motor, allow the winder to unwind. You can do this by letting the crank turn freely and then letting the winder hang down freely to spin out the last few turns. Now that the end of the motor is unwound, slip it off the winder hook. Put the winder in a pocket or on a table or hand it to someone. Do not put the winder on the floor where it could be kicked or stepped on. Carefully reach over the fin and grip the motor stick just above the rear motor hook. Slip the loose end of the motor over the end of the rear motor hook. Pull the motor forward onto the hook to be sure it is properly seated before releasing it.
Check that the motor has not moved to the side of the prop hook where it will jam on the stick and prevent unwinding.
Pull the motor back on the hook until it is in line with the prop shaft.
At this point we are ready to move out on the floor and launch the plane. We must wait for any flying planes to land and be removed from the floor before moving out onto the floor. Only one plane may be launched at a time.
Later you may teach the students how to wind. You or another student will hold the plane. The student will put the hook into the motor loop at the knot. Make sure the motor is not caught or tangled on anything, it is properly set in the prop hook and the two strands are pulled out evenly before stretching.
Tell the student to keep the axis of the winder pointed straight at the prop hook. The winder shaft should line up with the motor.
The winder is turned in a clockwise direction. The airplane has a right handed propeller which must be turned in a right handed direction, clockwise when seen from behind. Show the student your right fist with the thumb pointing out. A right handed propeller goes in the direction of the thumb when it turns in the direction of the curled fingers. There are left handed propellers, but they are unusual. Talk the student through the steps outlined above.
When the students have mastered holding and winding, they can pair up to wind each others planes. For a while they will require watching and occasional reminders. Eventually students will try to see how many turns they can put into the motor and they will break a motor. This is a good opportunity to talk about the maximum number of turns a motor can take and how motors wear out after repeated use. We will talk about maximum turns in the next lesson.
