Darcy suggested I build a Squirrel from an AMA Cub kit. Here it is! I made pictures so you can see how it was done and build one for yourself.
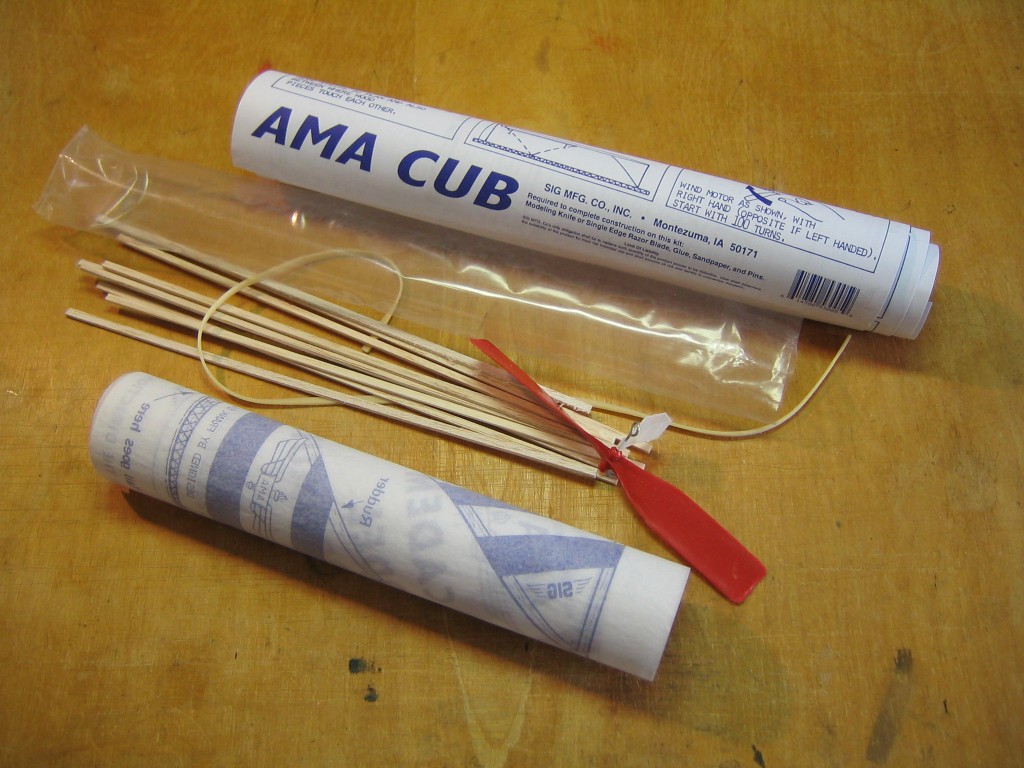
We start with the materials in the AMA Cub kit. I am going to make a simpler and lighter Squirrel. Some preparation and modification is required.
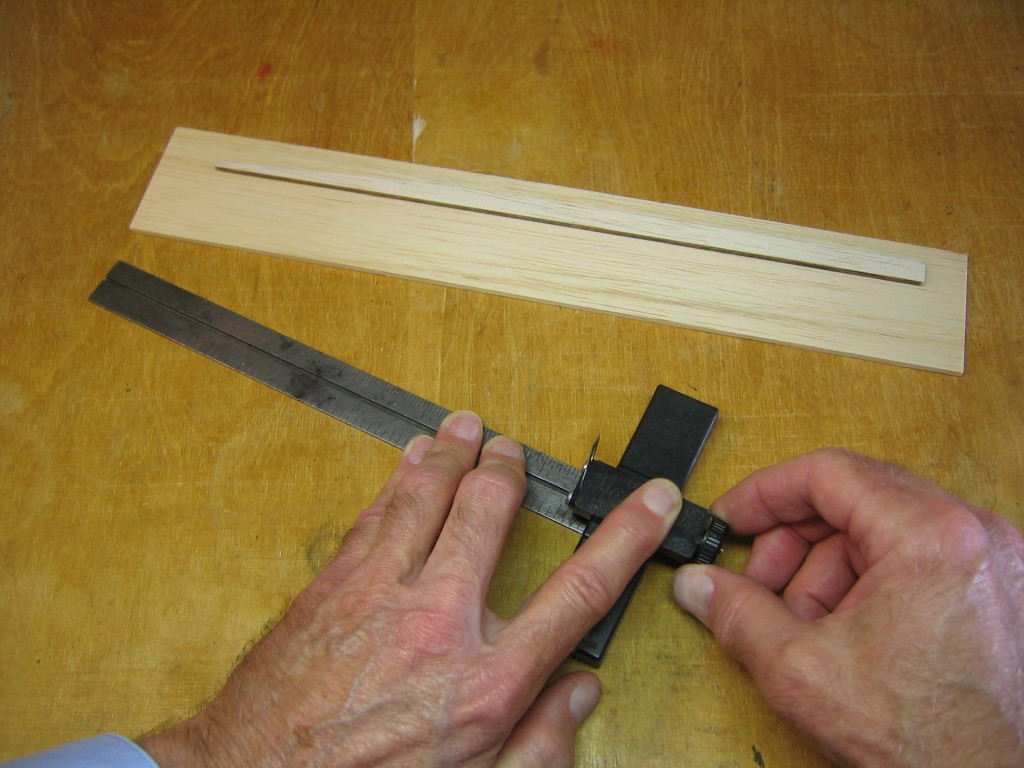
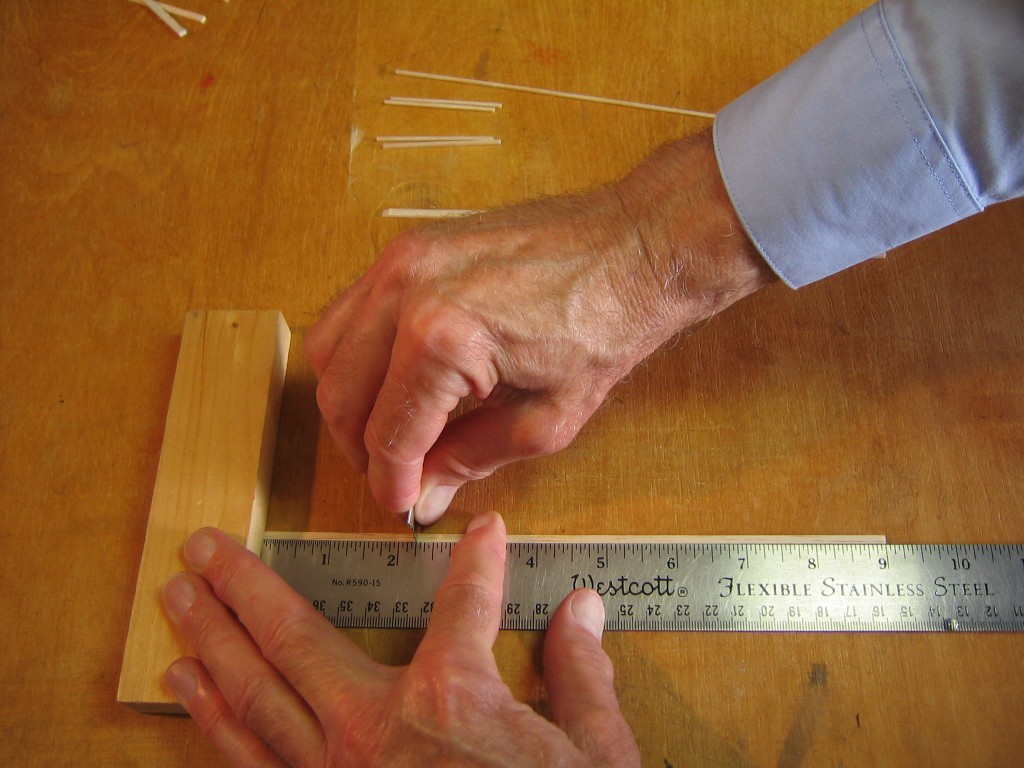
I am going to trim the stick to 1/4″ depth to lighten it. That is plenty for the small motors we will use on this plane. I set the Master Airscrew balsa stripper to make a 1/4″ wide cut.
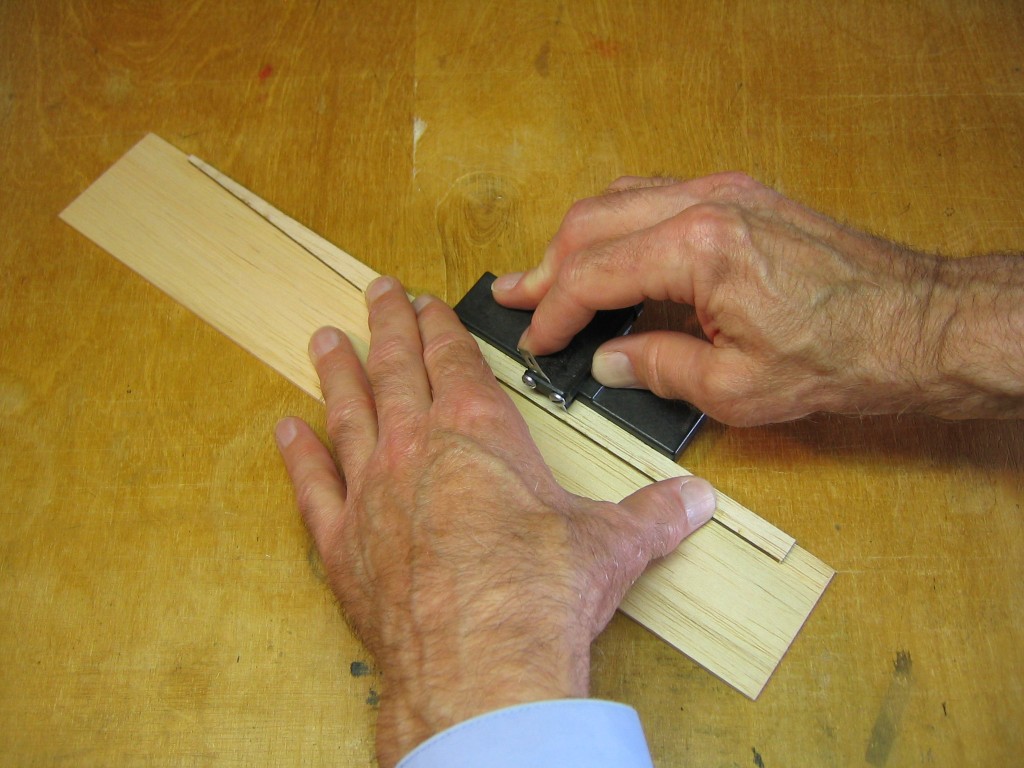
I spaced the stick up from the table with a 3/32″ board to allow a shorter blade length. That reduces the possibility of the blade wandering. This balsa was pretty soft, further diminishing the possibility of wandering. I want a uniform, square cut. The 1/4″ piece is cut from the top of the stick, starting from the square end. The 1/4″ stick is too narrow for the prop bearing box without a noseblock. The 1/8″offcut will be used to make a noseblock.
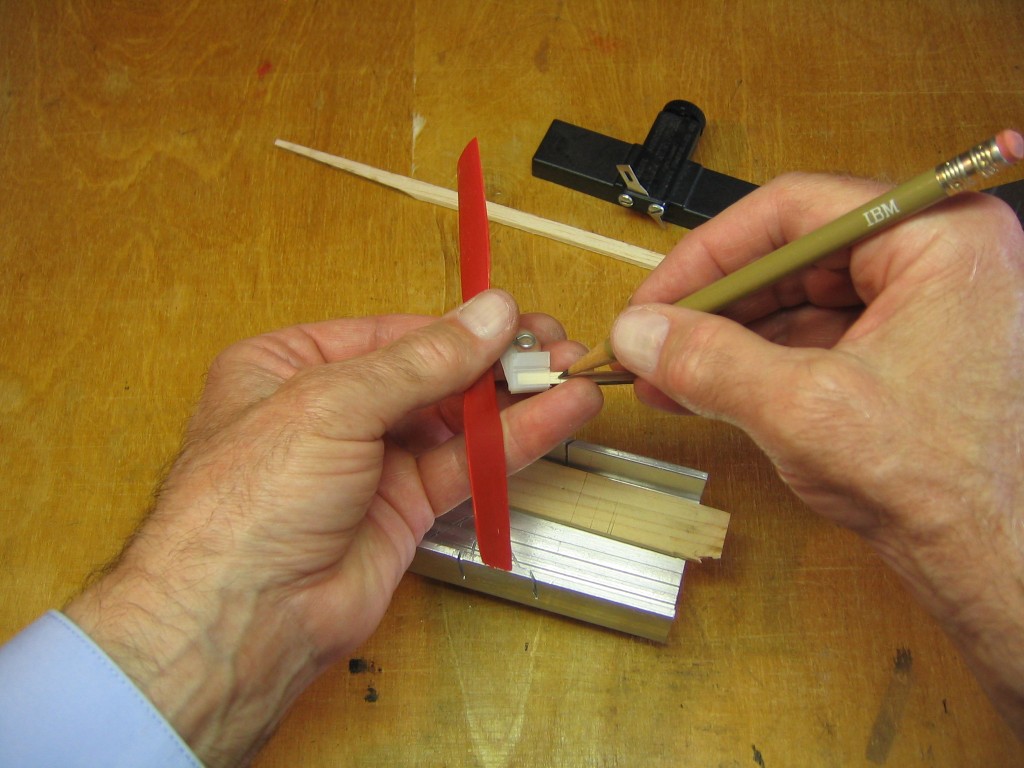
I pushed the square end of the 1/8″ offcut into the propeller bearing box and marked it about 1/8″ outside the end of the box.
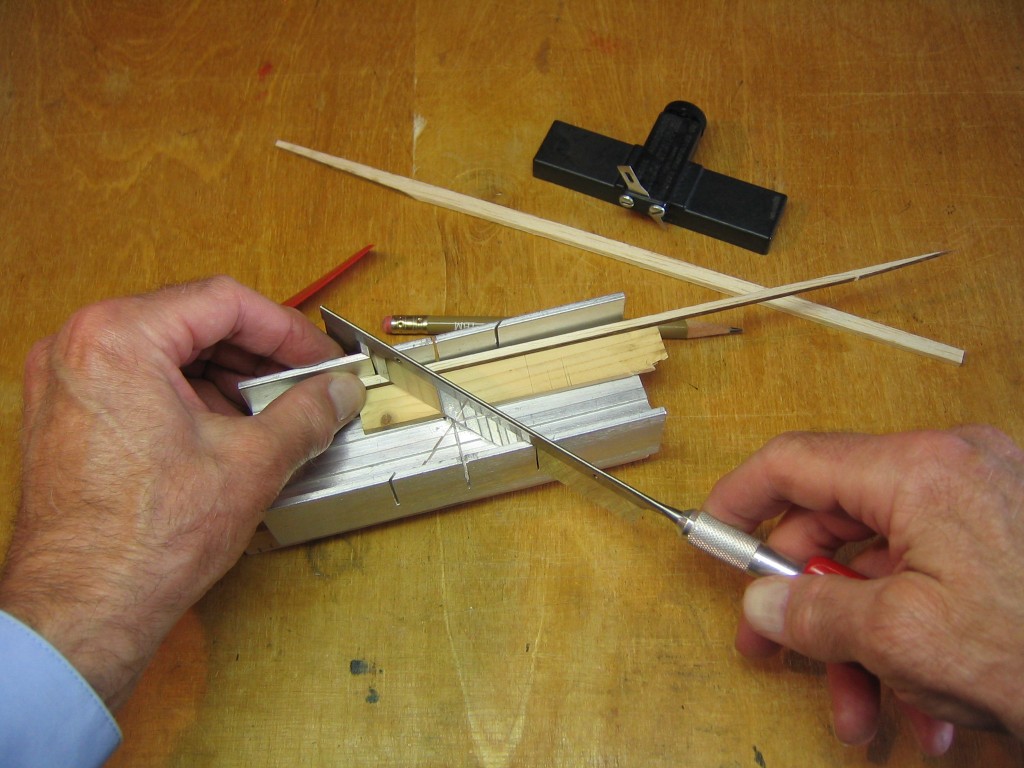
I cut the nose block off at a 45 degree angle with a mitre box and saw.
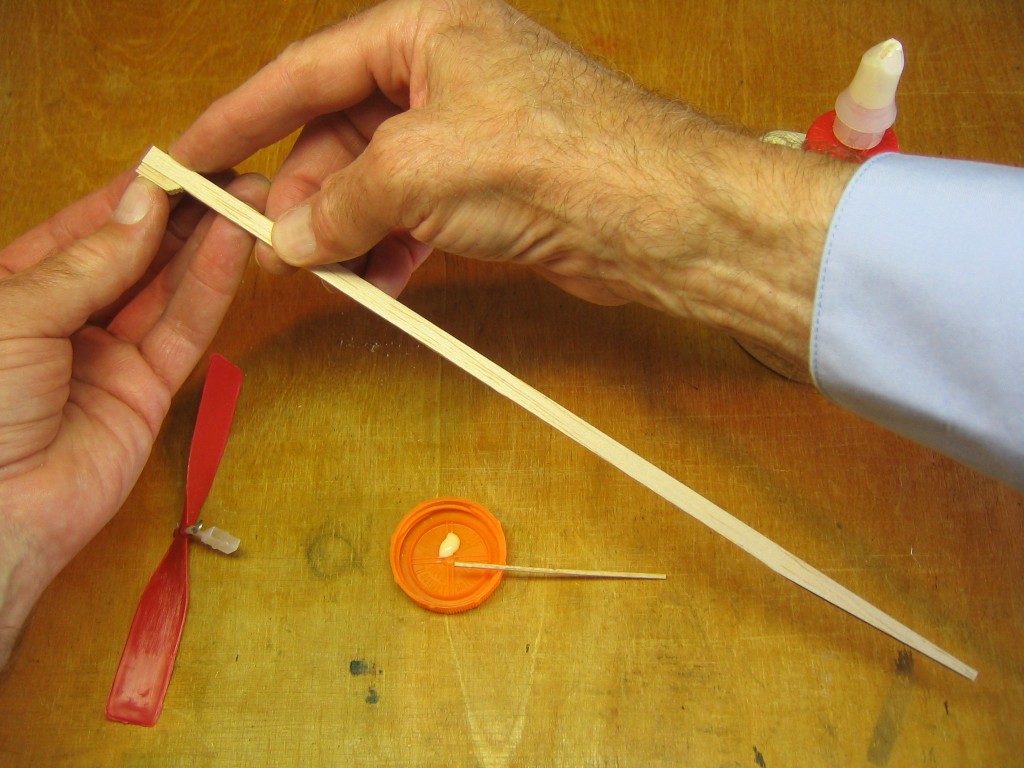
I glued the nose block under the stick at the front end with carpenter’s wood glue. Note that it is glued on the same side as the tailplane taper at the back end of the stick. The front end of the stick is now back to its original width, for a snug fit of the prop bearing box.
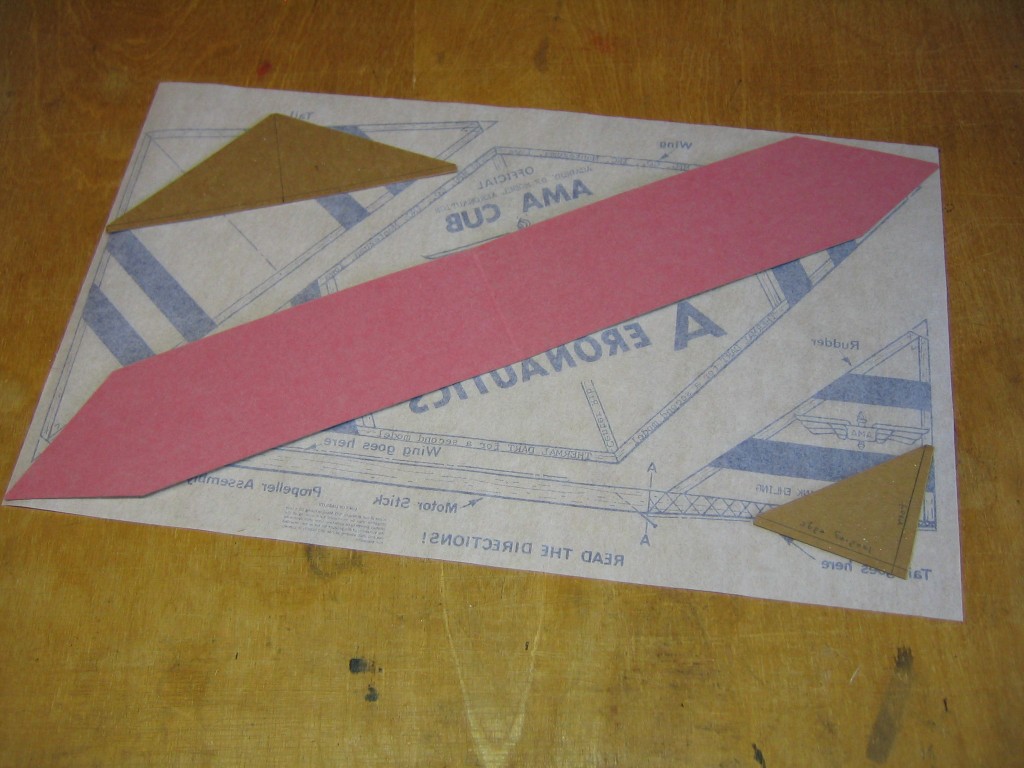
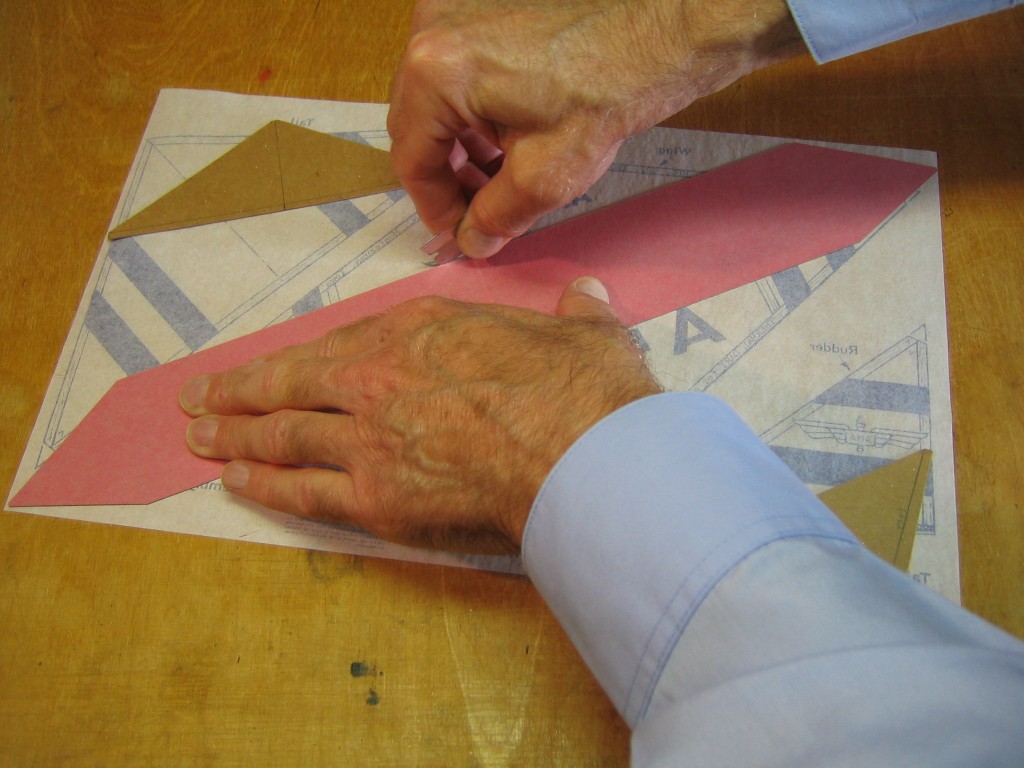
The paper was tightly rolled. I straightened it by pulling it around the corner of a wall. The edge of a door or table will work. Once it was flat, I placed the cardboard wing pattern across the diagonal. It just fits.
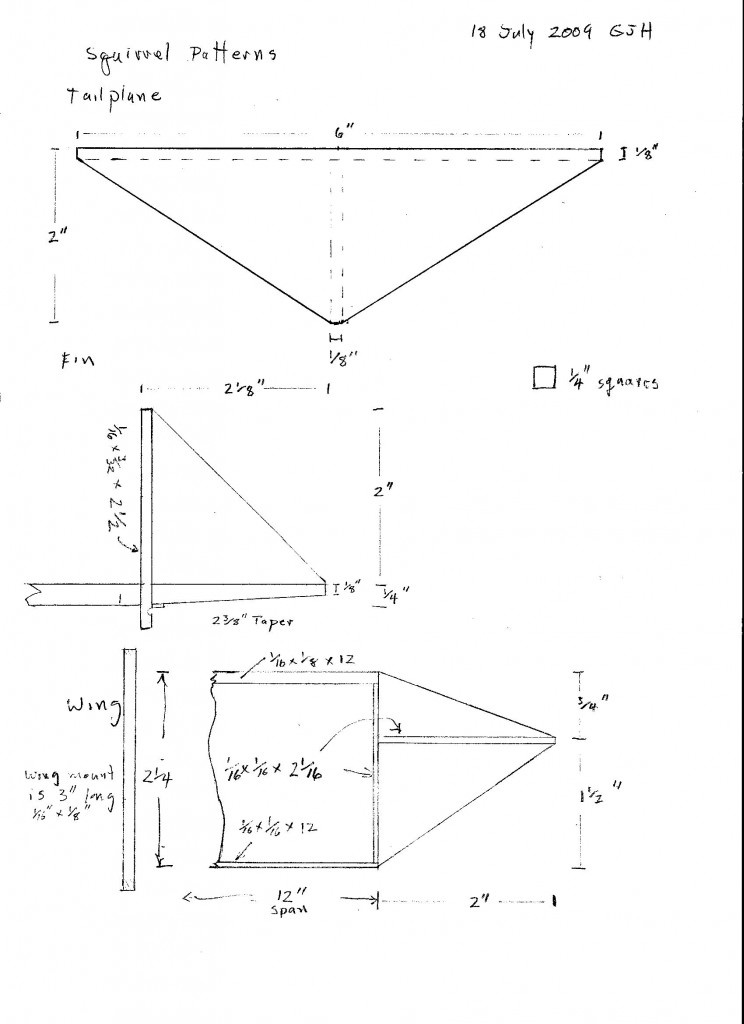
Use this diagram to make the cardboard patterns.
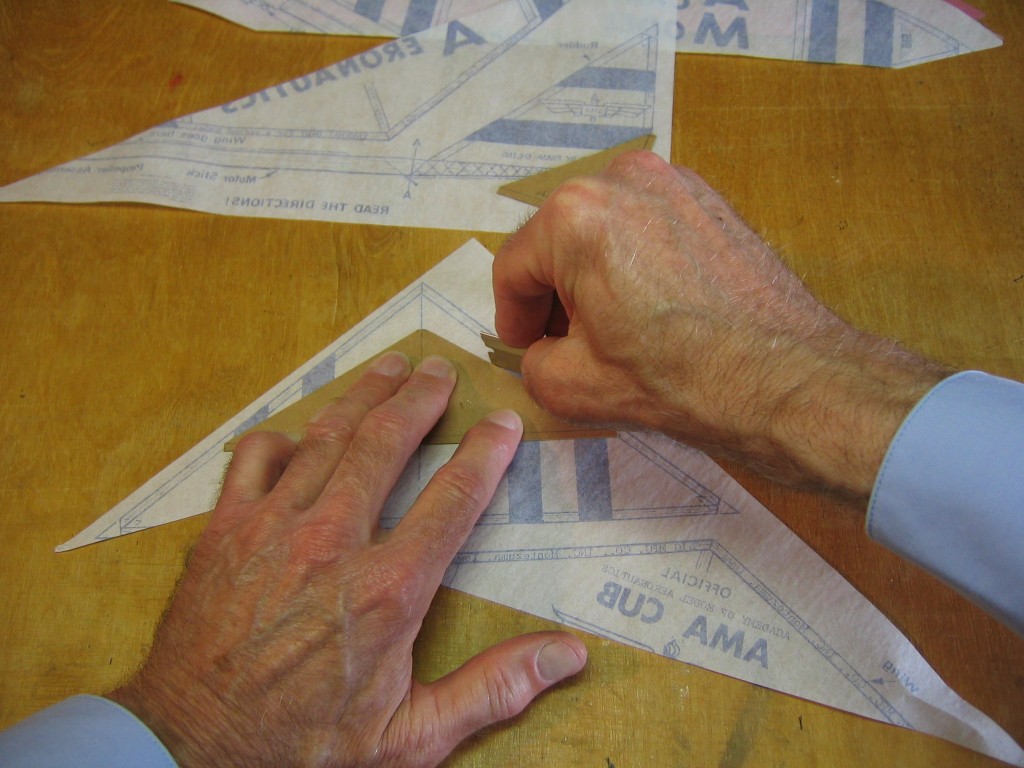
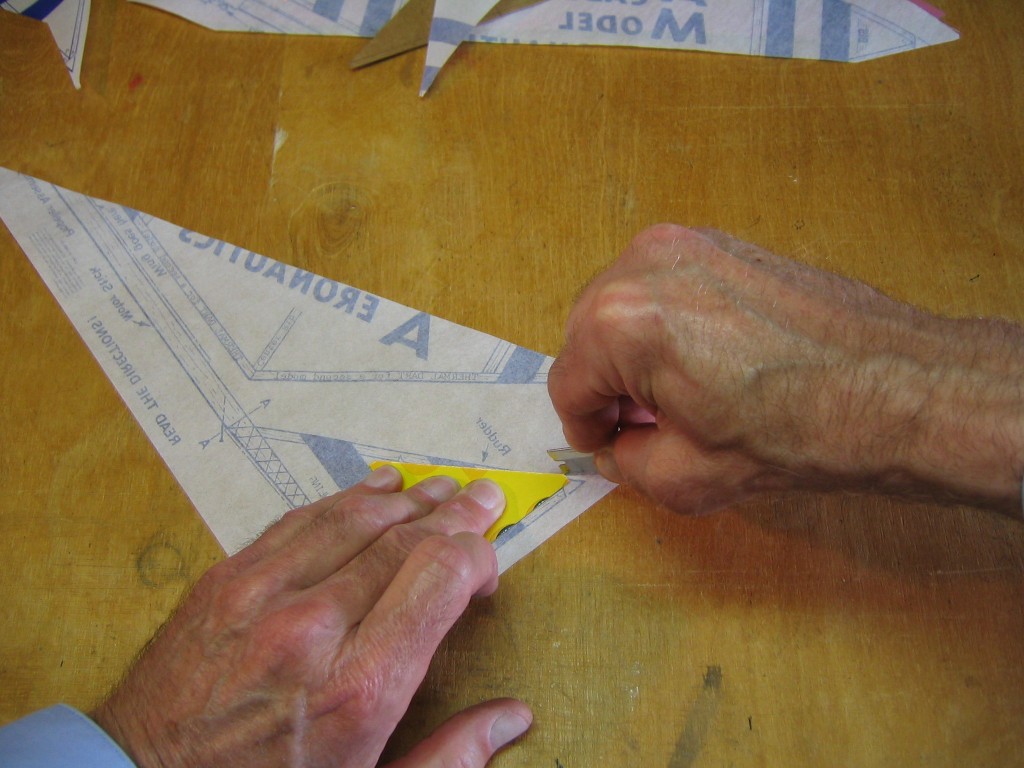
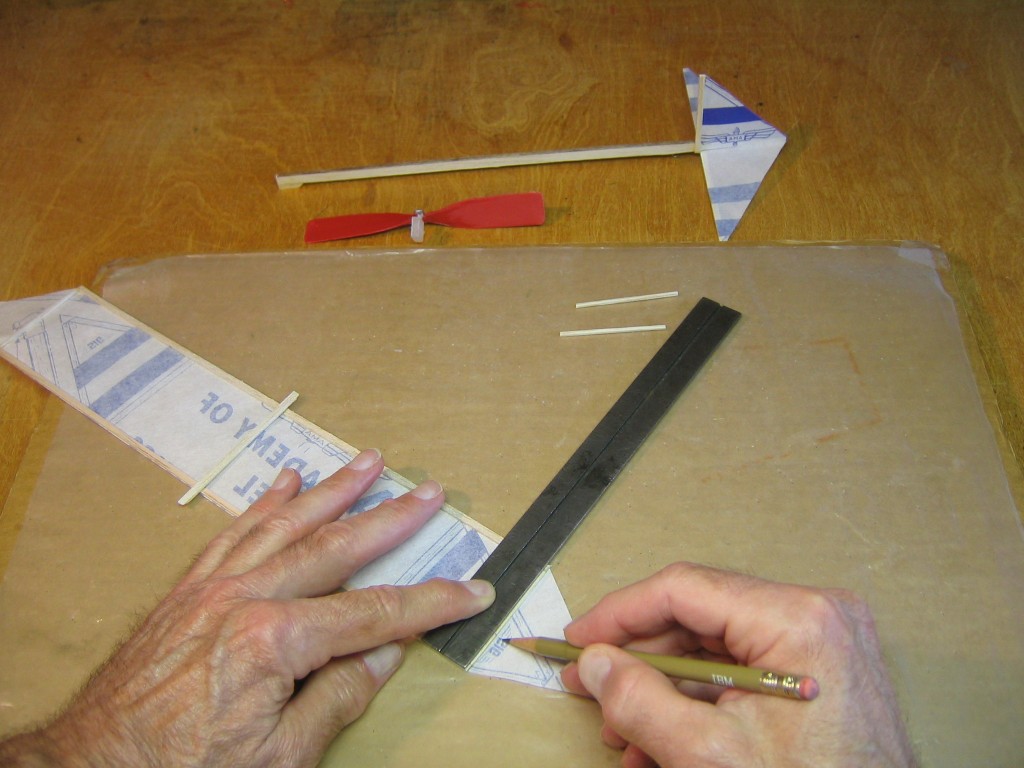
I cut the paper around the pattern with a razor blade. I had to hold the pattern carefully so it would not shift. The paper and pattern could have been pinned to a building board, or marked with a pencil and cut out, but I was in a hurry.
I placed the tailplane pattern over the printed tailplane to use the blue stripes and centerline.
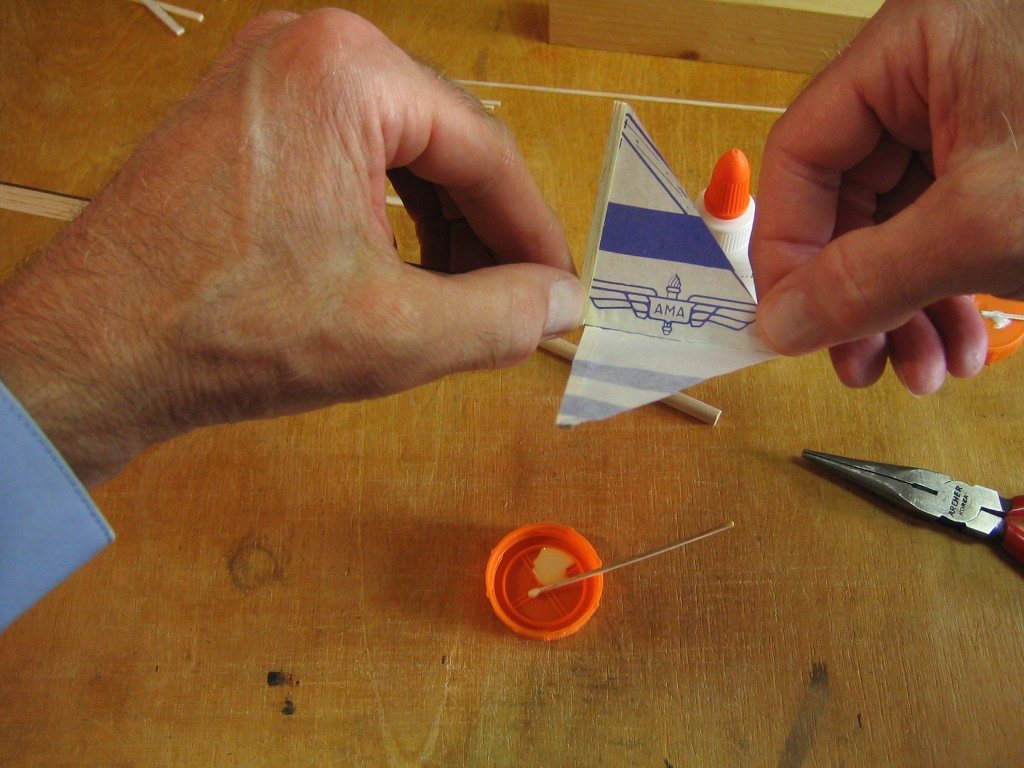
I used the AMA wing insignia and stripe on the fin.
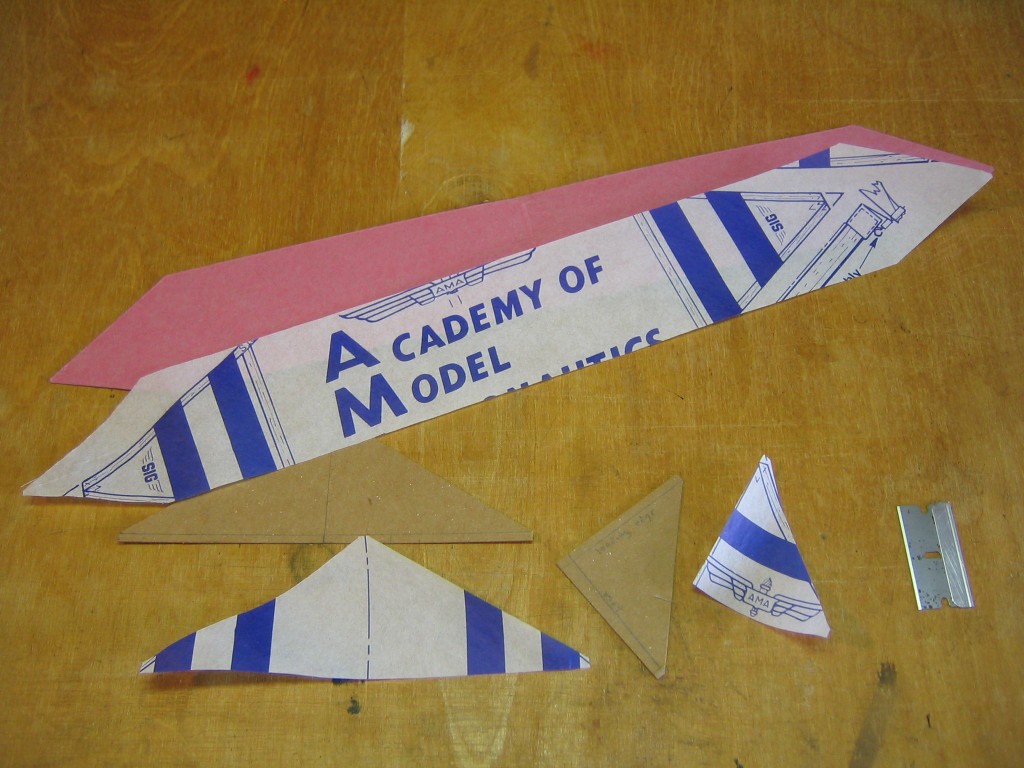
That completes the three paper pieces needed for the Squirrel.
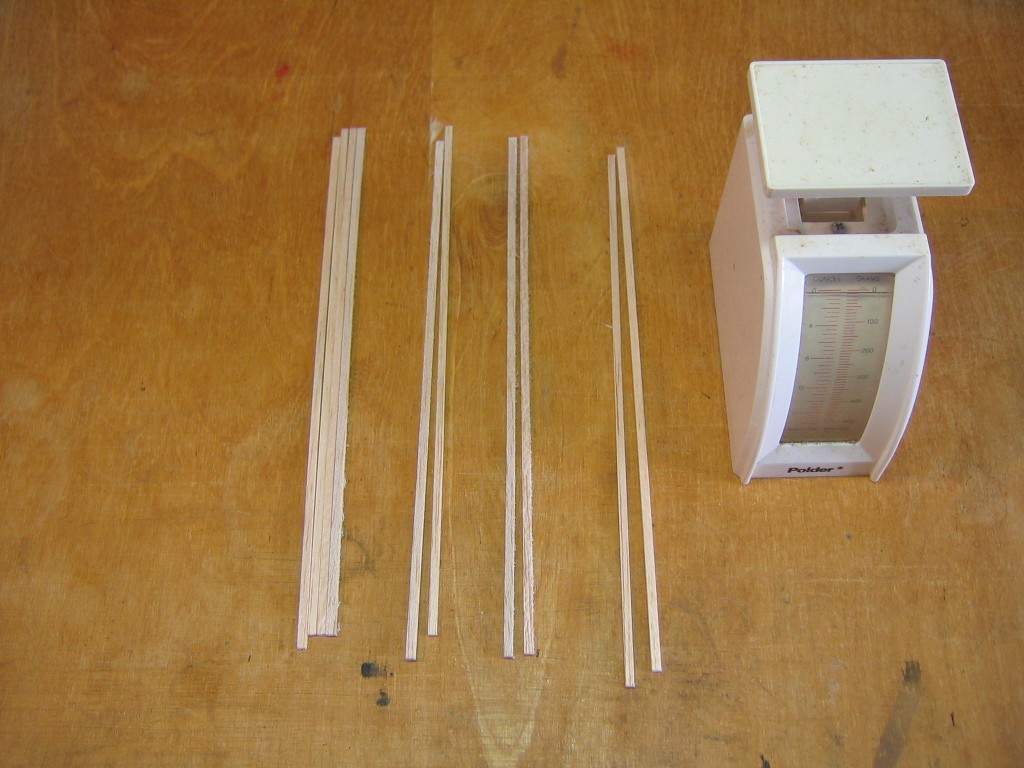
Next I sorted the sticks by stiffness. This can be done by gently bending them in the fingers, or by pushing them down on the kitchen scale until they just bend. The stiffest sticks are on the right. The stiffer sticks are also the heaviest sticks. We want stiff sticks where strength is required and light sticks toward the back of the plane.
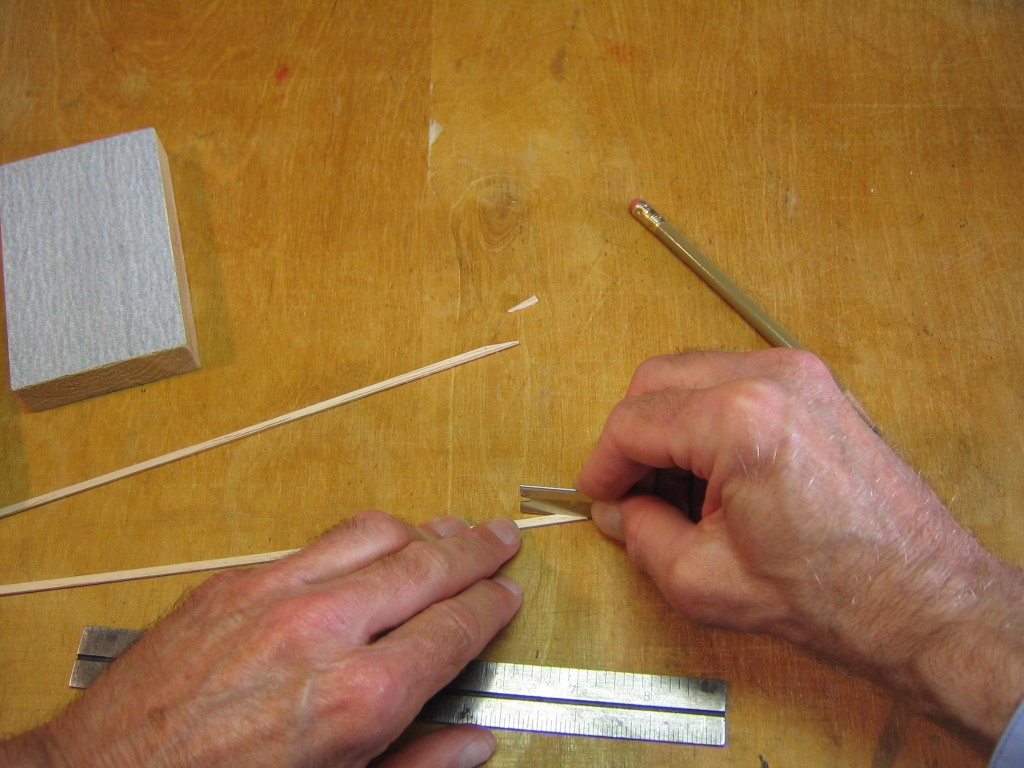
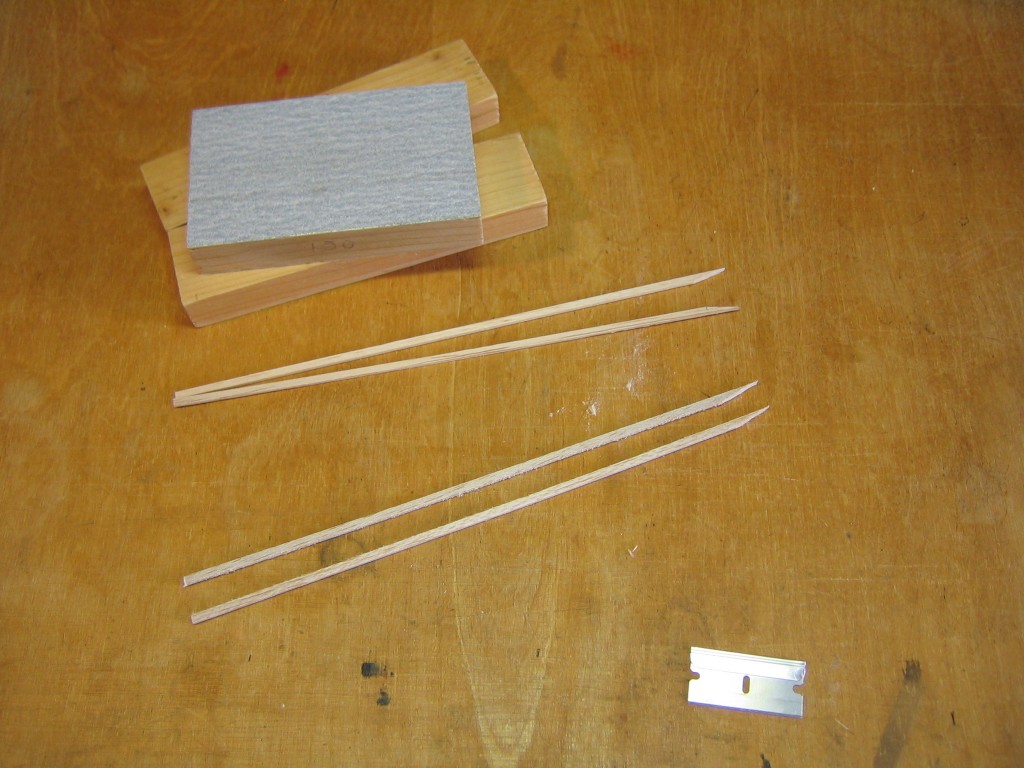
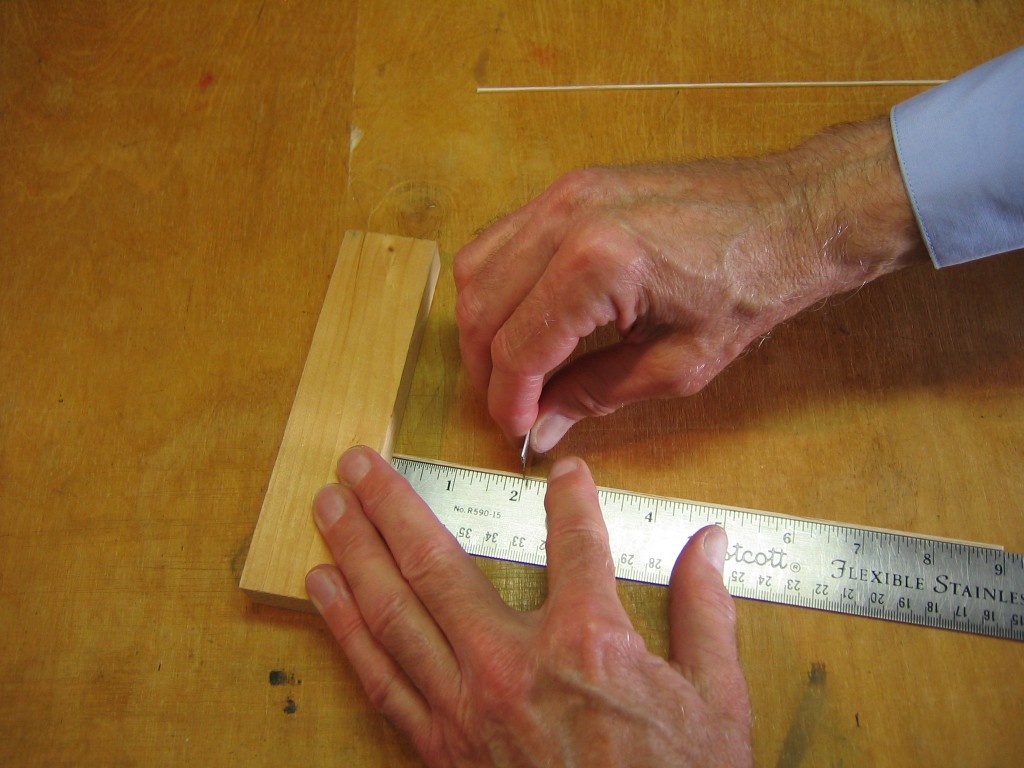
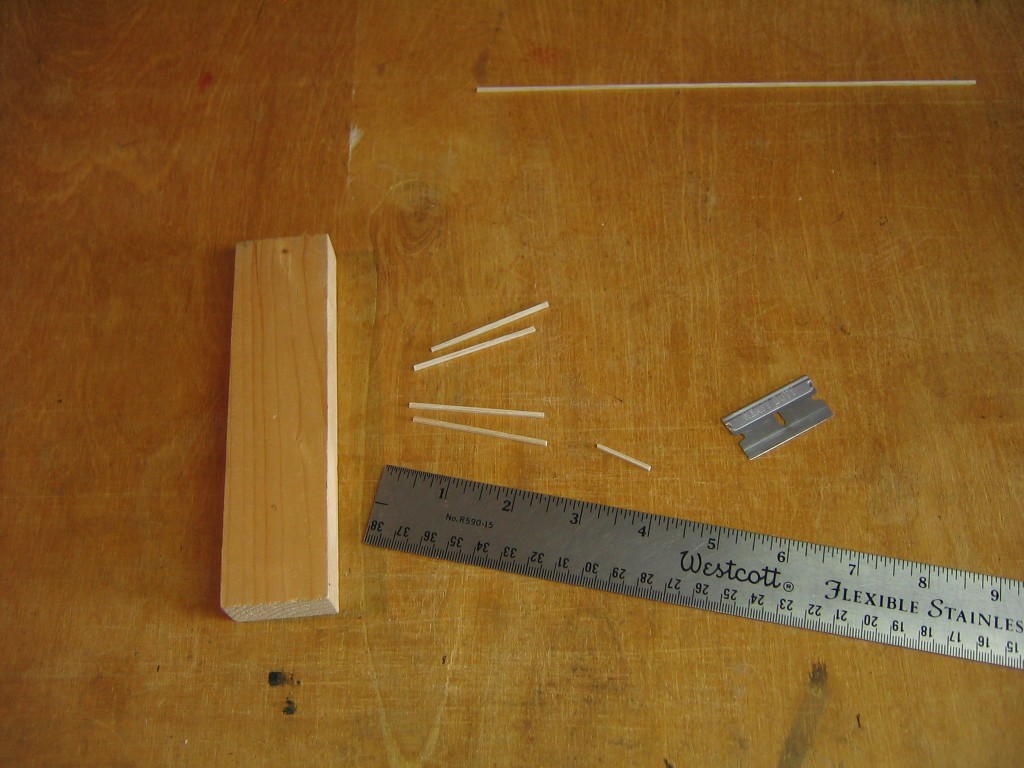
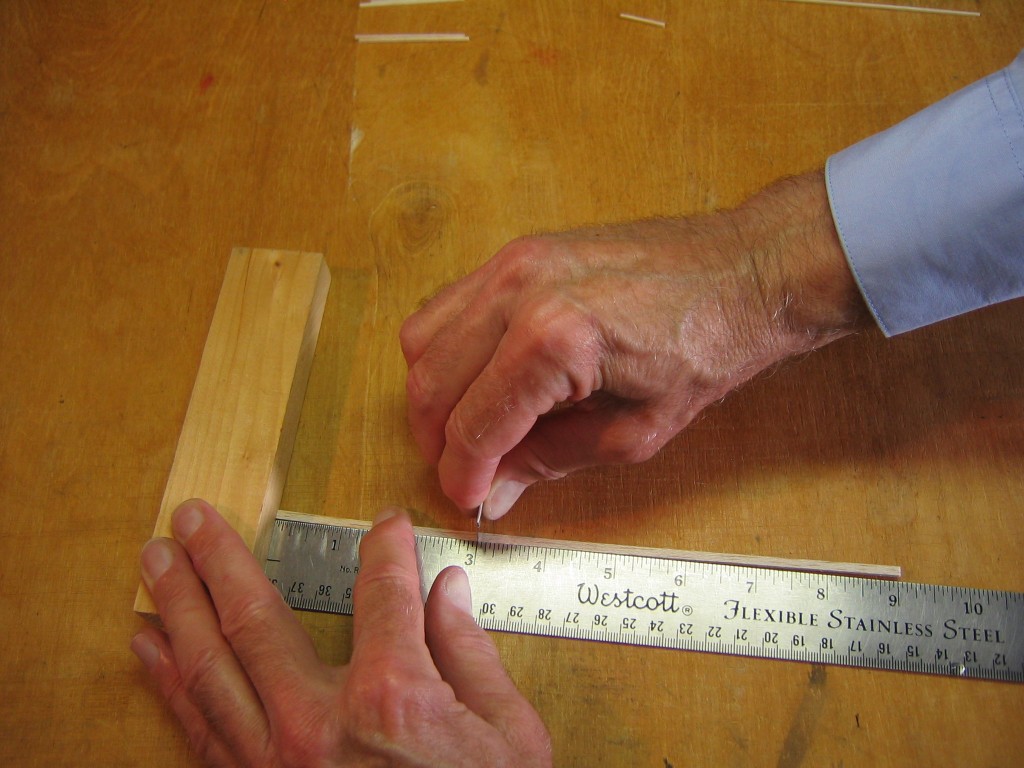
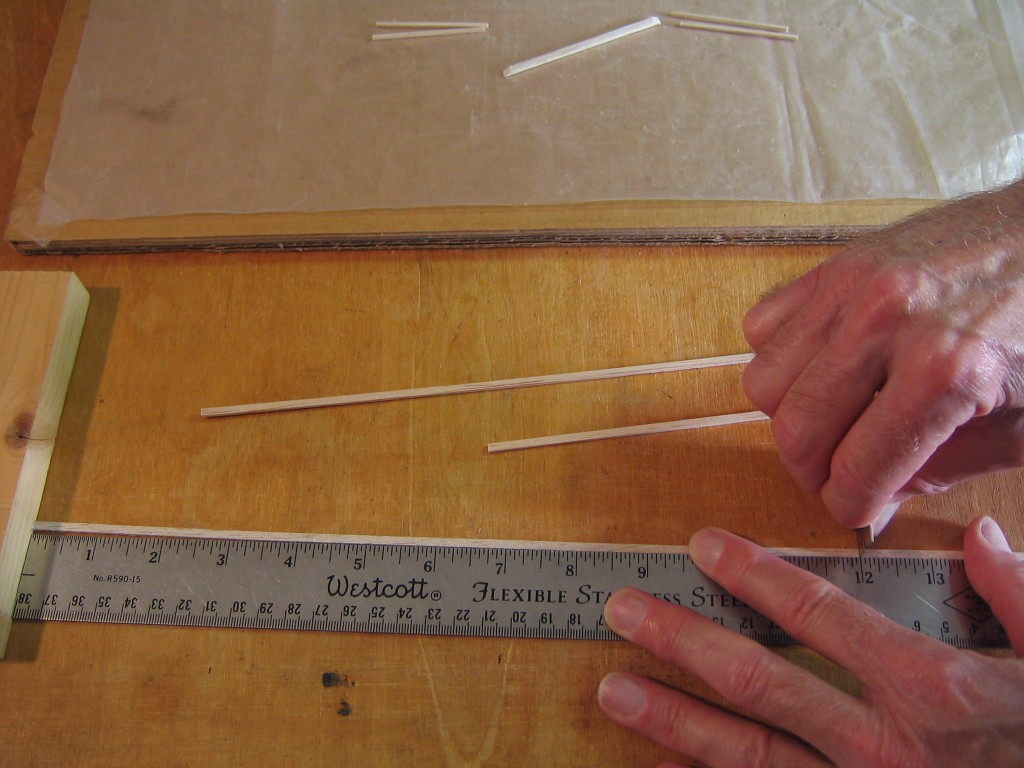
The AMA Cub sticks are 9″ long. The Squirrel requires 12″ long sticks for the wing spars. We must splice sticks together to get the required length. The splice should be at least four times as long as it is wide. I cut a wedge off one end of two sticks.
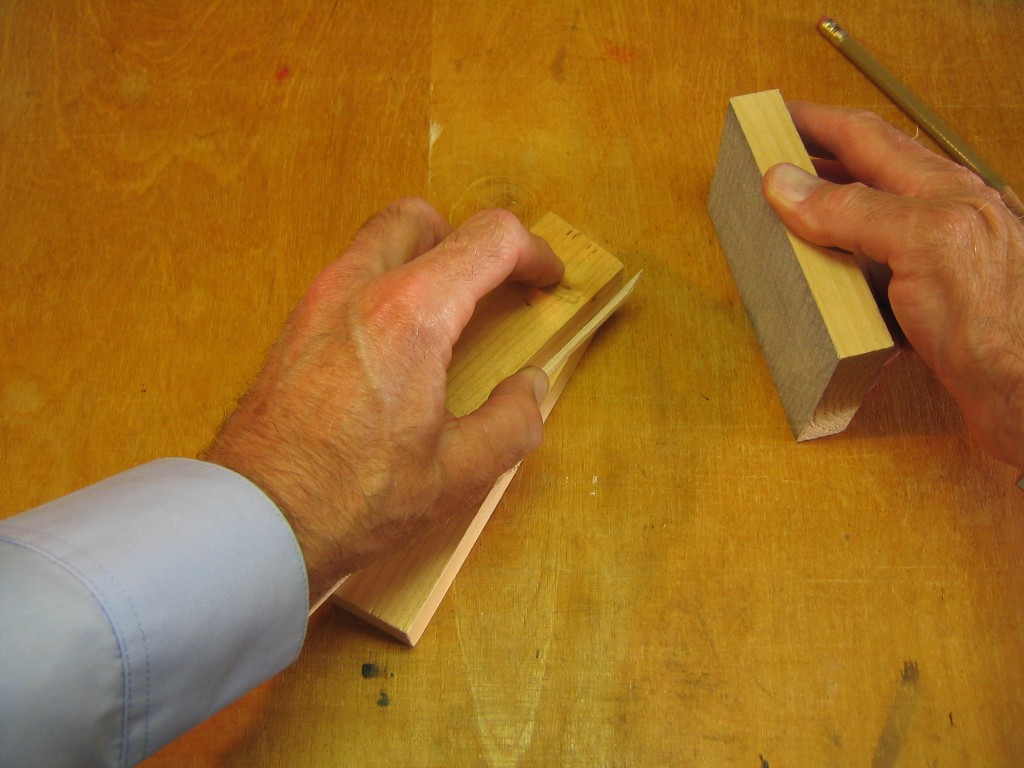
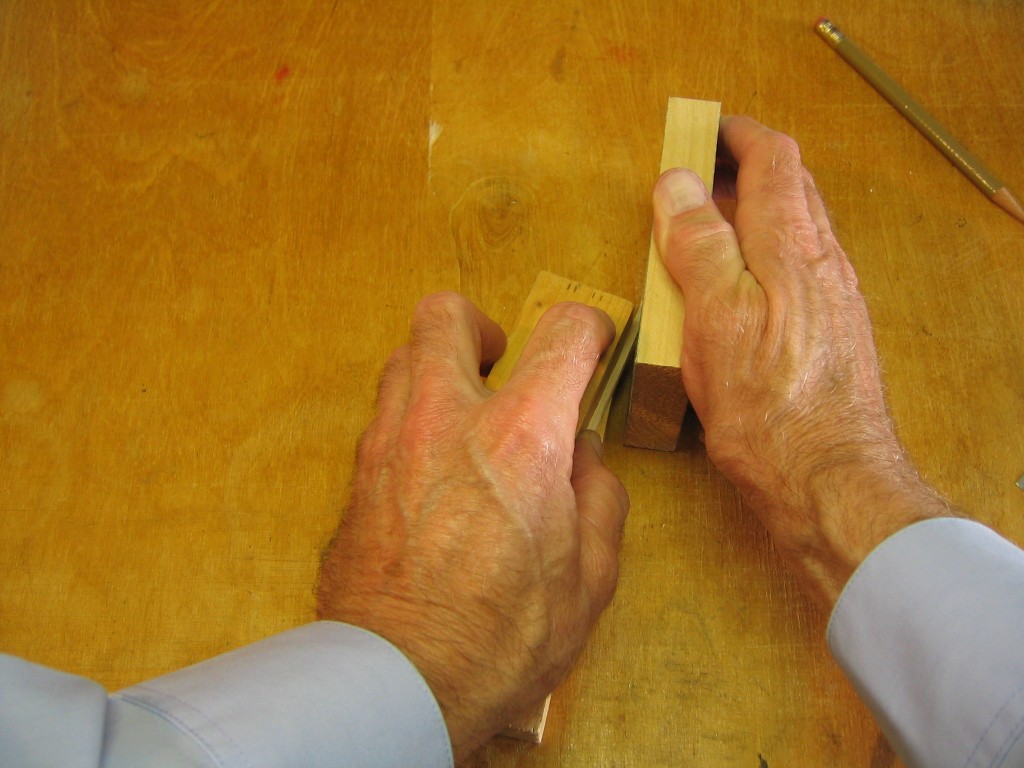
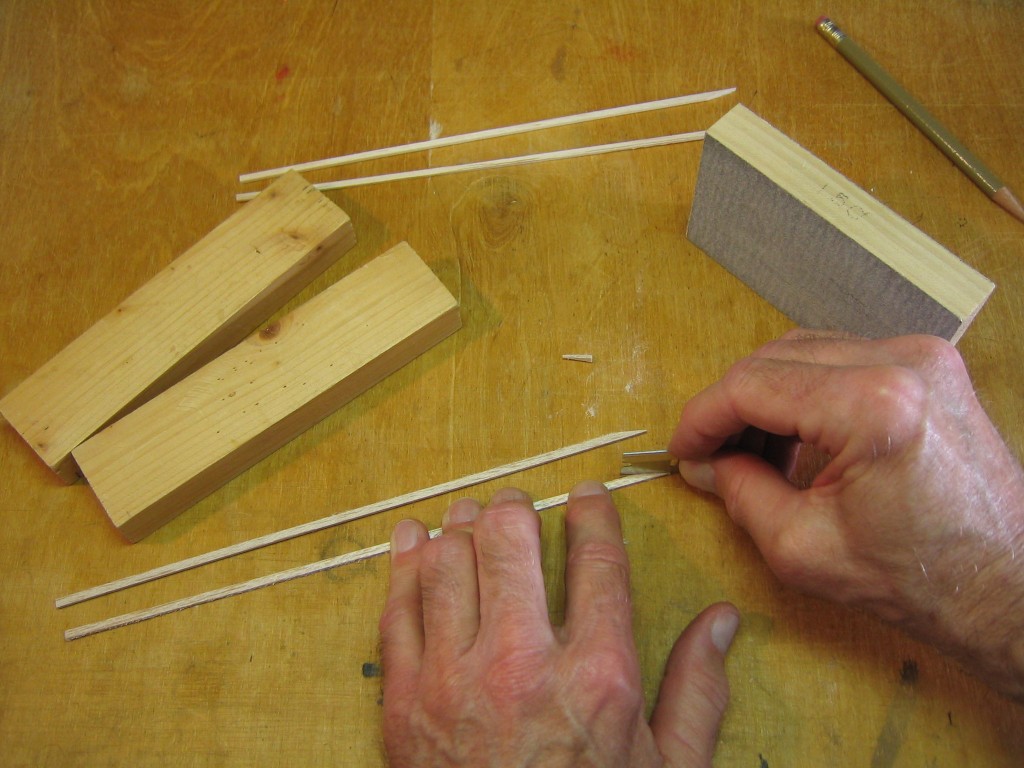
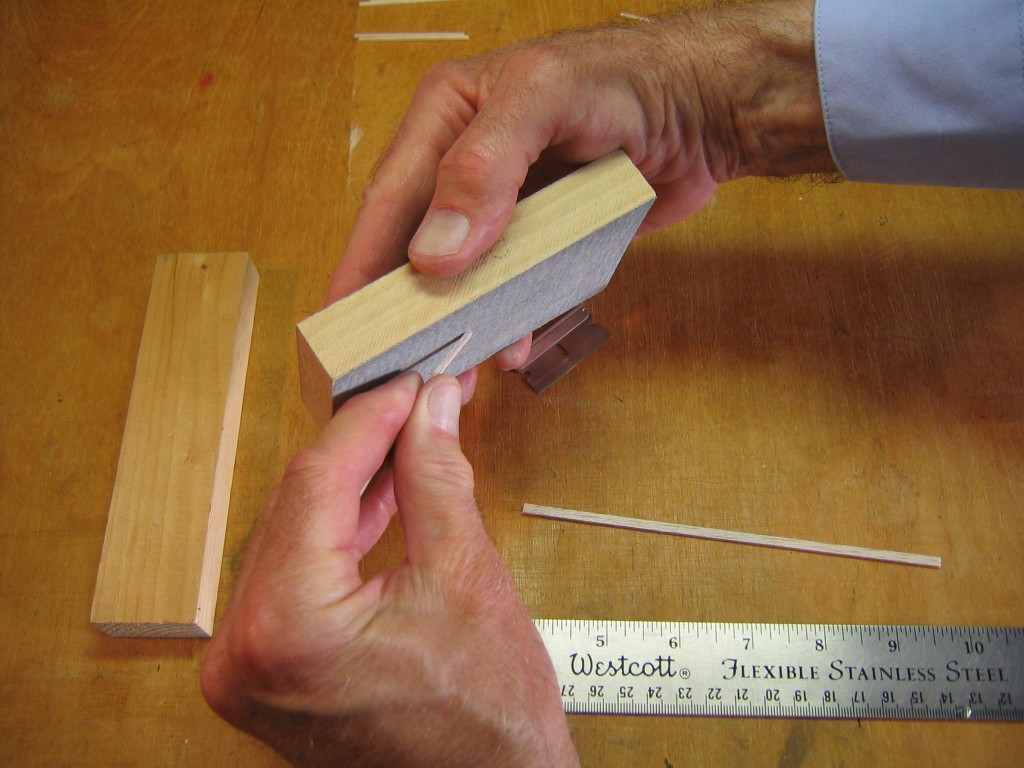
A proper joint requires that the faces of both cuts be square, flat and at the same angle. The faces are trued up with a sanding block. The sticks are put on top of each other, on top of a block and backed with another block.
Sanding them together makes them match. The sanding block was cut with the edges exactly square with the faces. Holding the edge firmly against the table makes the sandpaper vertical so the sanded faces are also vertical. These first two sticks were the heaviest and will make the leading edge.
The next two sticks will make the trailing edge. I am using the 1/8″ sticks full width. The trailing edge sticks could be thinner. On some of my Squirrels I have used 1/16″ wood for the trailing edge, but that may be a bit fragile. Maybe 3/32″ width wood would be a better choice. If you do change the wingspar width, you will need to change the wingtip rib length accordingly to fit between the wing spars.
I made two pairs of sticks for splicing. With three sticks of similar density, I could have spliced all three together into one long piece and cut two 12″ lengths from each end for the necessary two wing spars.
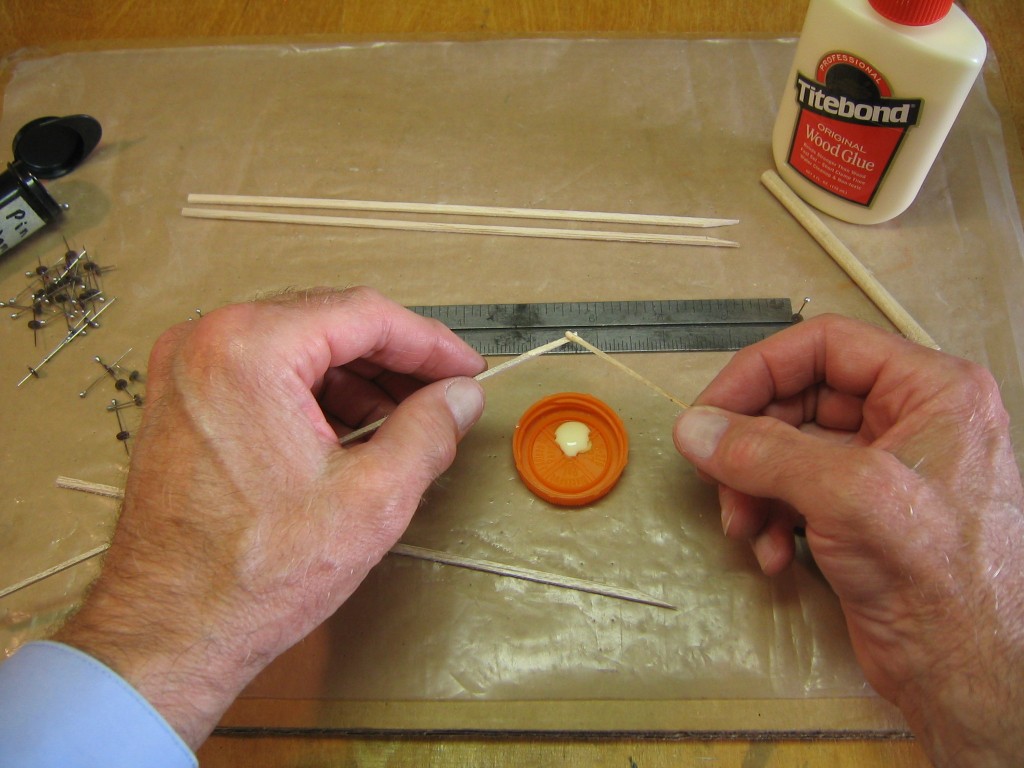
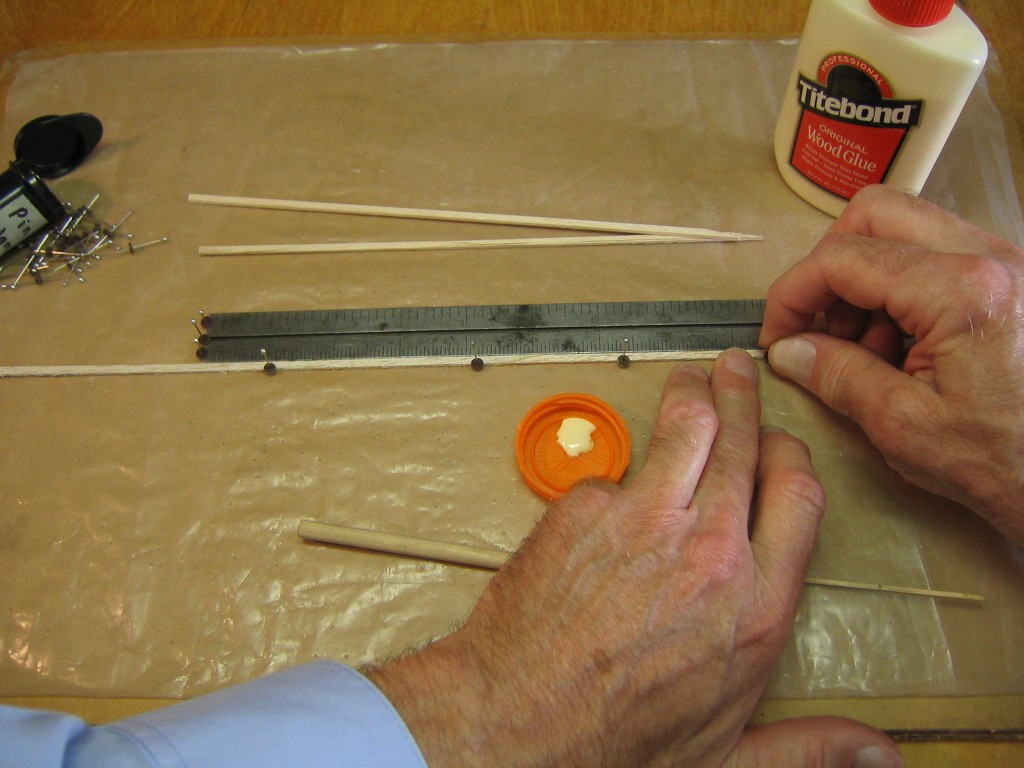
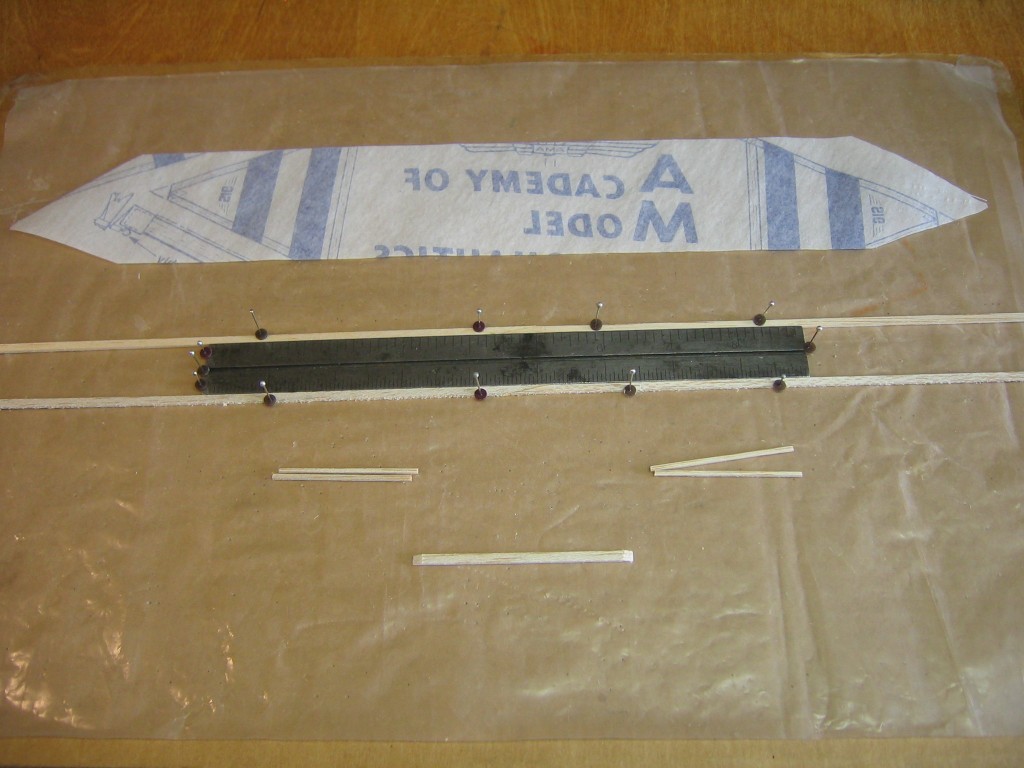
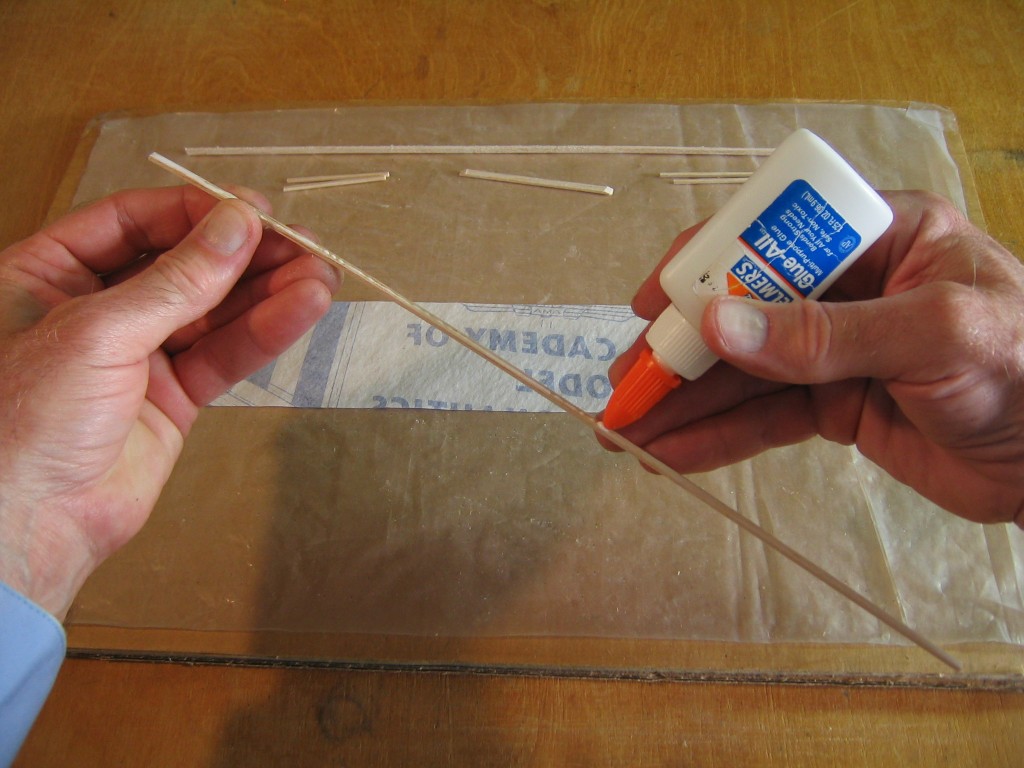
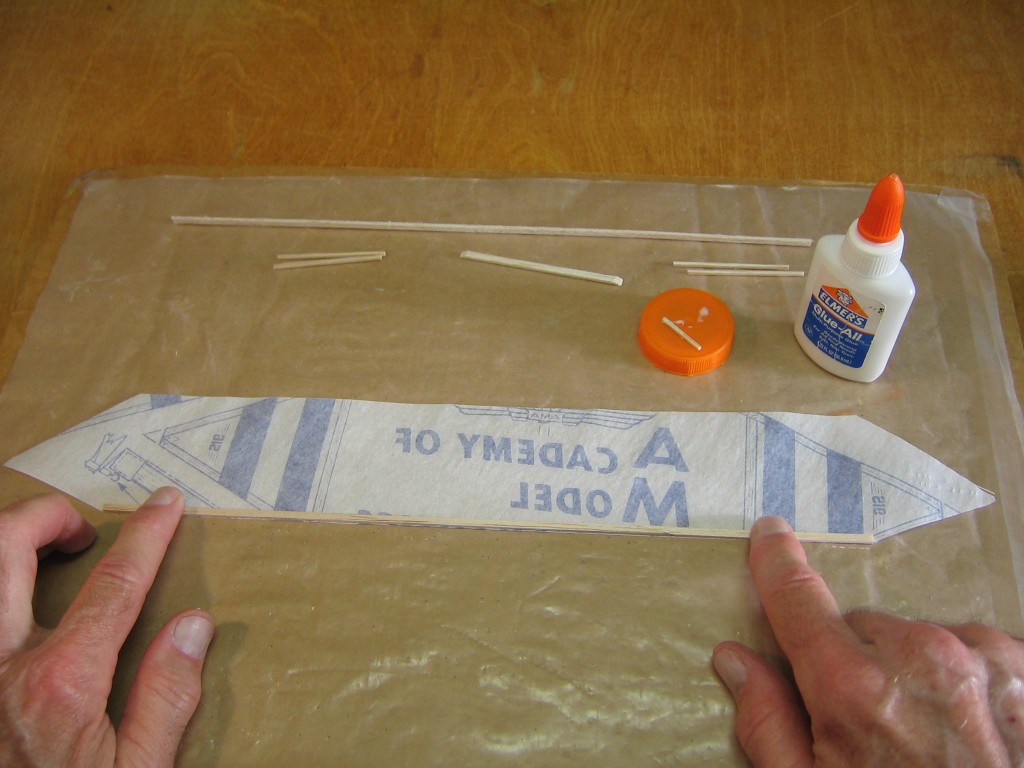
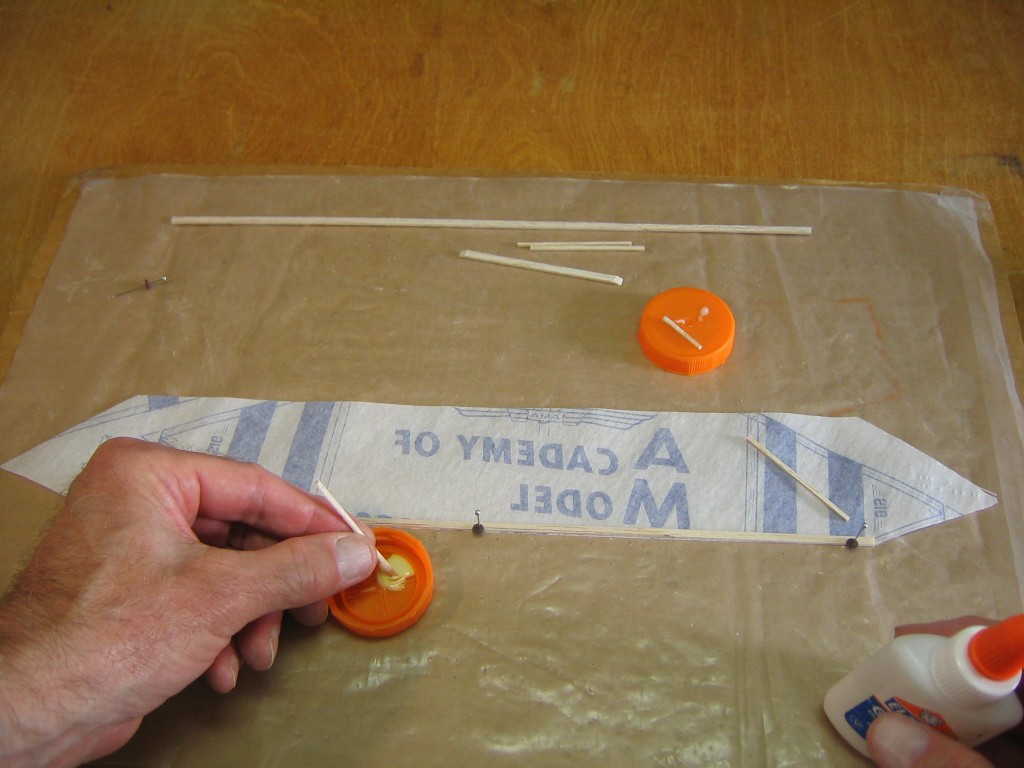
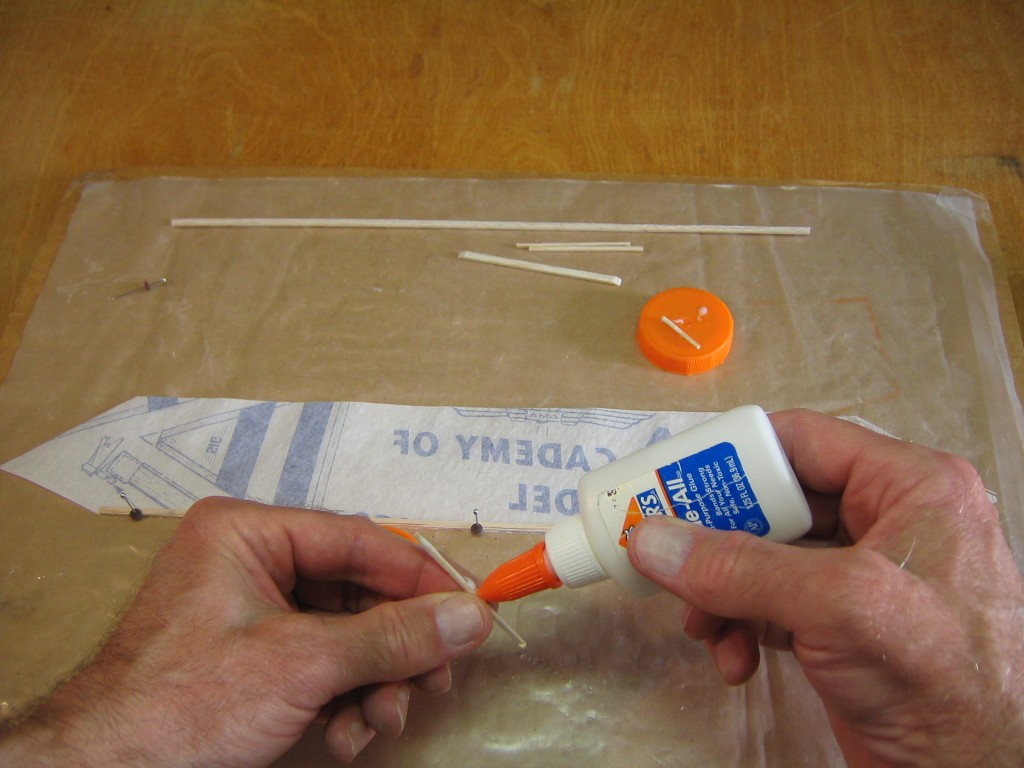
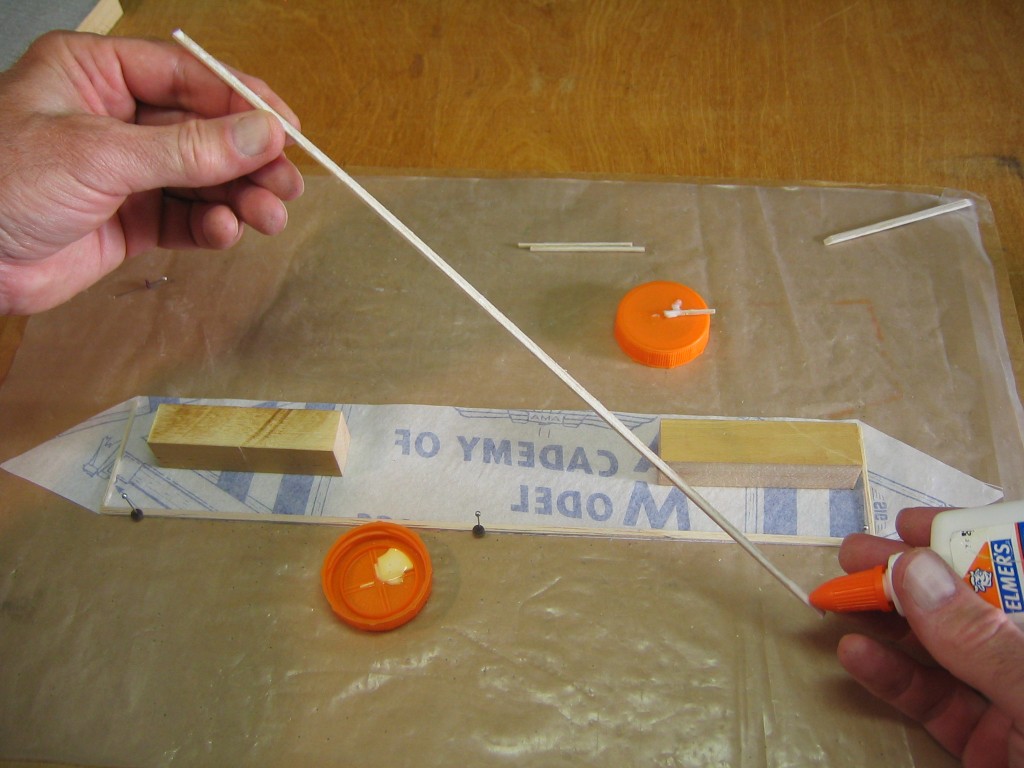
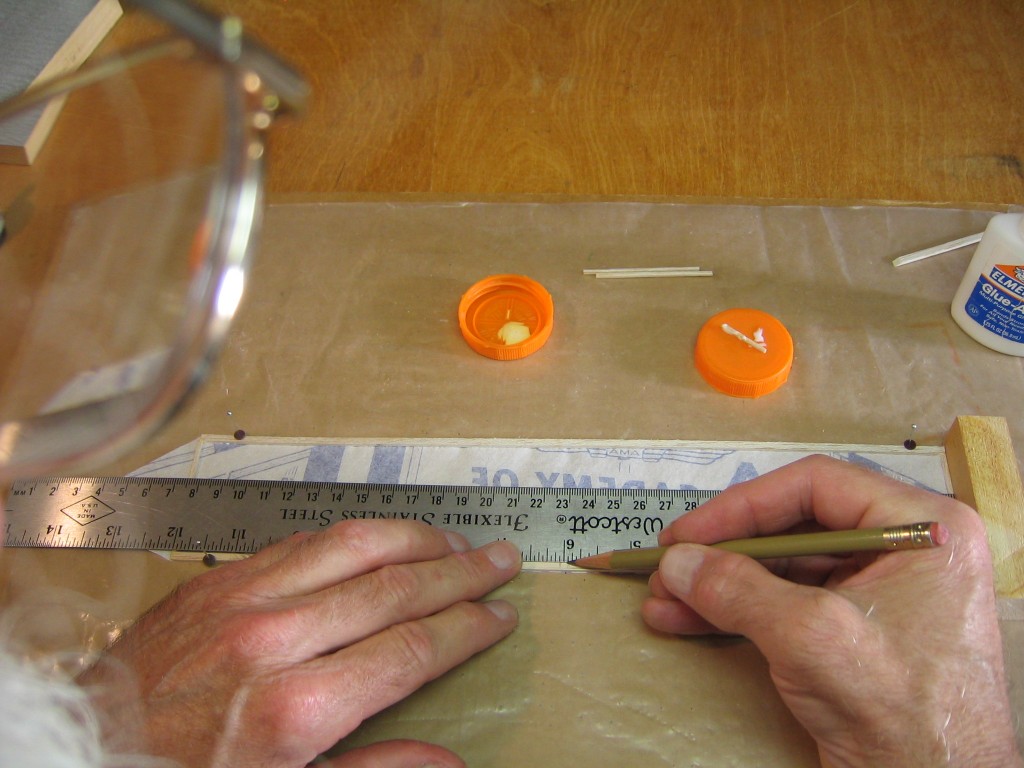
I applied carpenter’s wood glue to one of the bevel cuts. I am going to pin them to a cardboard building board that is covered with plastic sheet to keep the glue from sticking the sticks to the board. I have pinned a straightedge to the board as a jig.
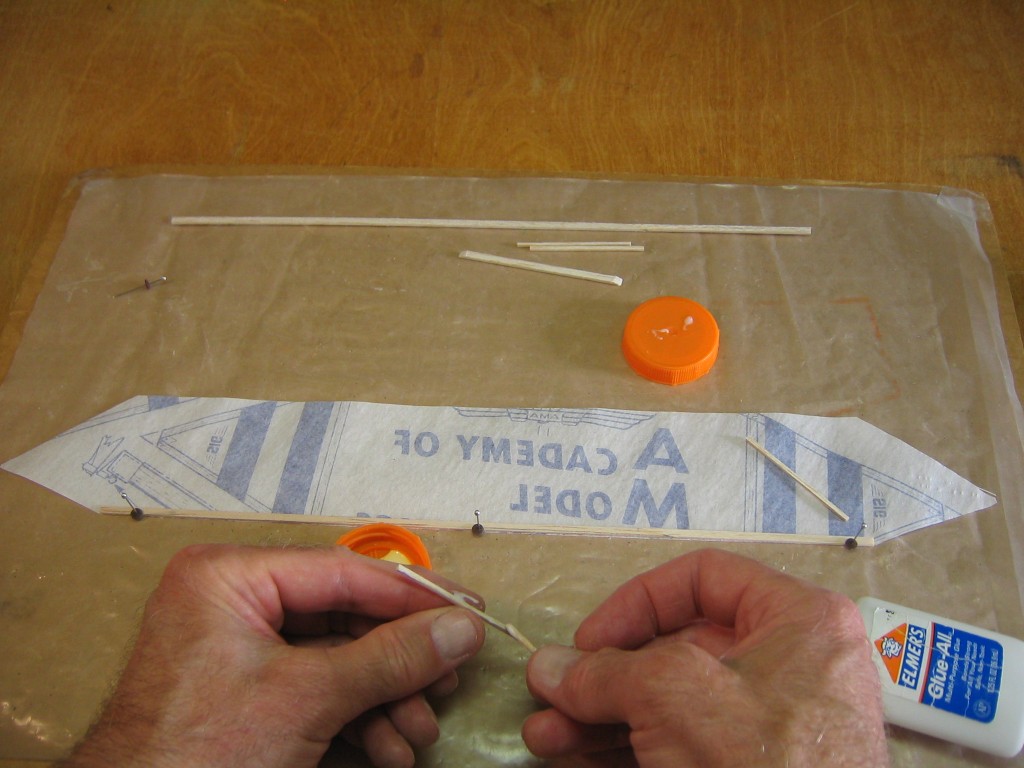
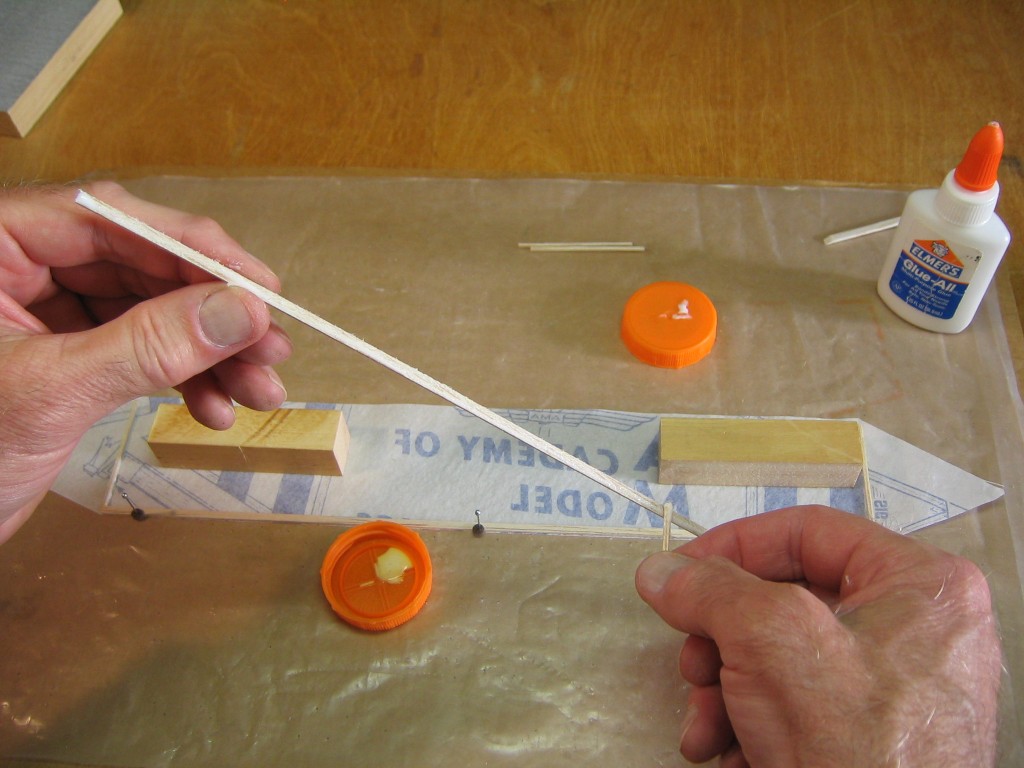
I butted them together up against the straightedge.
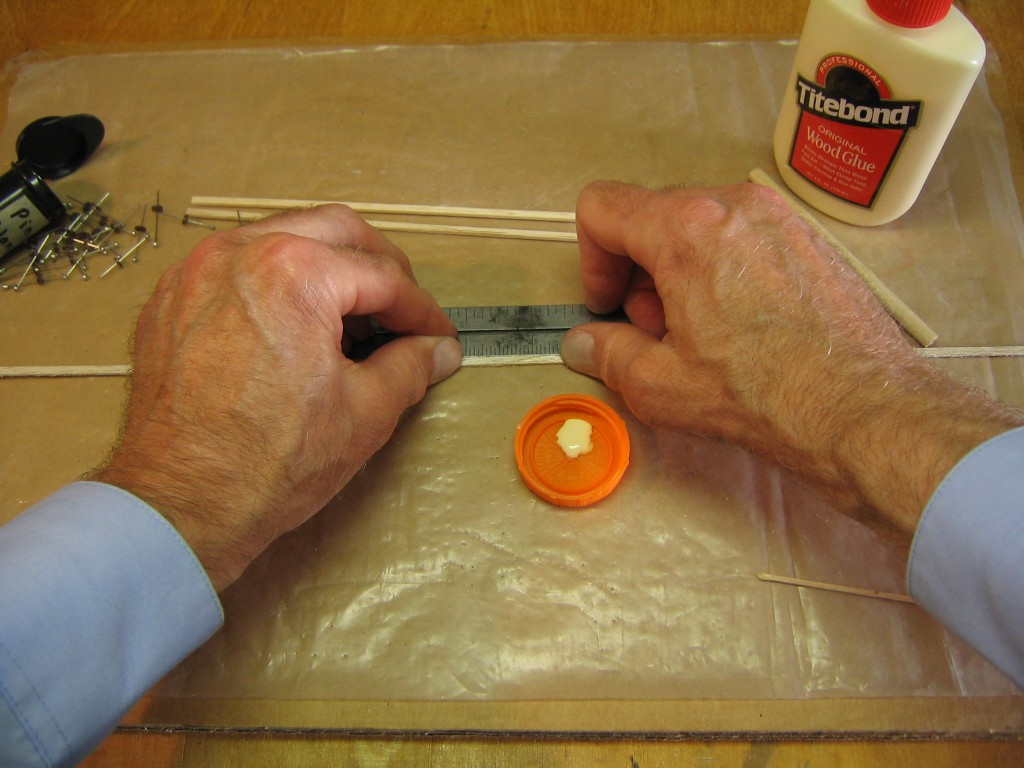
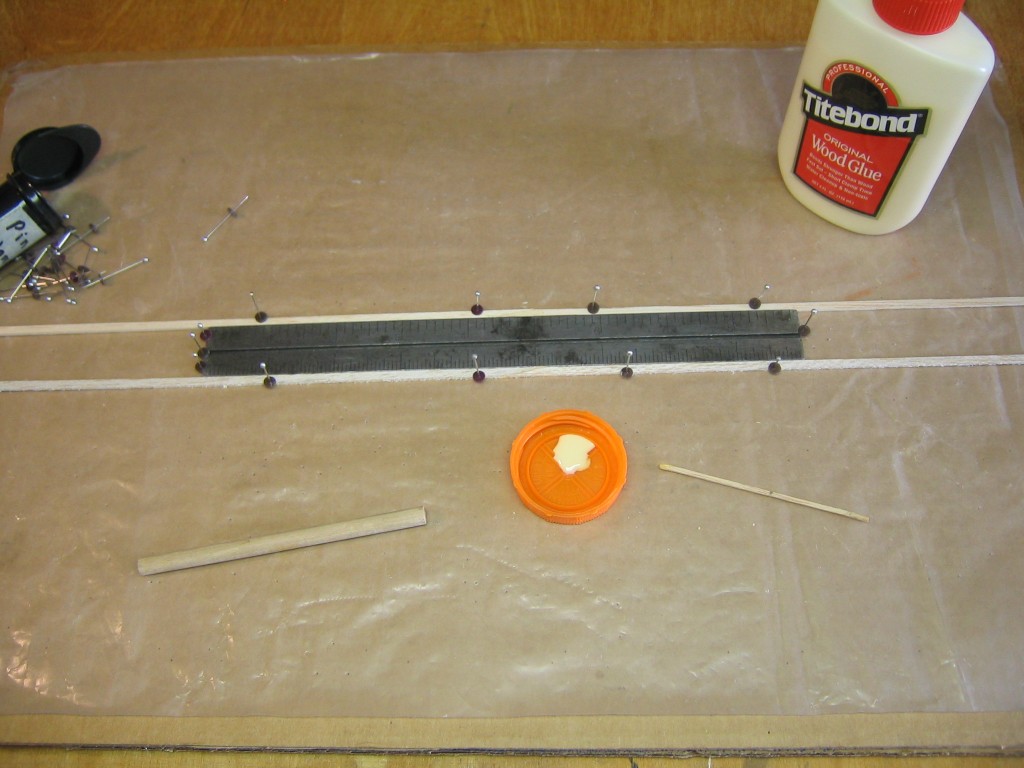
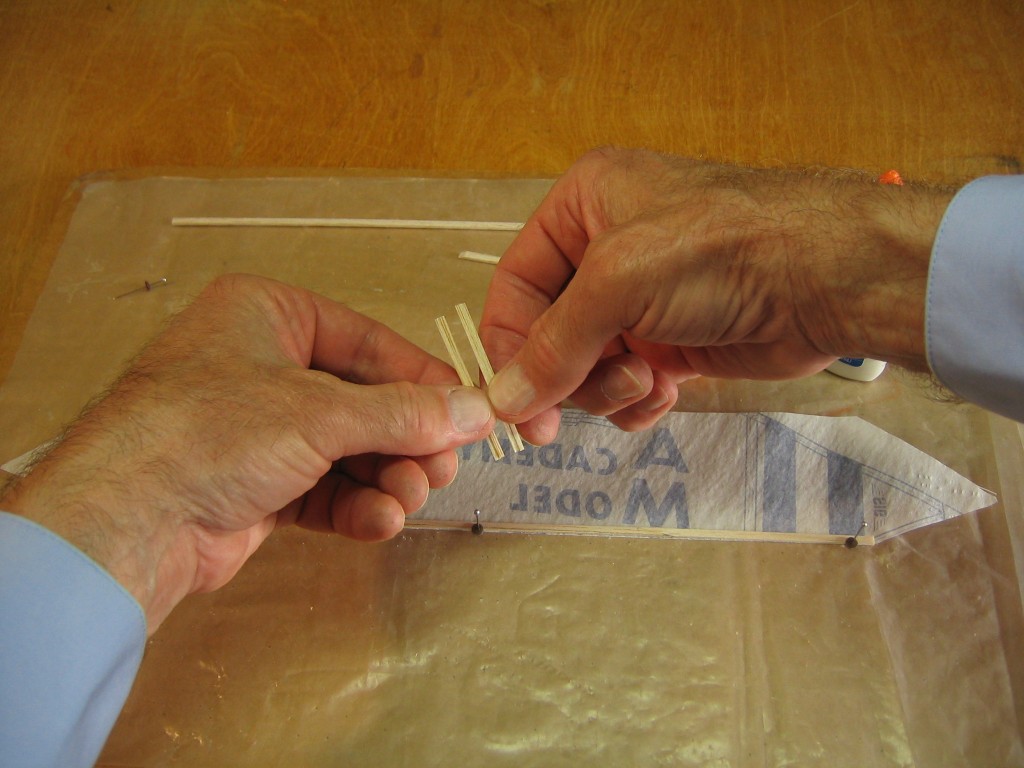
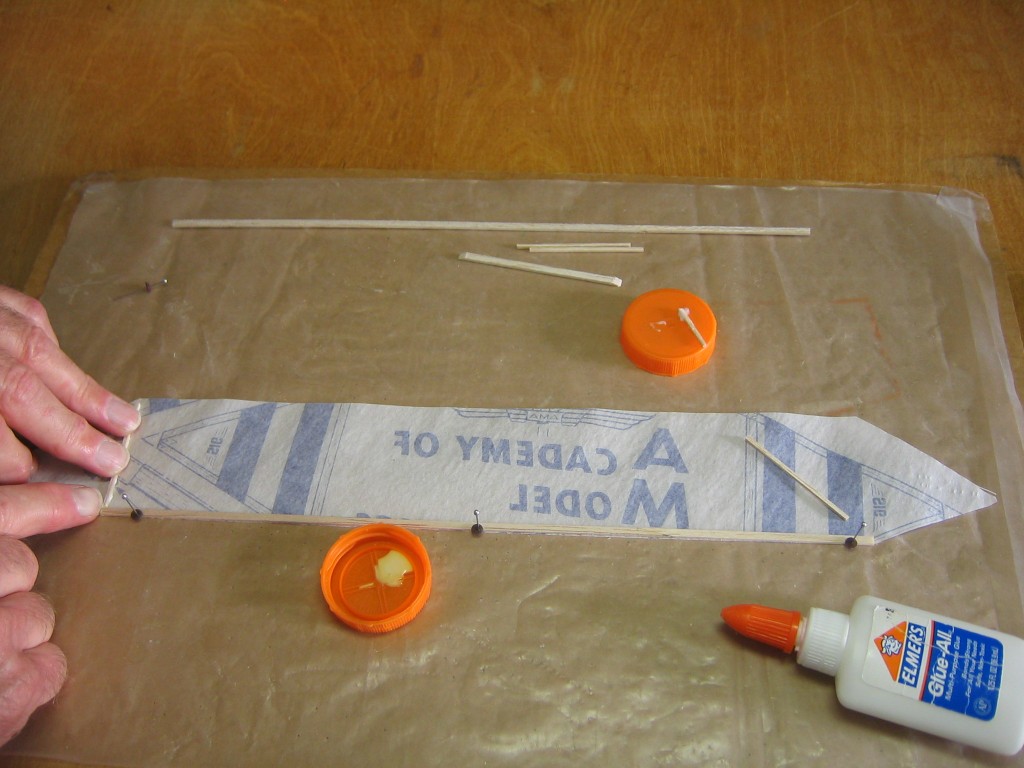
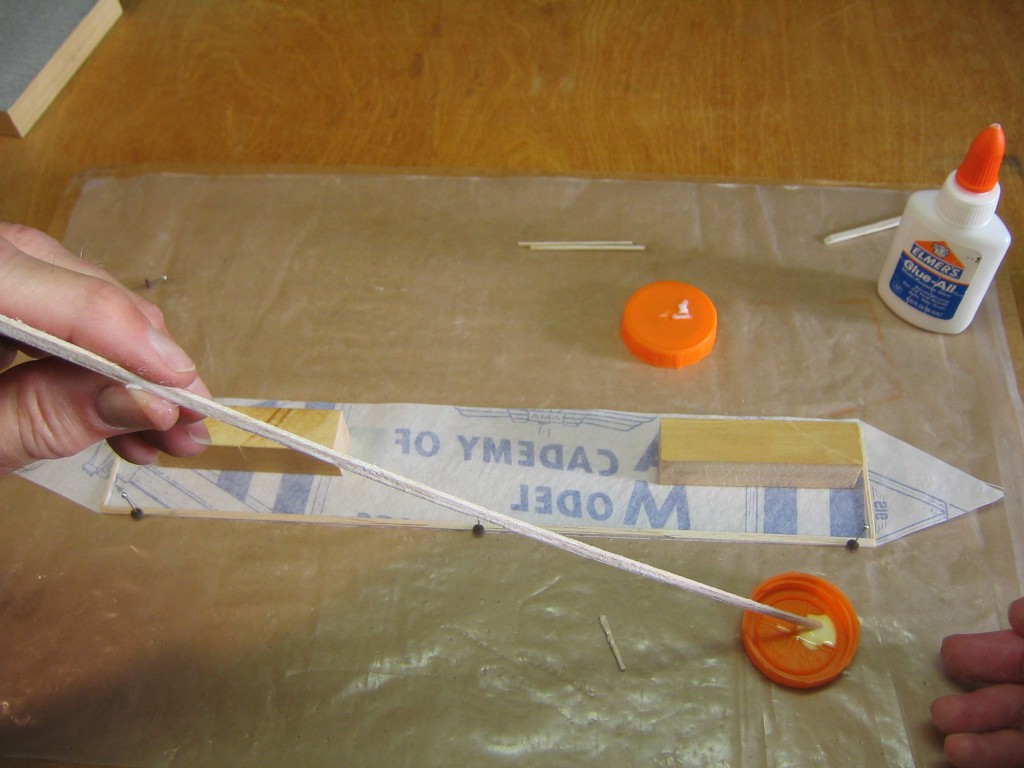
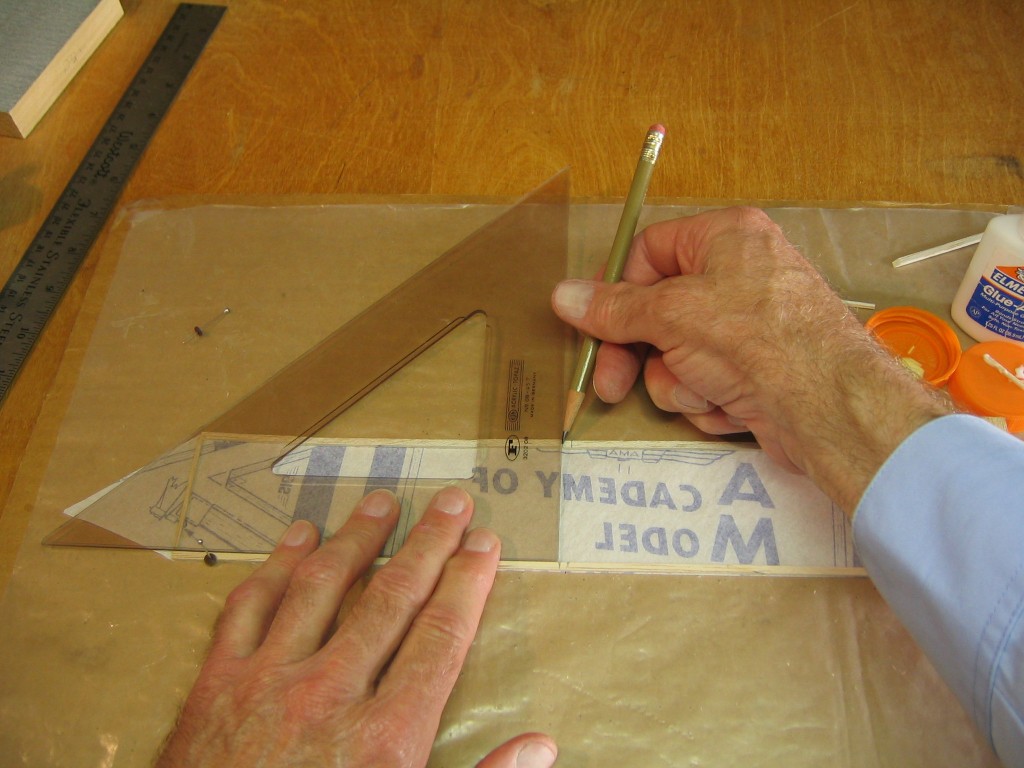
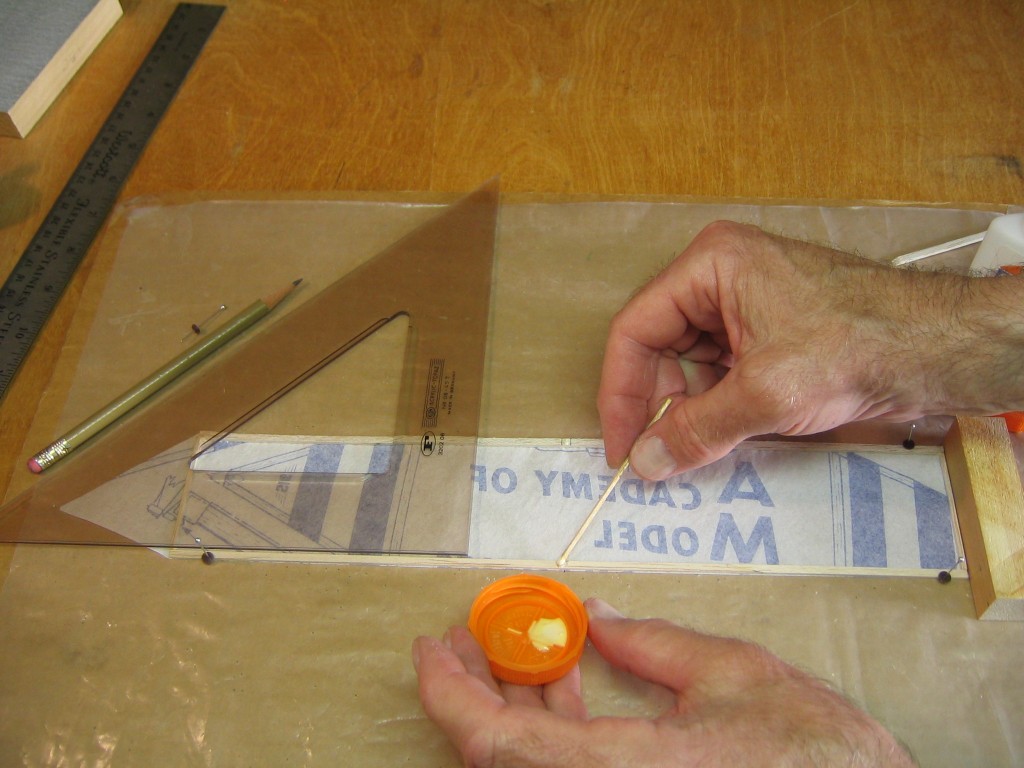
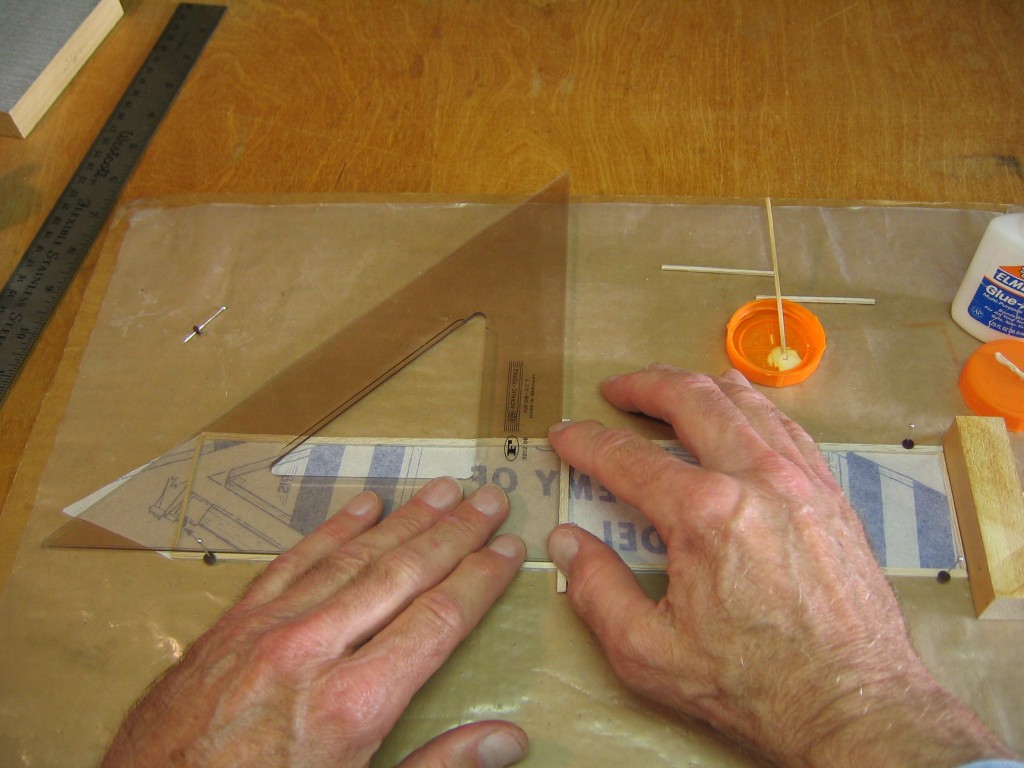
I pined the sticks against the straightedge. The pins holding the straightedge in place at the ends were not very secure.
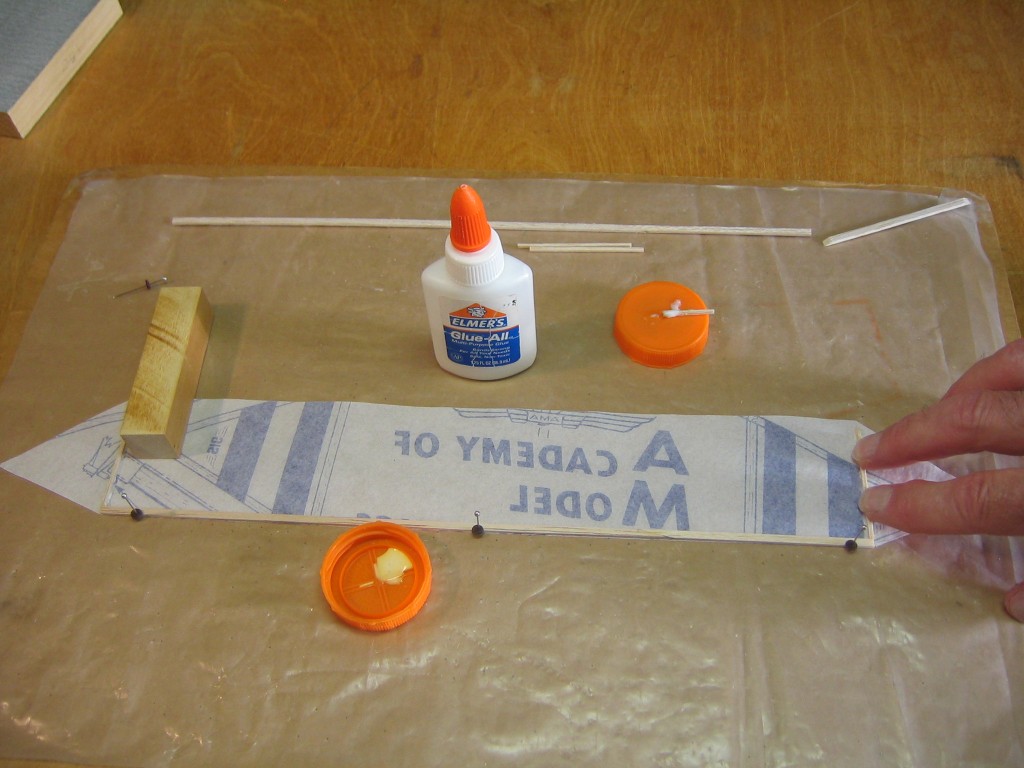
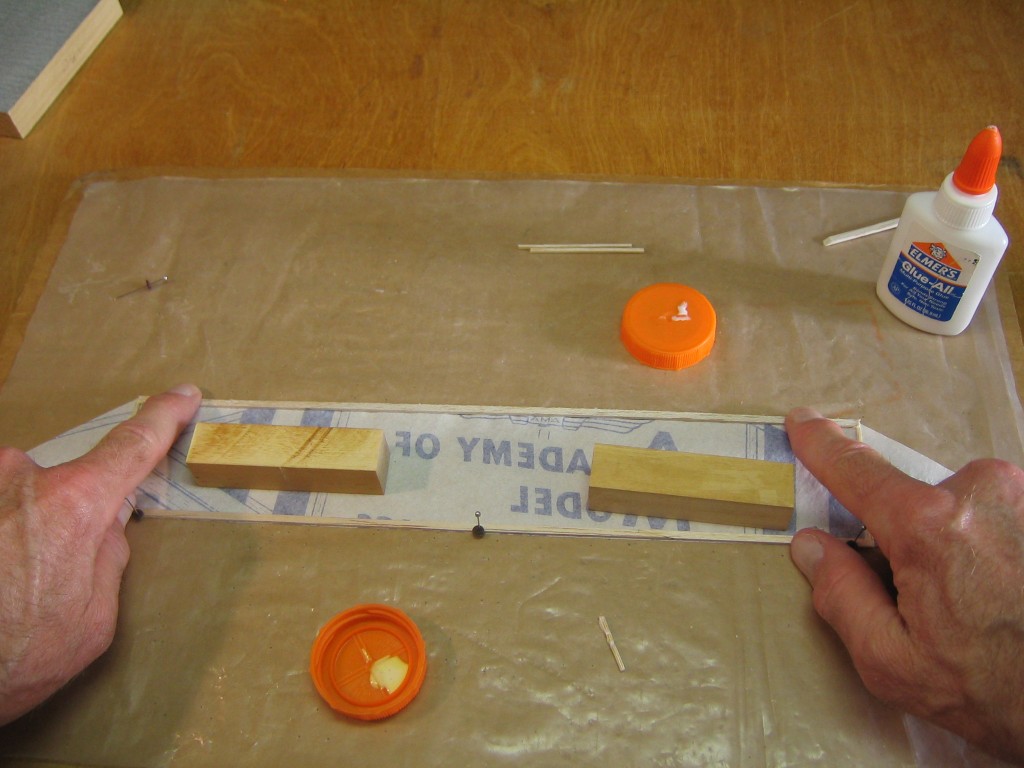
The pins holding the second stick against the opposite side of the straightedge held everything securely in place. This is an important structural joint, so the glue must be allowed to dry thoroughly before removing the sticks.
I stripped one of the medium density sticks to 1/16″ square.
The Squirrel needs only one piece, so the rest goes into the scrap box. I have built whole airplanes from scrap material.
I cut two pieces 2″ long for the wing tip ribs. (These are a little shorter than shown on the diagram, because I used a wider stick for the trailing edge.)
I cut two pieces 2 1/16″ long for the wingtip fin struts. The scrap is just right for spreading glue.
I cut a 3″ piece from one of the medium density pieces for the wing hold down. The 6″ offcut will be the tailplane spar.
I sanded a 30 degree taper in the ends of the hold down stick, to allow the dental elastics to be rolled up onto the stick. Both tapers are sanded on the same side of the stick.
I cut a 2 1/4″ piece from one of the lighter sticks for the fin spar. The fin spar will not project below the stick on this one, since I will use a motor hook made from a bent pin, rather than an extension of the fin spar.
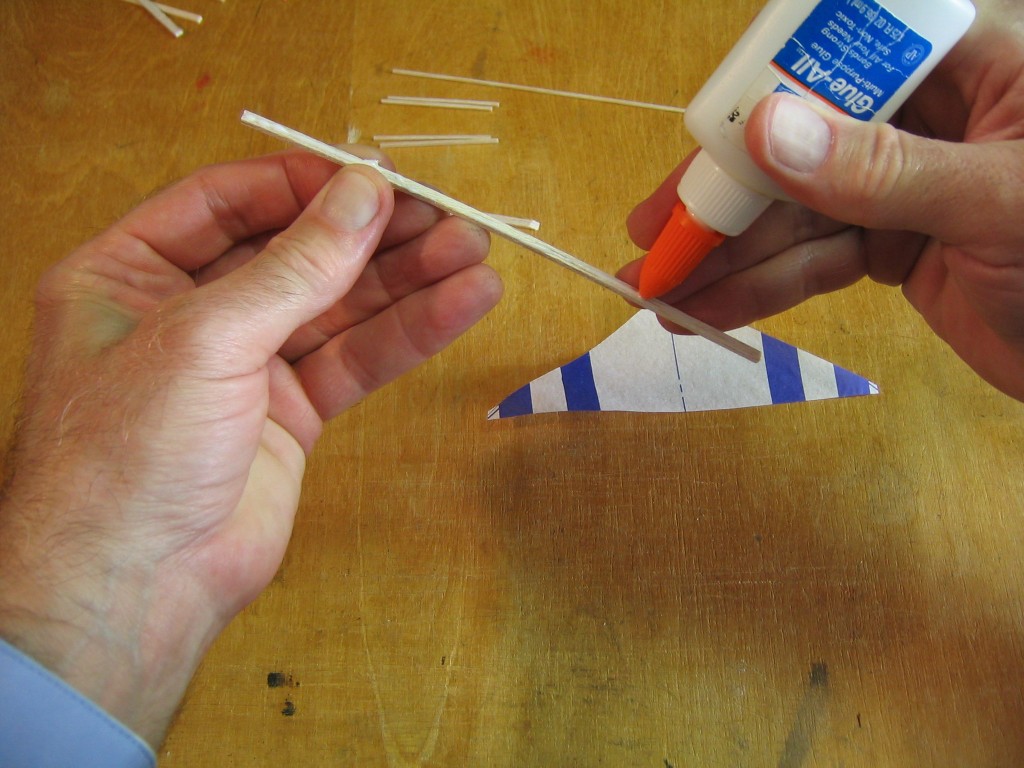
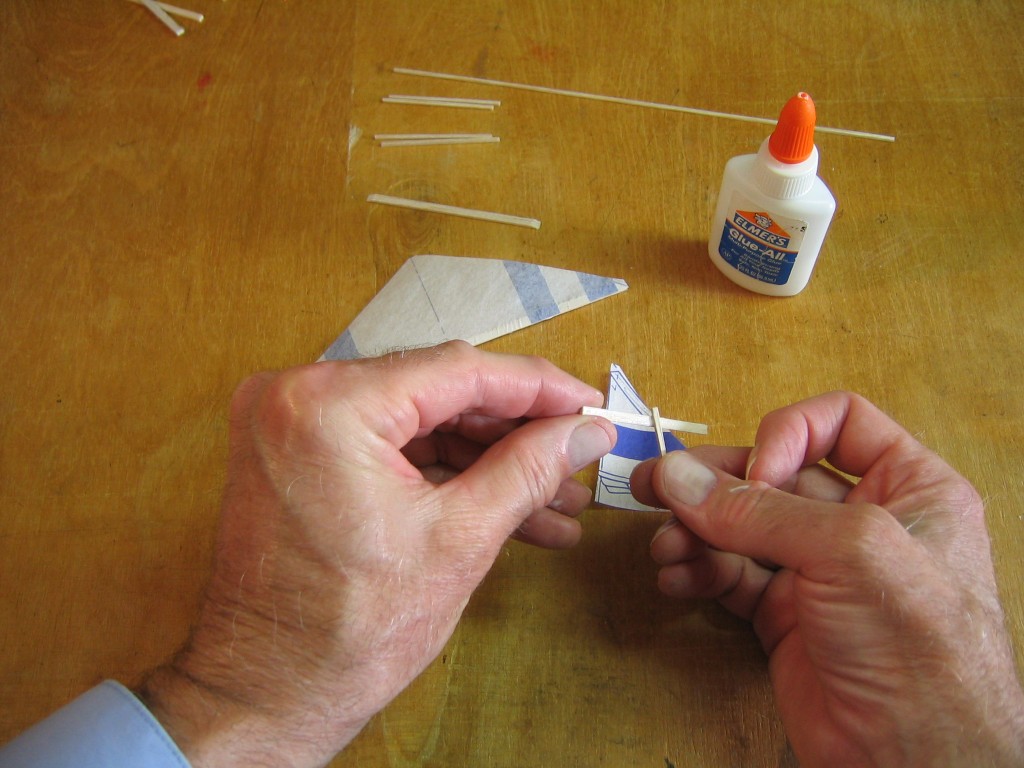
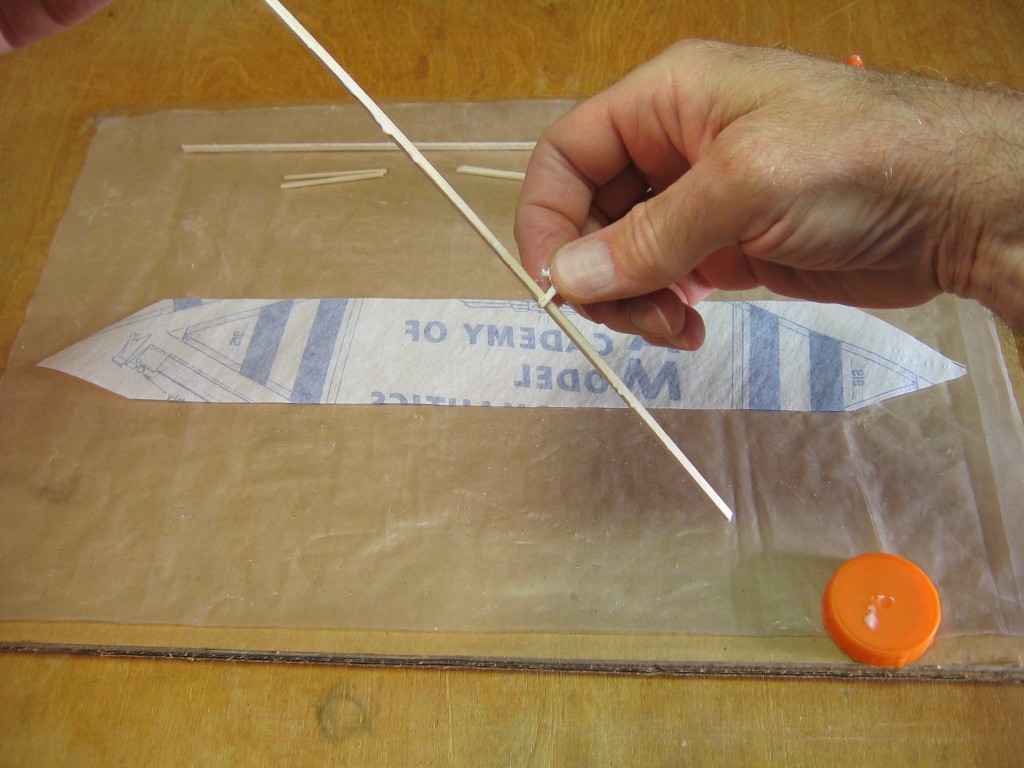
I drew a line of glue onto a 1/8″ face of the 6″ stick.
I spread the glue with the 1/16″ square scrap. The glue is spread thin enough to see through and still leave a glossy surface.
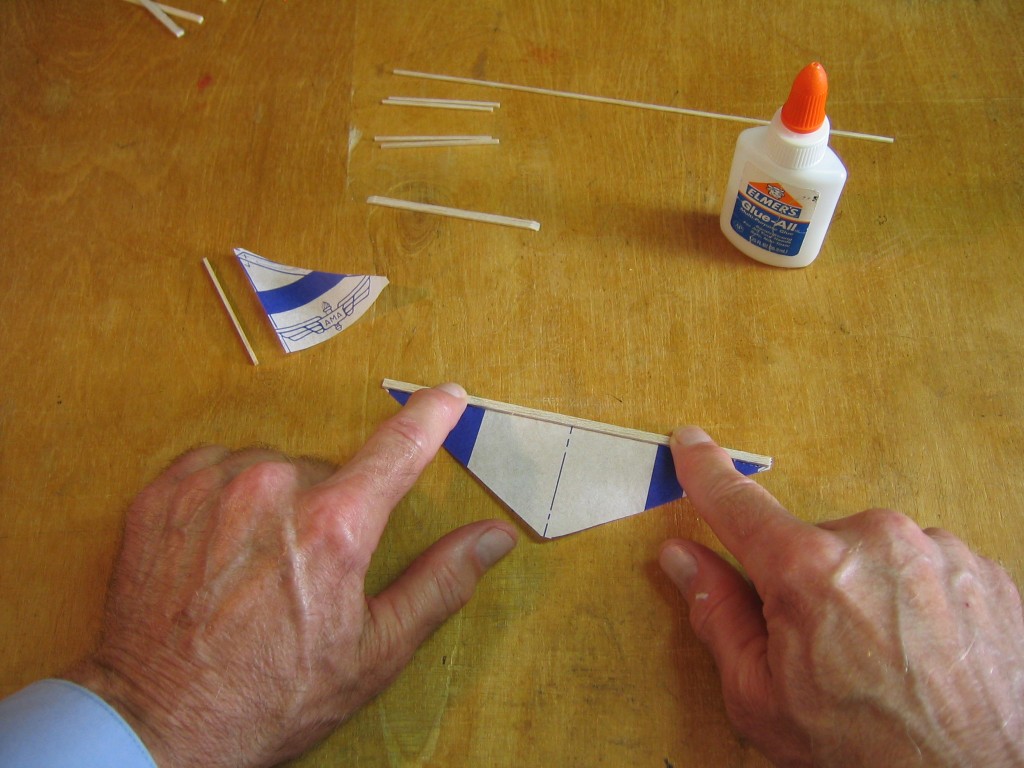
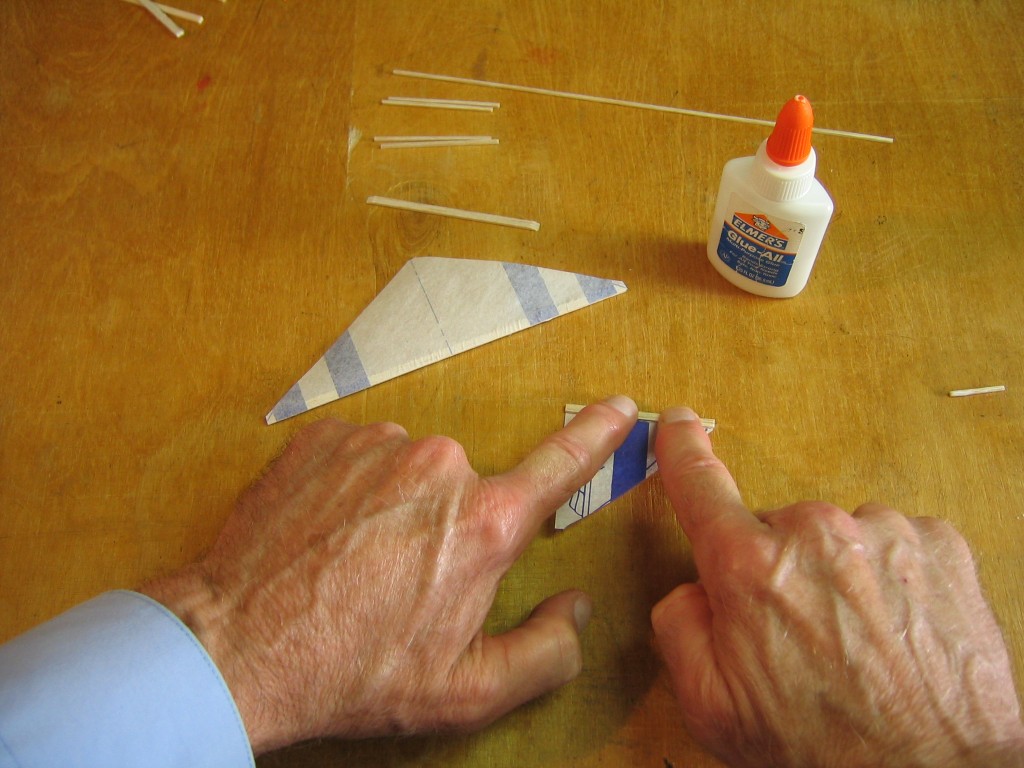
I carefully aligned the spar along the leading edge of the tailplane and pressed it in place.
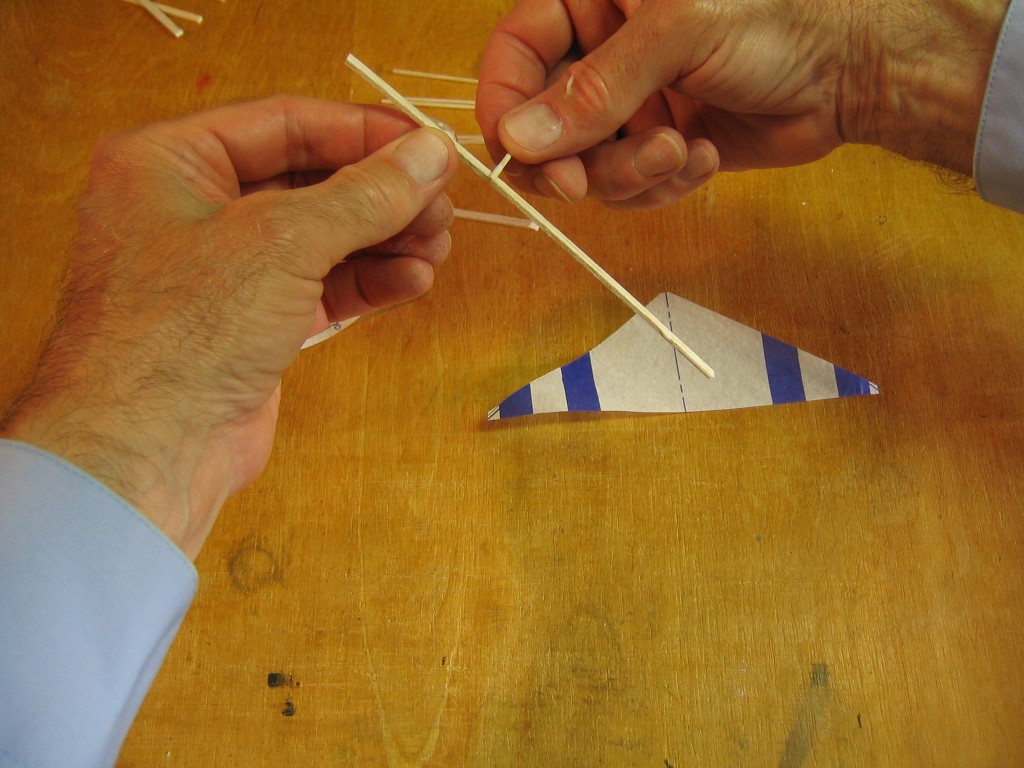
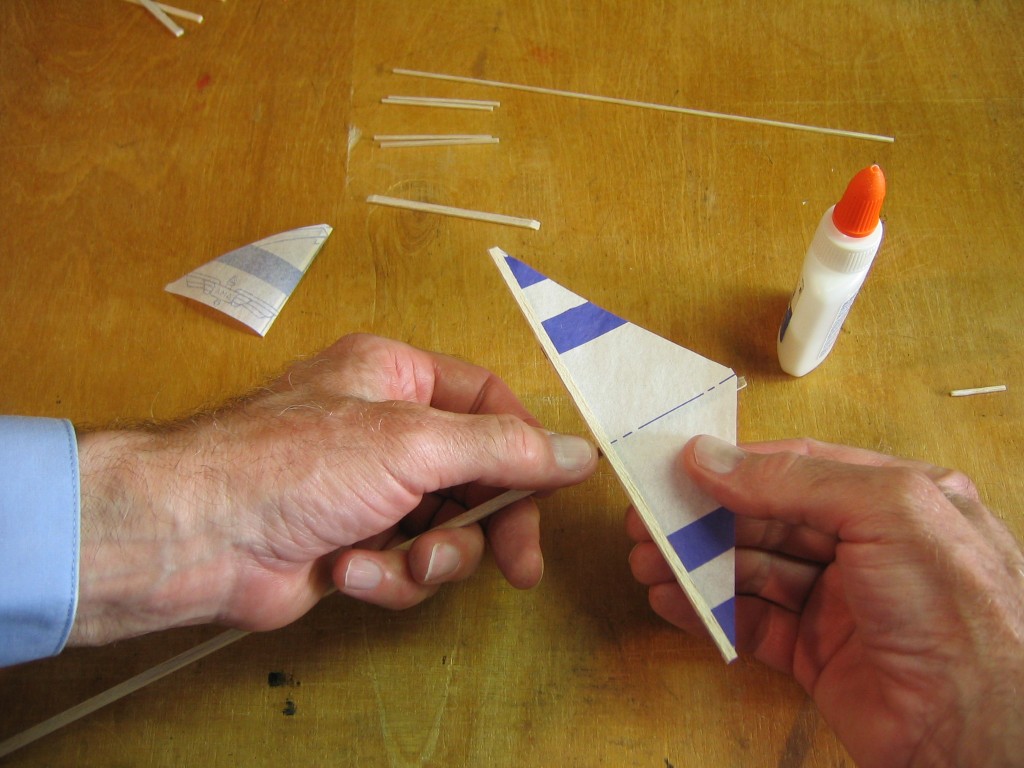
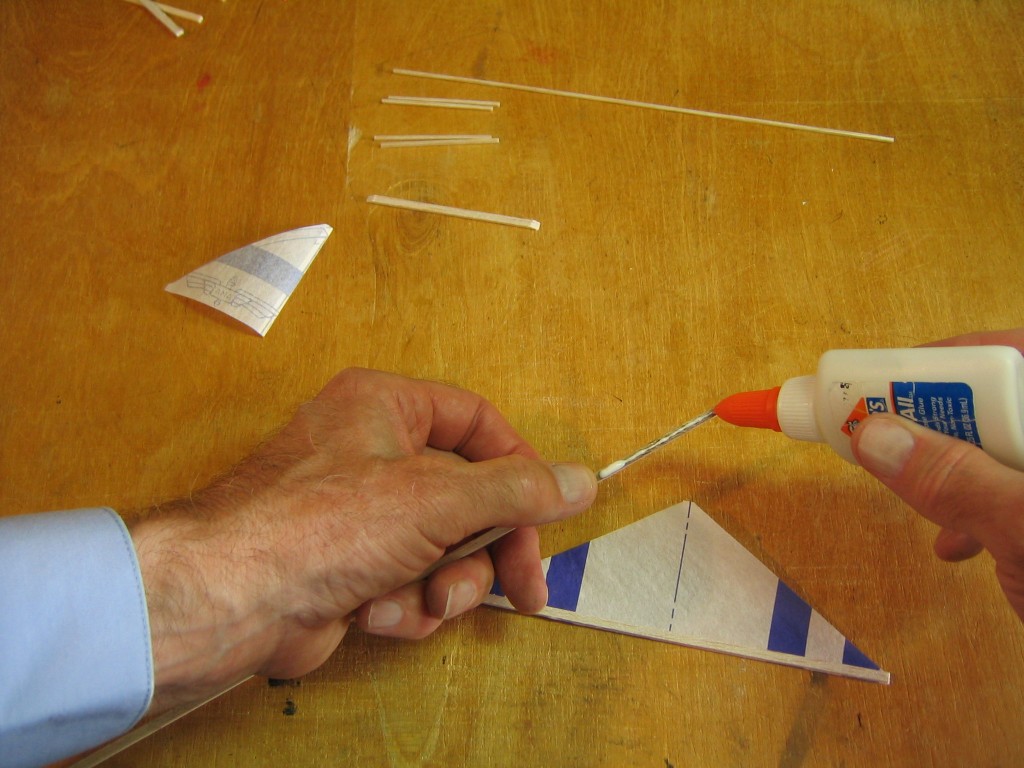
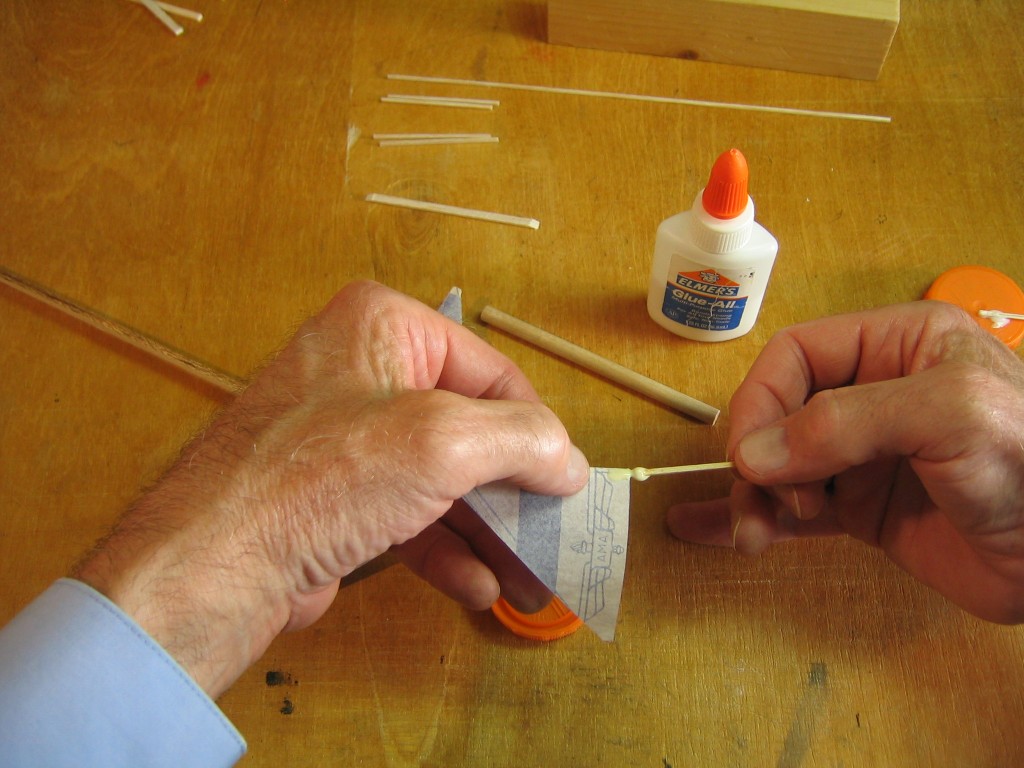
I similarly applied glue to the fin spar.
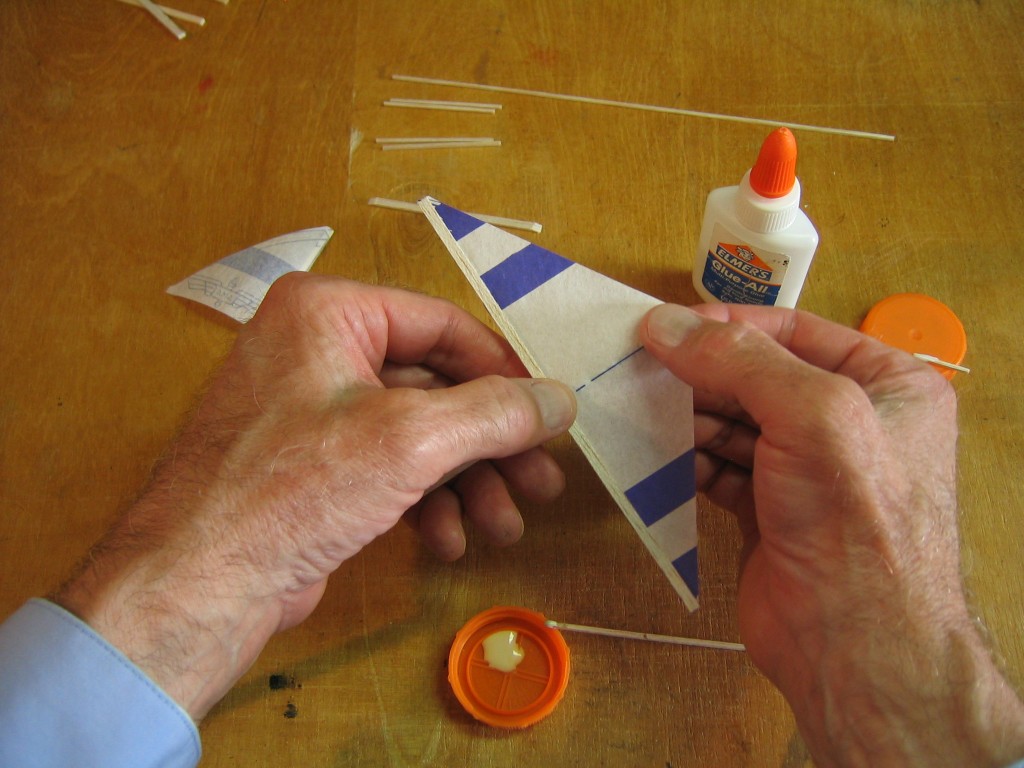
I pressed the fin spar to the leading edge of the fin paper. The spar length exactly fits the paper. The fin root is slightly longer than the span. The spar goes along the span.
I placed the tailplane on the tapered part of the stick and marked the length with my thumb.
I applied glue to that part of the stick and spread it thin.
I put a blob of carpenter’s wood glue on the paper at the center of the tailplane spar.
I carefully aligned the tailplane to the stick and pressed it in place.
I checked that the tailplane was perpendicular to the sides of the stick. I do not want any tailplane tilt.
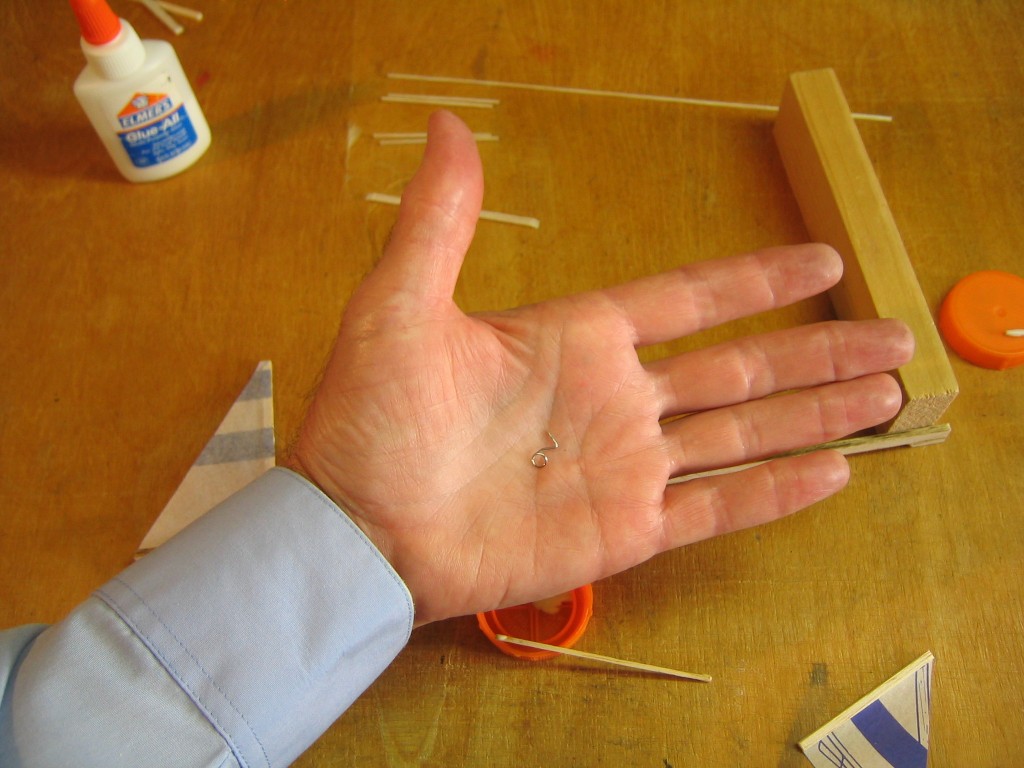
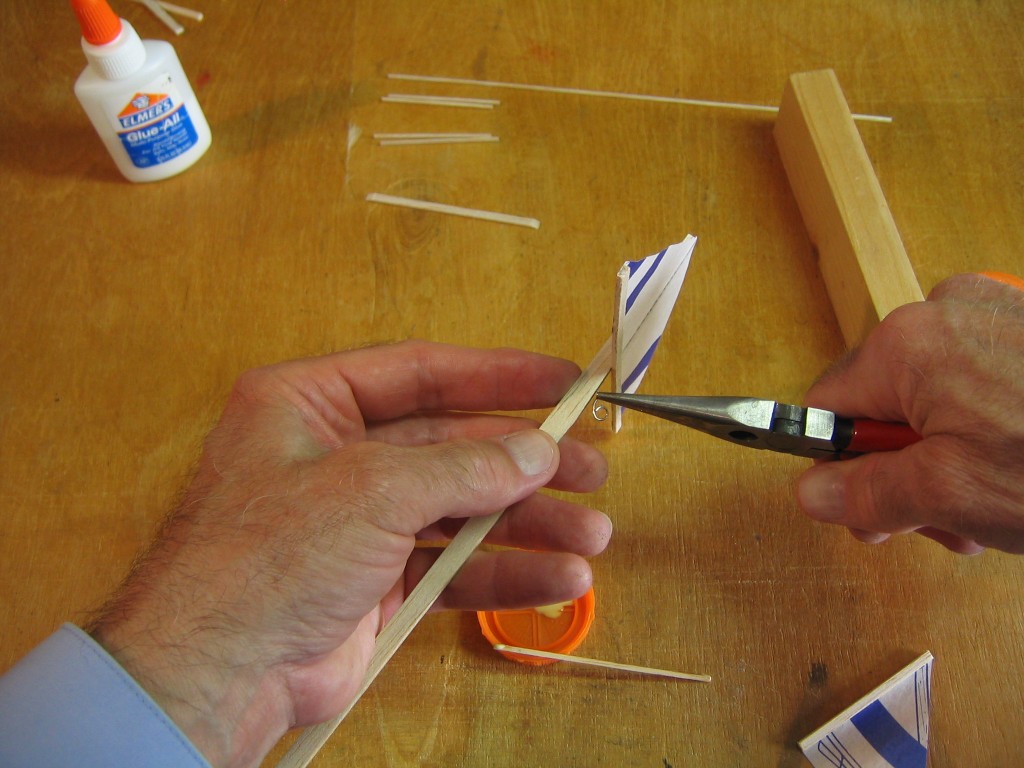
I made a motor hook from a pin, as shown elsewhere on this site.
I pushed the point into the stick just past the beginning of the tailplane taper in the stick.
I applied glue all around the hook where it comes in contact with the stick.
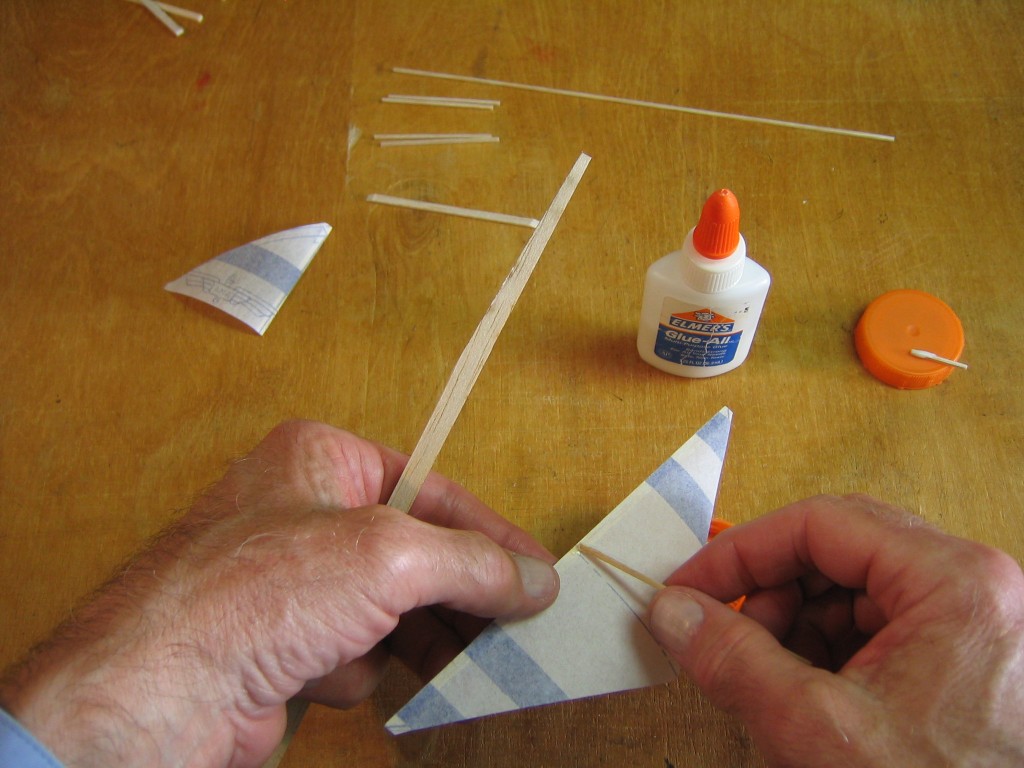
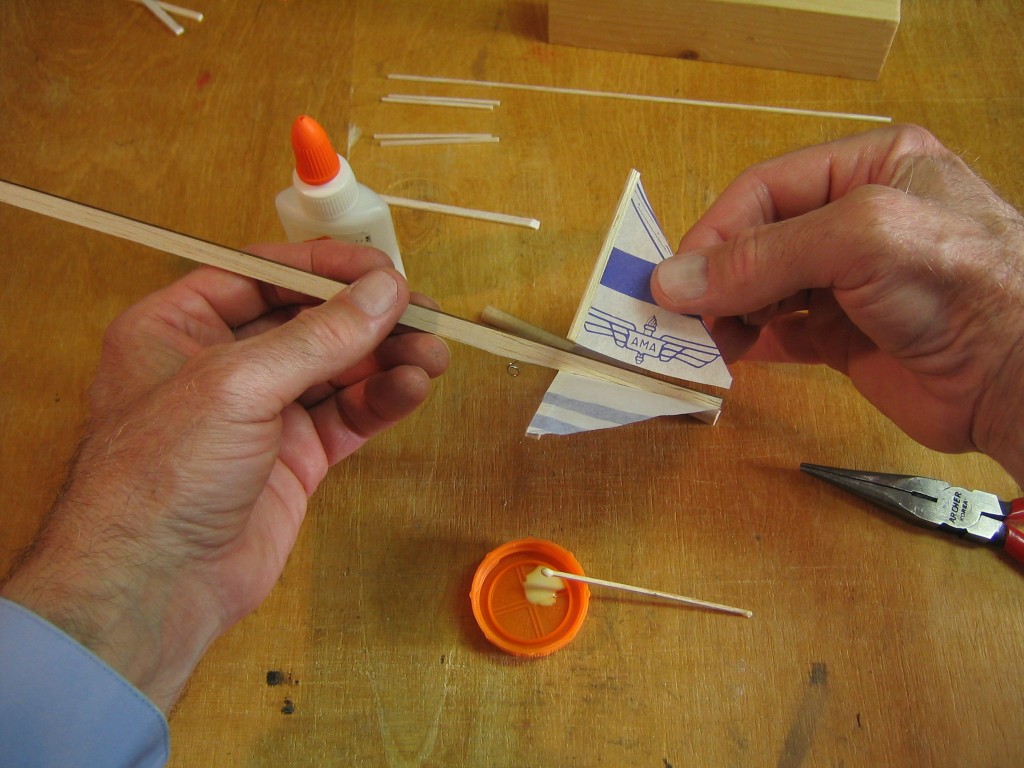
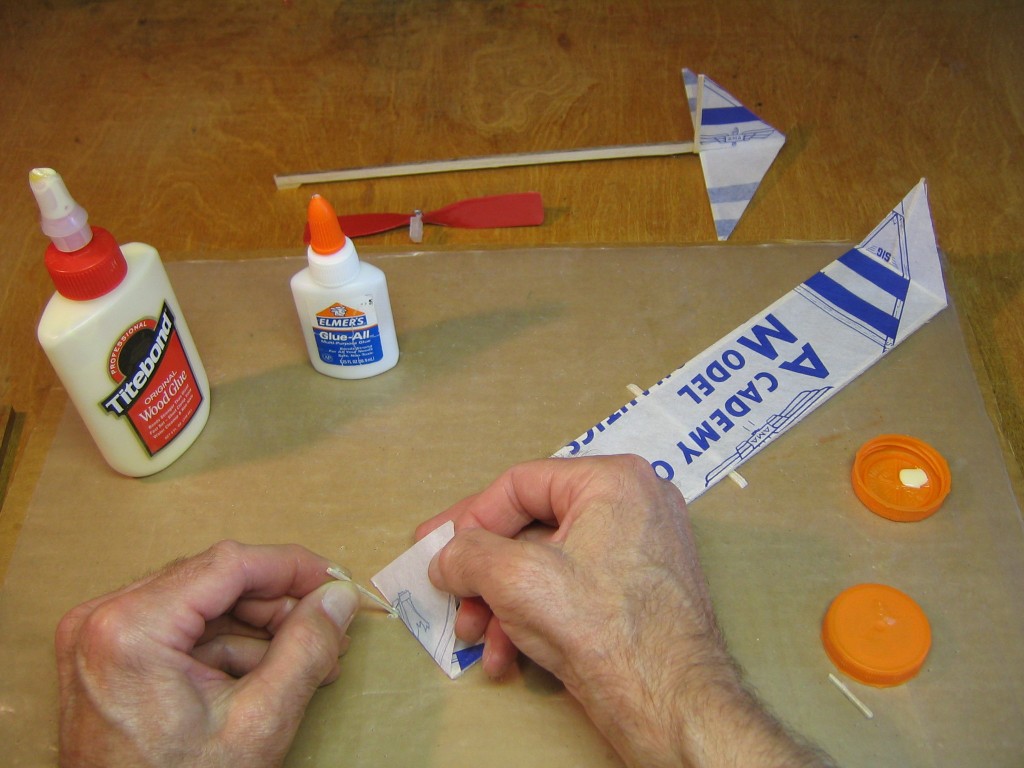
I placed the fin against the stick to see where the glue must go. The paper will be between the fin spar and the stick.
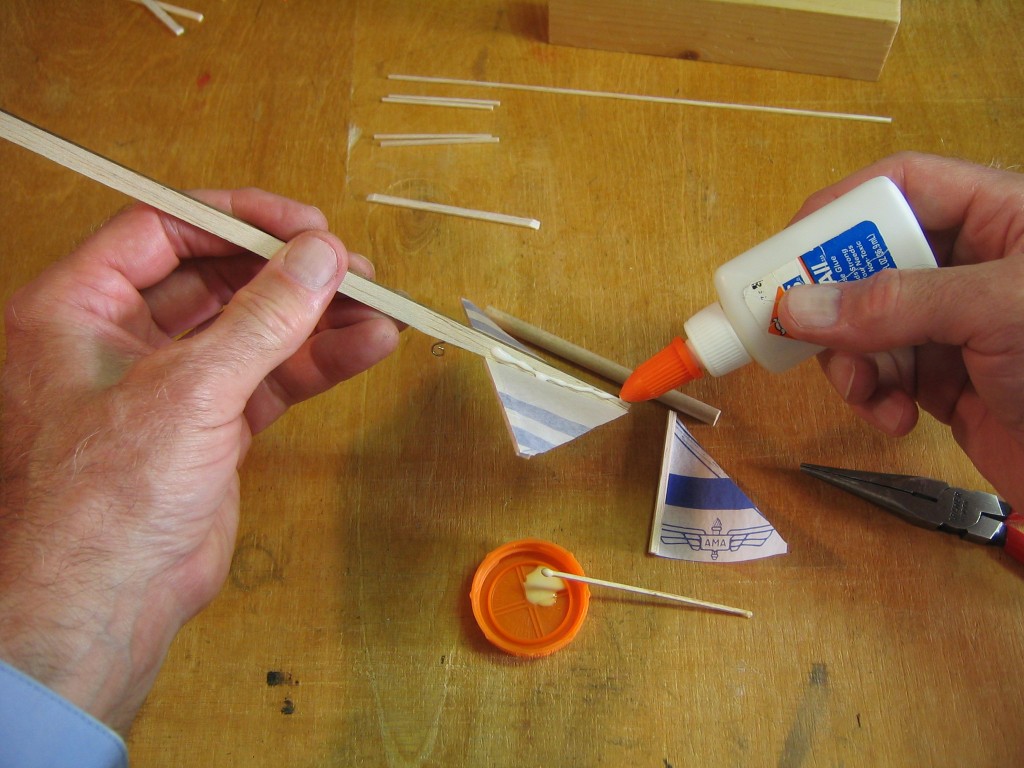
I put paper glue on the stick.
I spread the glue.
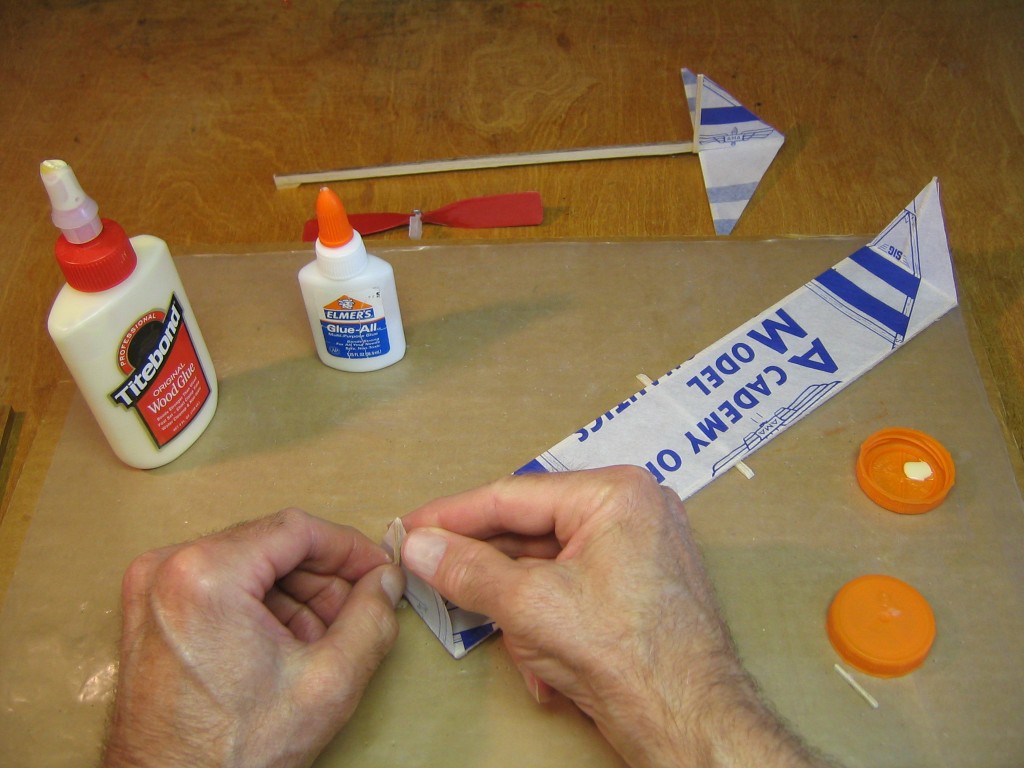
I put wood glue on the lower end of the fin spar on the paper side.
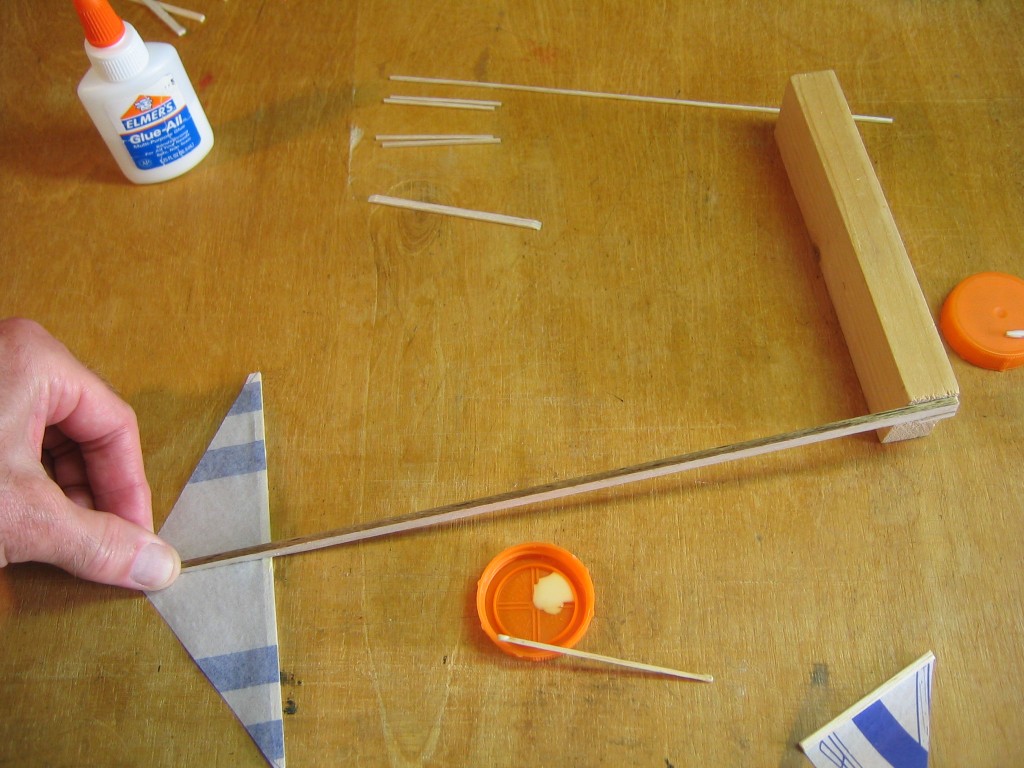
I pressed the fin to the stick. The fin spar goes ahead of the tailplane spar.
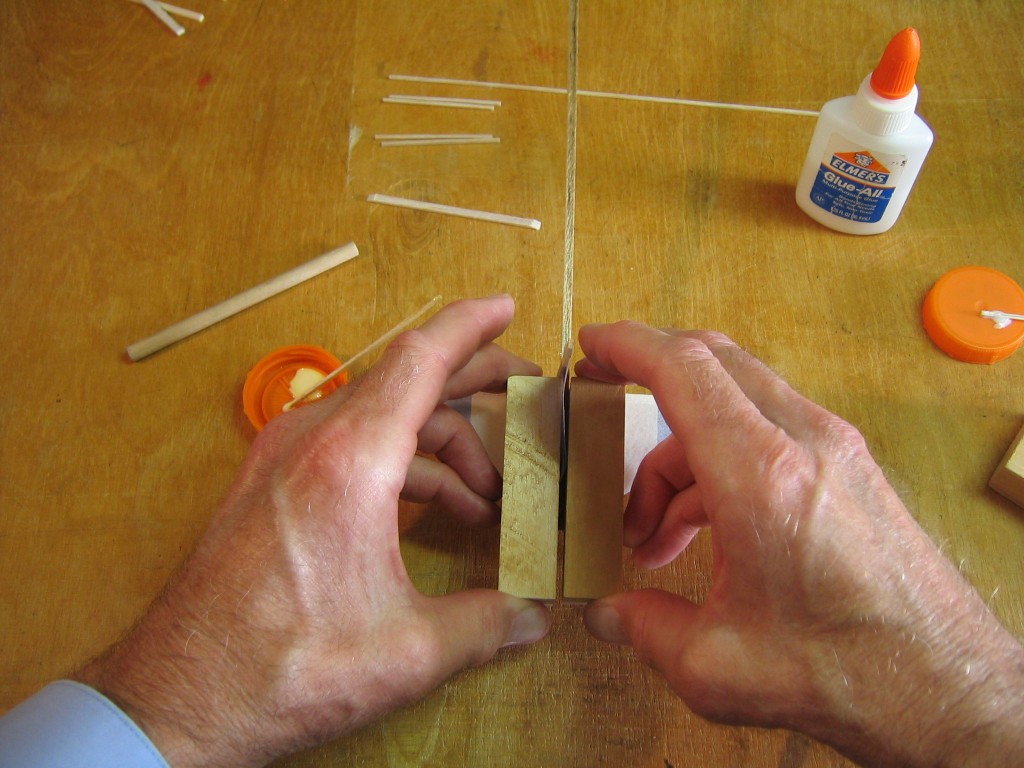
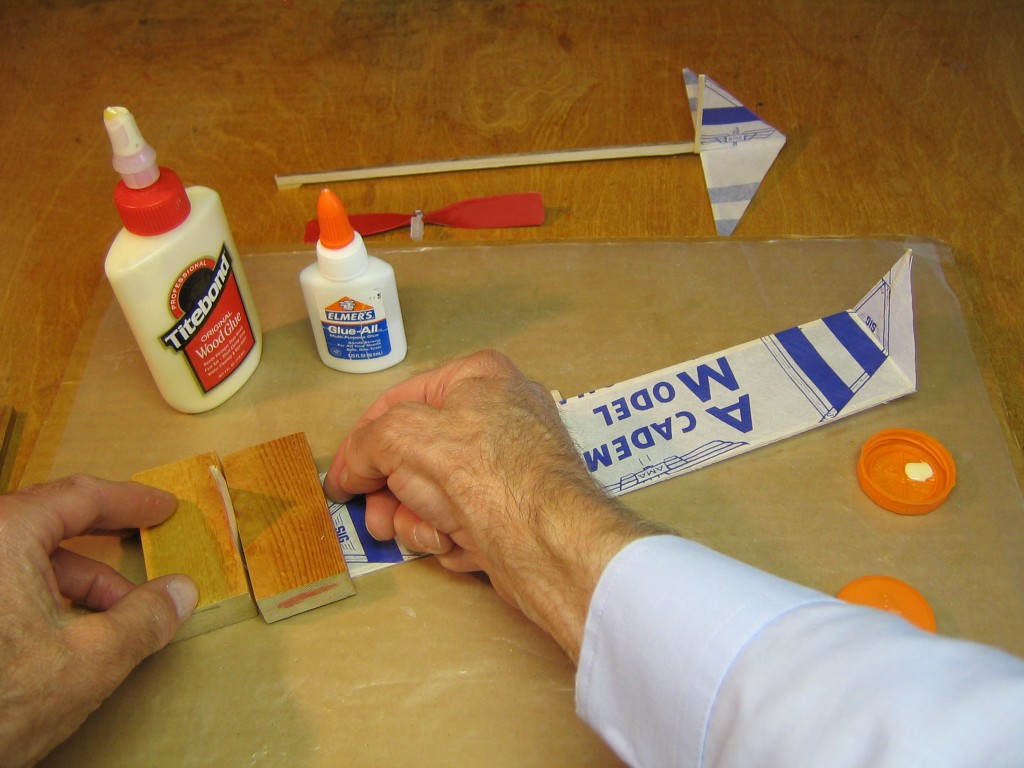
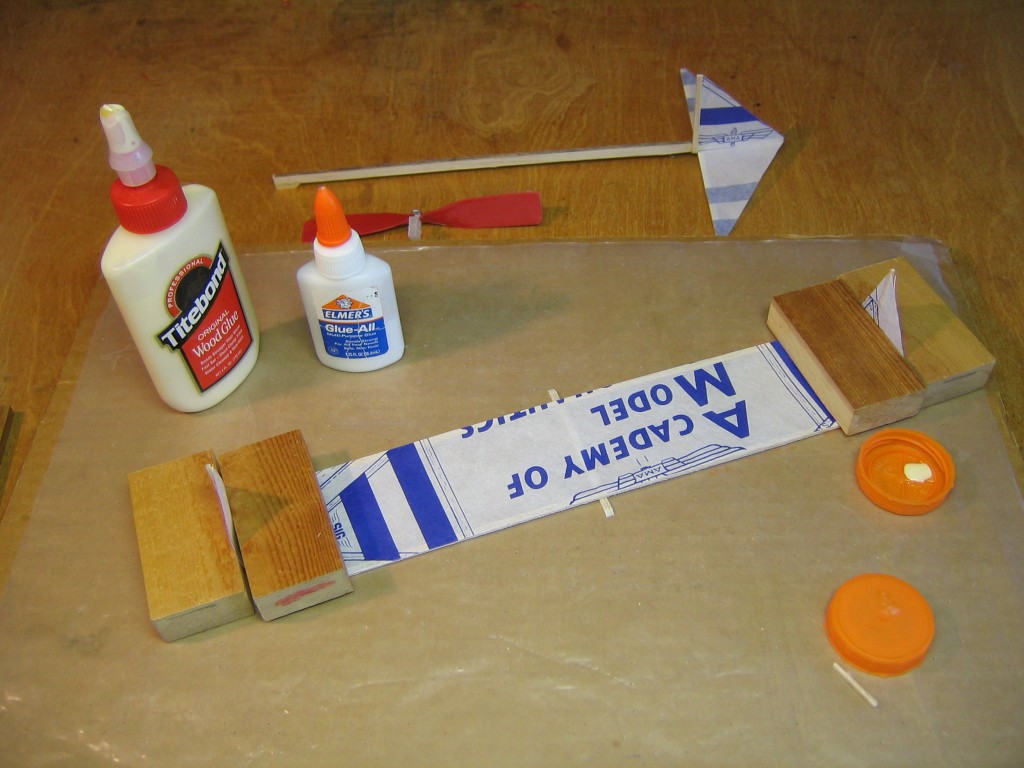
I pressed the paper between two blocks of wood.
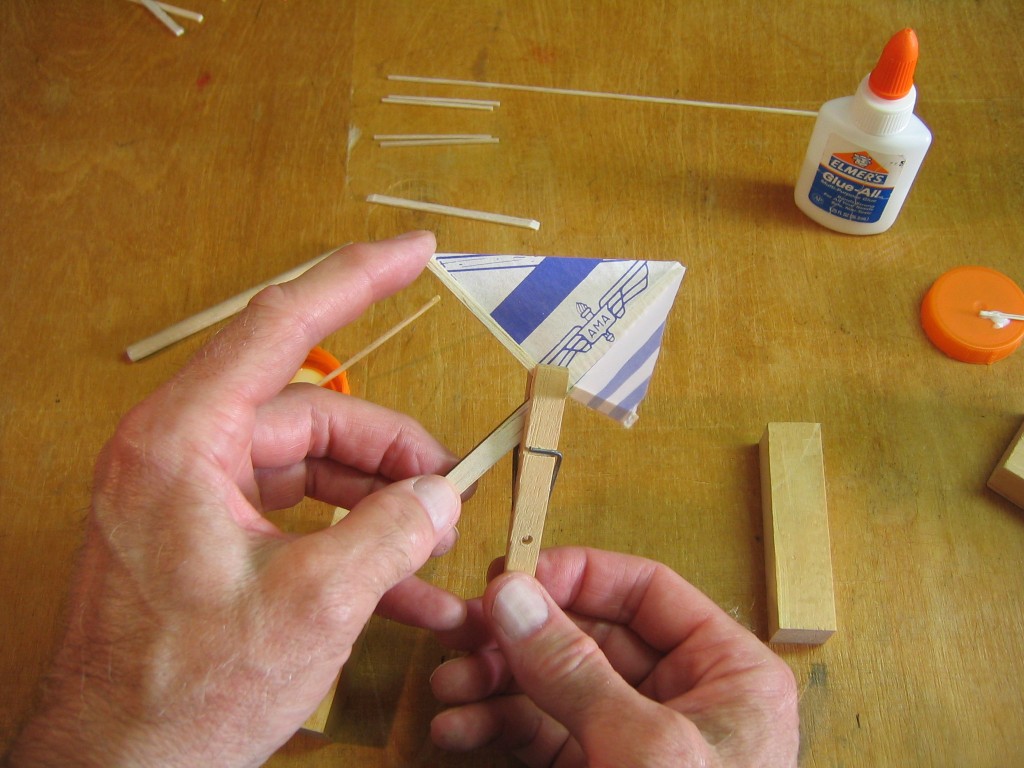
I clamped the fin spar to the stick with a clothespin and pulled the paper taught.
The glue in those wingspar splices was dry.
I cut 12″ lengths from the two wingspar pieces. I was careful to keep the heavier, stiffer one for the leading edge and the softer one for the trailing edge.
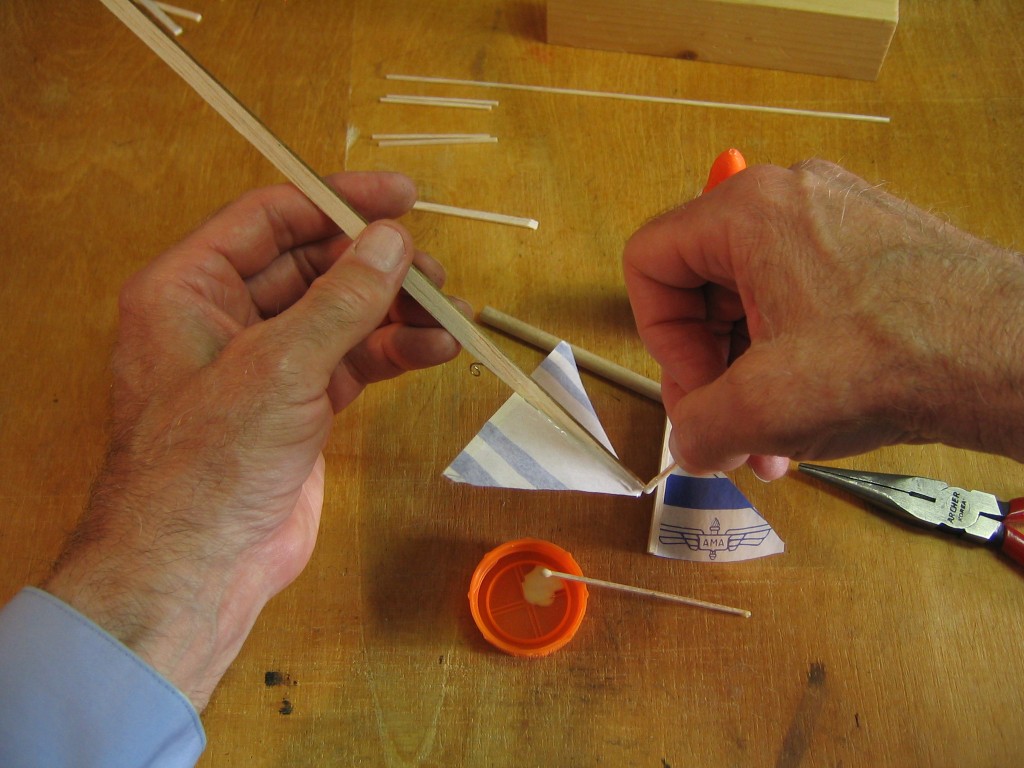
I applied glue to the leading edge spar.
I spread the glue thinly.
I aligned the stick carefully and pressed it to the paper. I used pin clamps to hold the stick flat, as may be seen in subsequent pictures.
The wing tip ribs are the shorter of the pair of 1/16″ sticks. Set the longer ones aside for now.
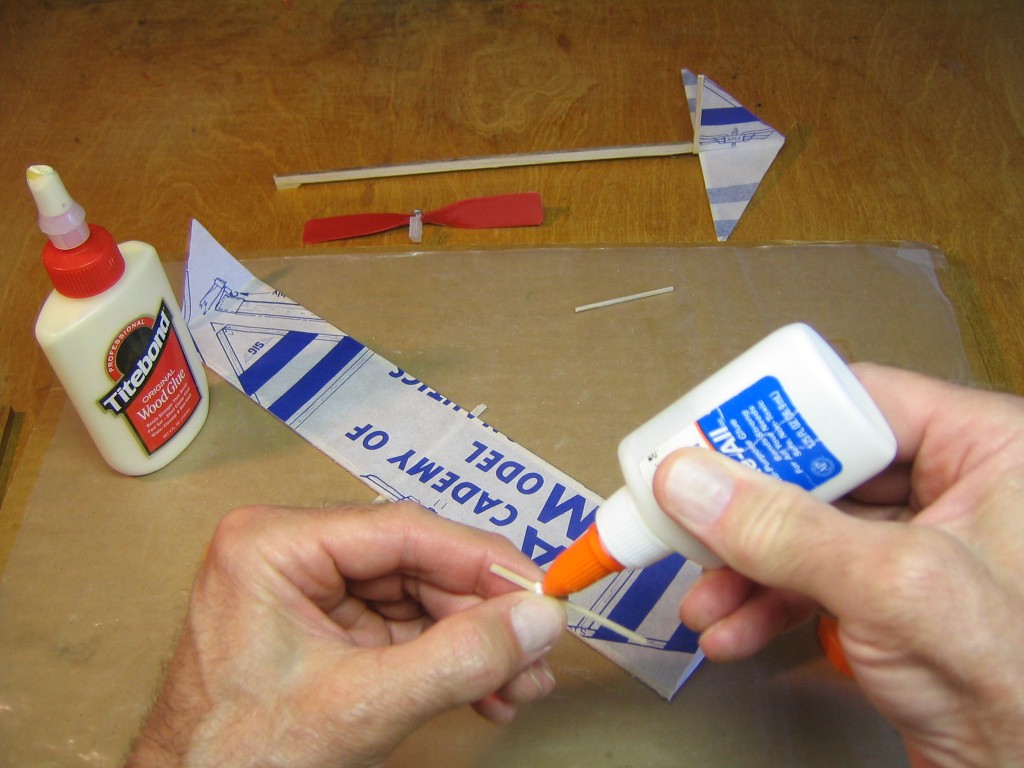
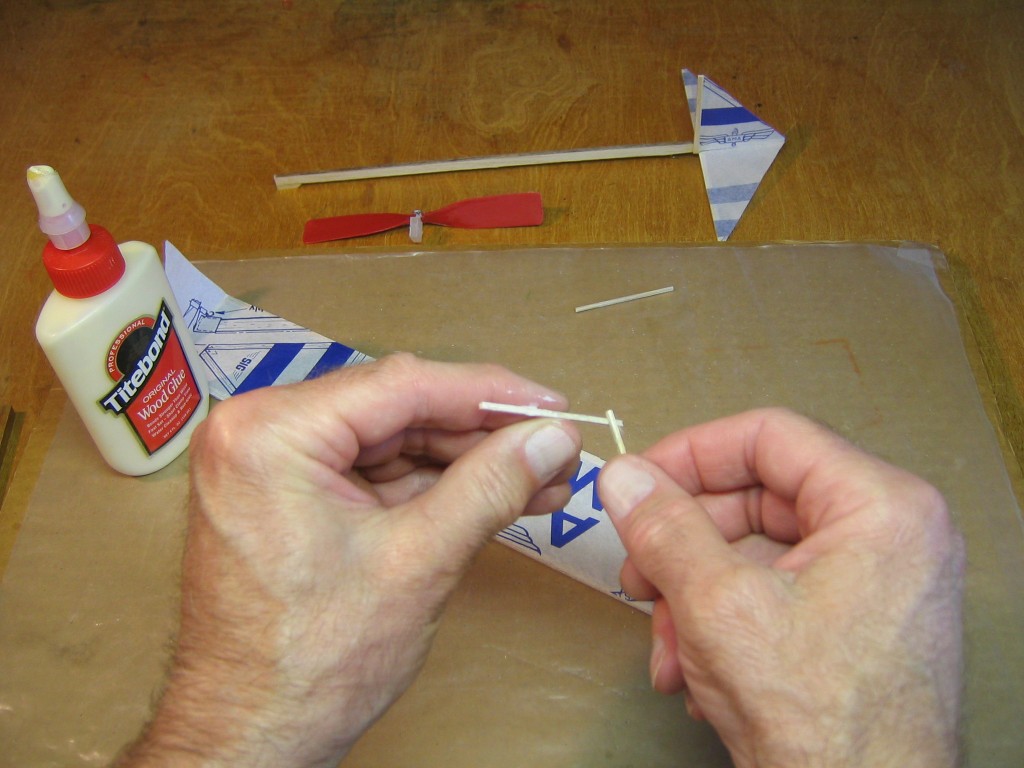
I dipped the end of a wingtip rib into the wood glue.
I put paper glue along one face of the stick.
I spread the glue thinly.
I carefully aligned the rib and pressed it in place. I could have used a triangle to get an exact right angle. (The eye is surprisingly good at setting right angles.)
I did the same with the other wing tip rib. I used a block to hold the wing flat. I removed any excess glue along the outer edges of the ribs, so the paper will be able to fold cleanly upward, away from the stick.
I ran a bead of paper glue along a face of the trailing edge spar.
I spread the glue thinly.
I dipped the end of the stick at the leading edge in wood glue, where it will contact the end of the rib. I did the same at the other end of the spar.
I carefully aligned the spar, pressed it in place and secured it with pin clamps. The water in the glue can make the sticks bend, so they should be pinned down to keep them flat as the glue dries.
I marked the leading edge 5 15/16″ and 6 1/16″ from the end to locate the hold down stick.
I used a right angle to mark corresponding points on the trailing edge.
I applied wood glue between each pair of marks.
I placed the hold down stick, tapered faces down, between the pencil marks, using the square to align it properly, with equal amounts extending beyond the leading and trailing edges. The hold down stick also acts as a center rib. I forgot to put a temporary stretcher stick between the leading and trailing edges to keep the paper taught. I made sure the hold down stick was level. After removing the triangle, I pinned the trailing edge spar down. I let the glue dry thoroughly.
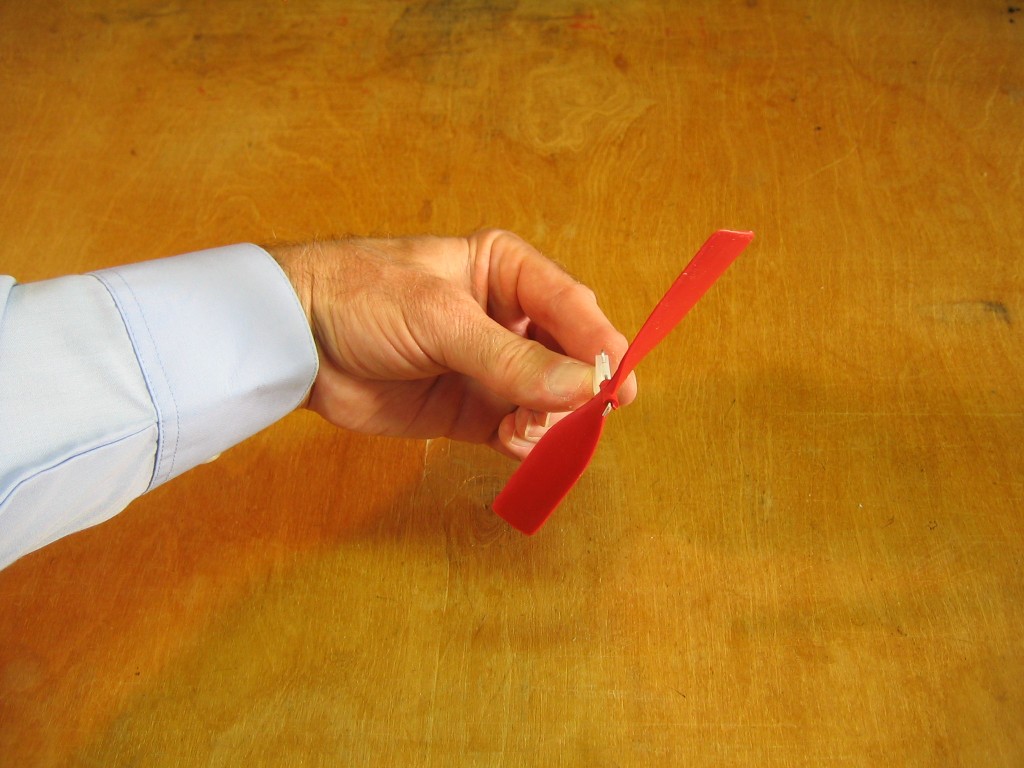
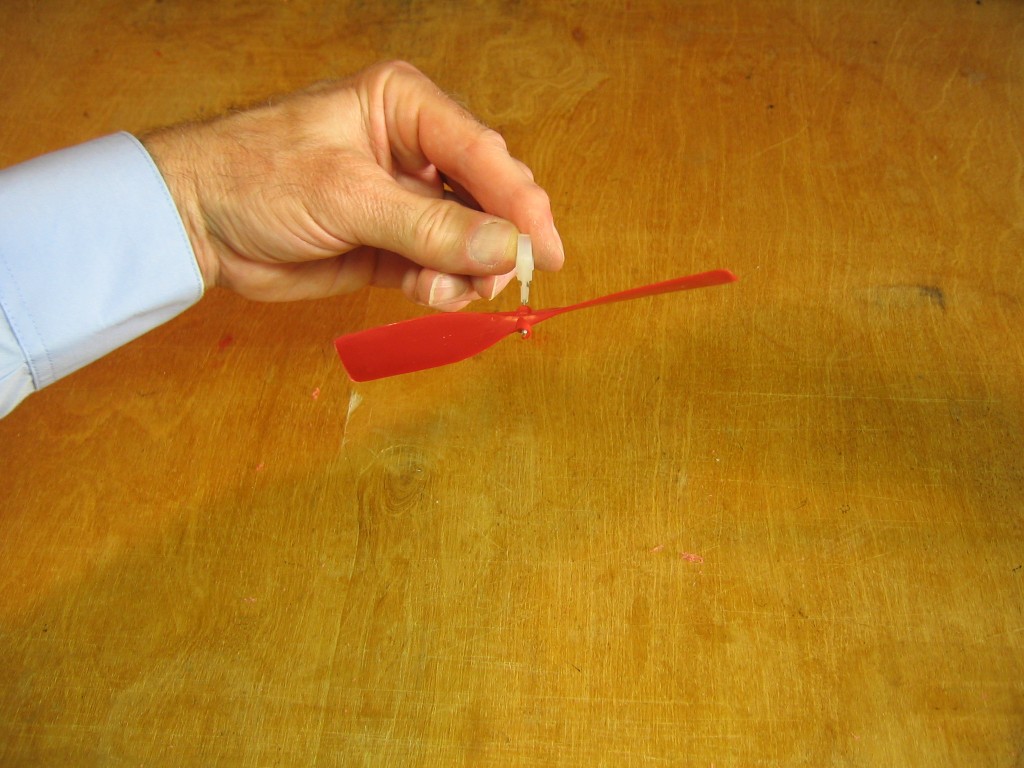
One blade of the propeller will be heavy and will hang down. The concave back of that blade may be scraped to lighten it and balance the prop.
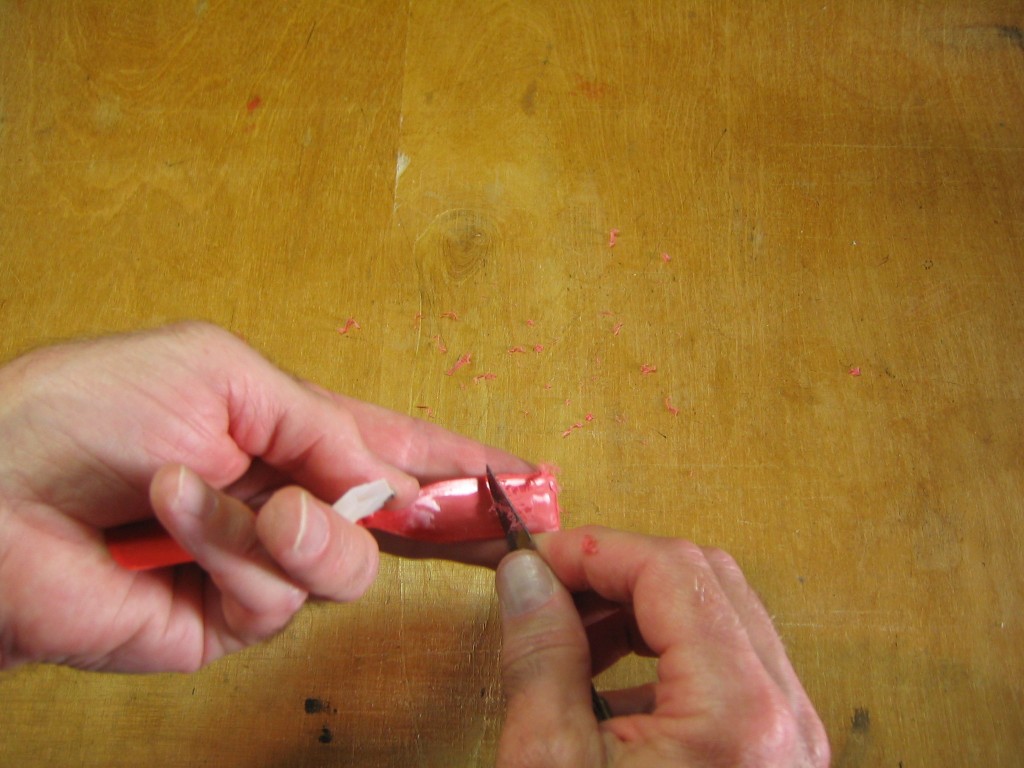
I used the curved end of a paring knife to scrape the concave surface.
I scraped until the blade no longer swung down.
After the glue had thoroughly dried on the wing, I marked the stick and paper 3/4″ from the leading edge, on both ends of the wing.
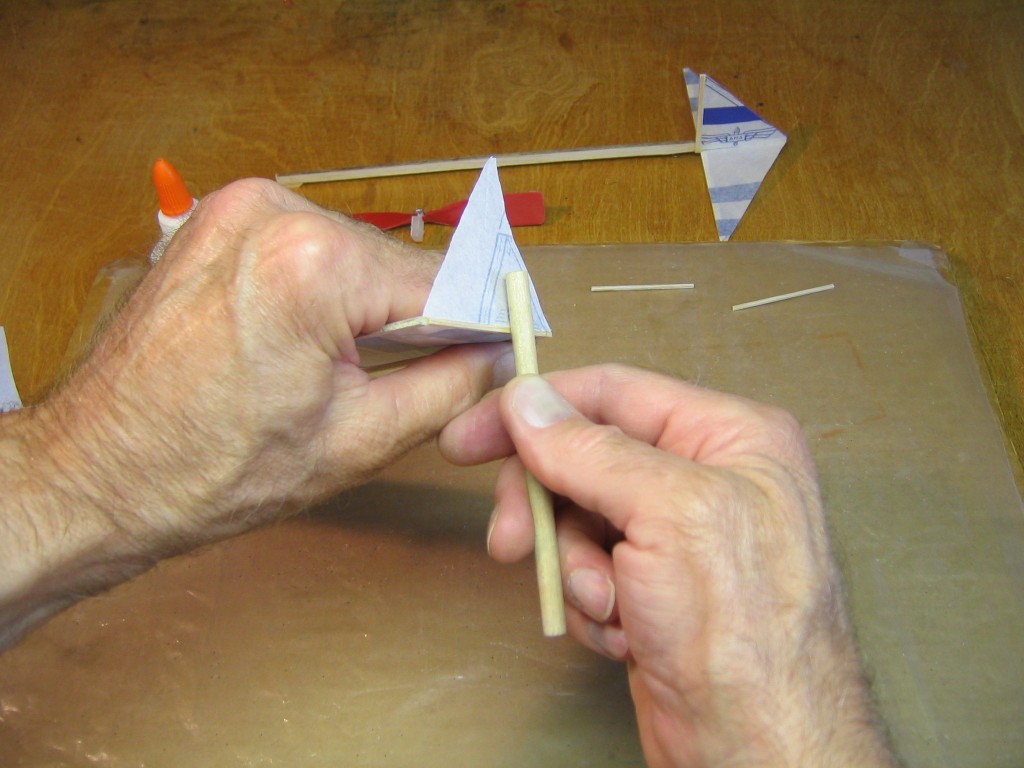
I used a bit of dowel to make a sharp fold in the winglet paper, folding it up, away from the sticks. This must be done gently, to not break the rib. I could have used a block of wood.
I applied a bead of paper glue to a winglet strut.
I spread the glue thinly.
I put a little wood glue inside the end that will be stuck to the rib.
I placed the strut against the rib at the pencil mark.
I pulled the paper winglet up and pressed it to the strut, aligning them at the tip.
I blocked the winglet to hold it in place as the glue dried.
I did the same with the other wingtip.
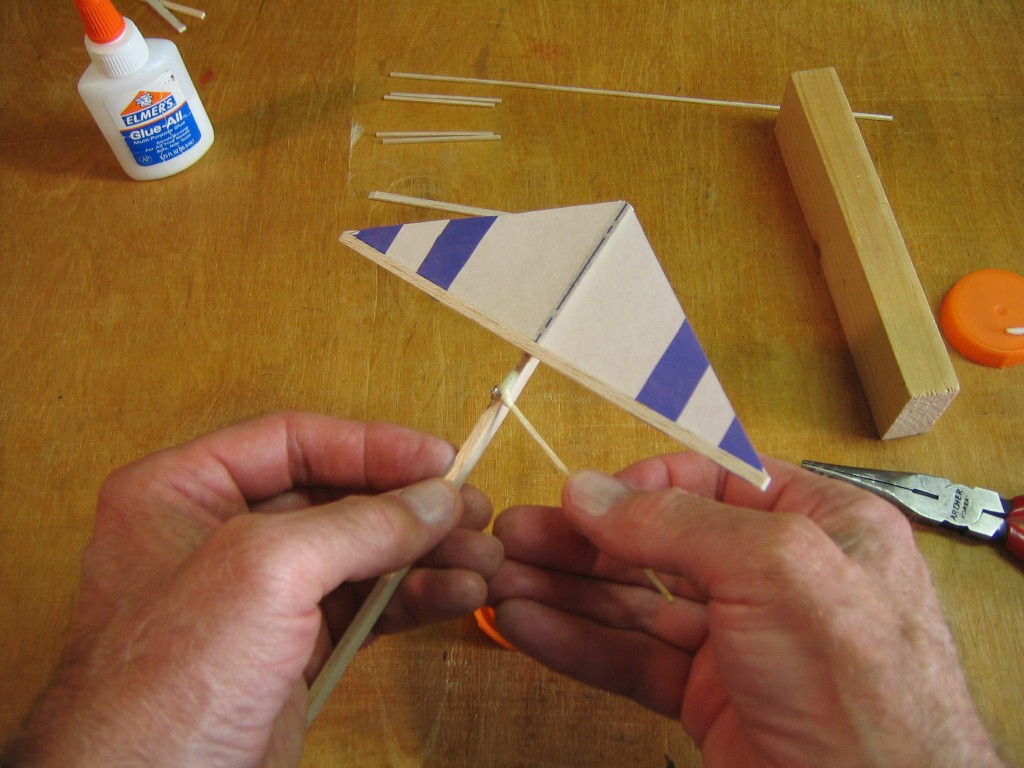
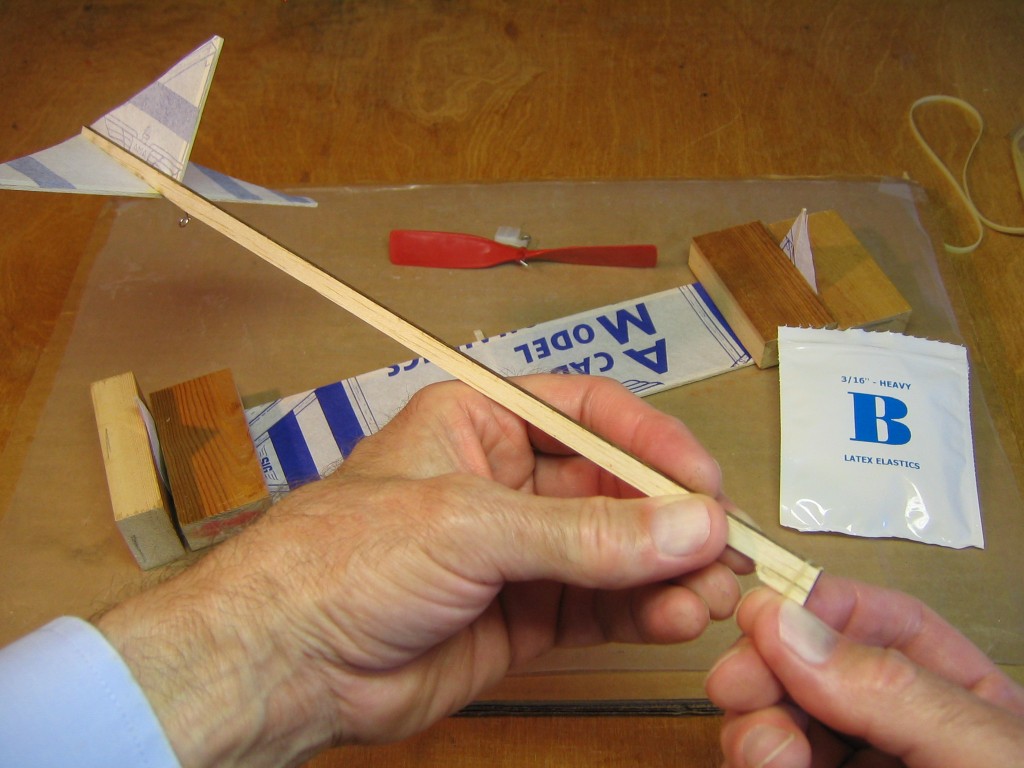
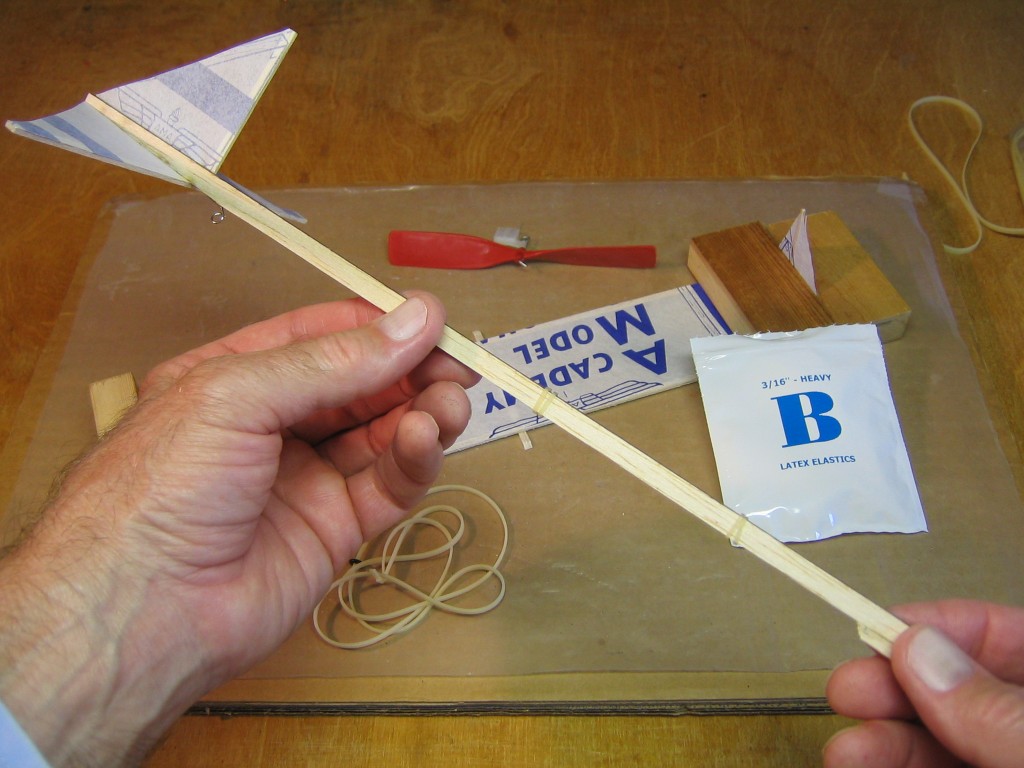
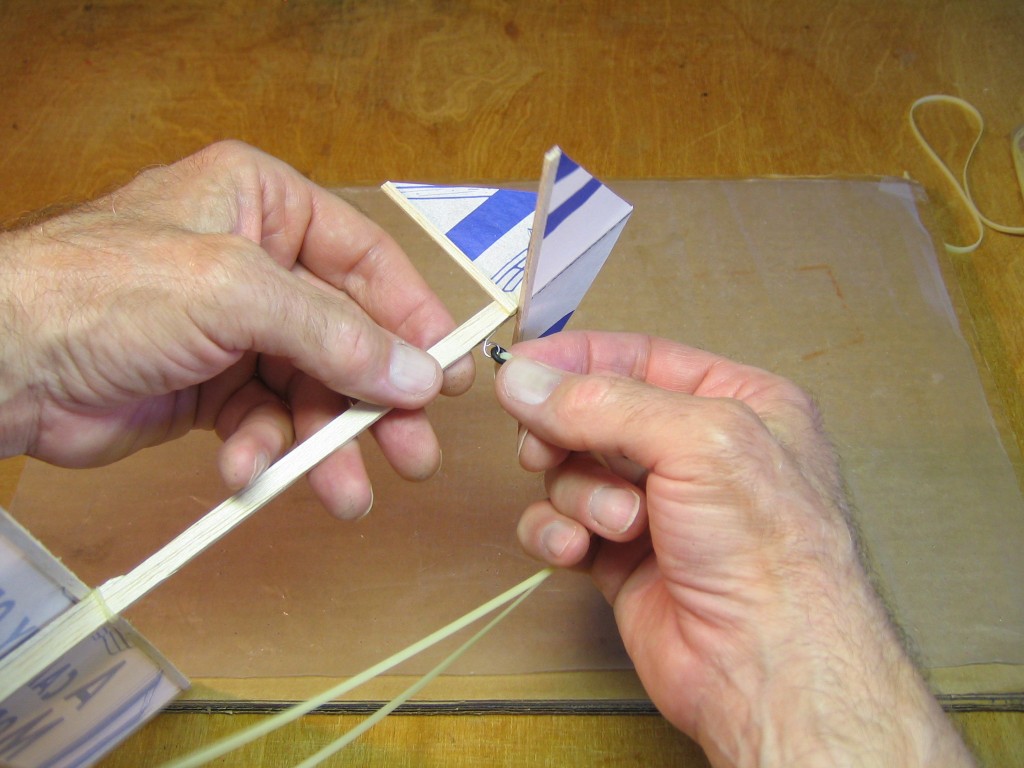
I stretched dental elastics over the nose block and rolled them onto the stick.
I used two for each end of the wing hold down stick. With longer elastics, I might have doubled each one. There needs to be enough tension to hold the wing securely in place.
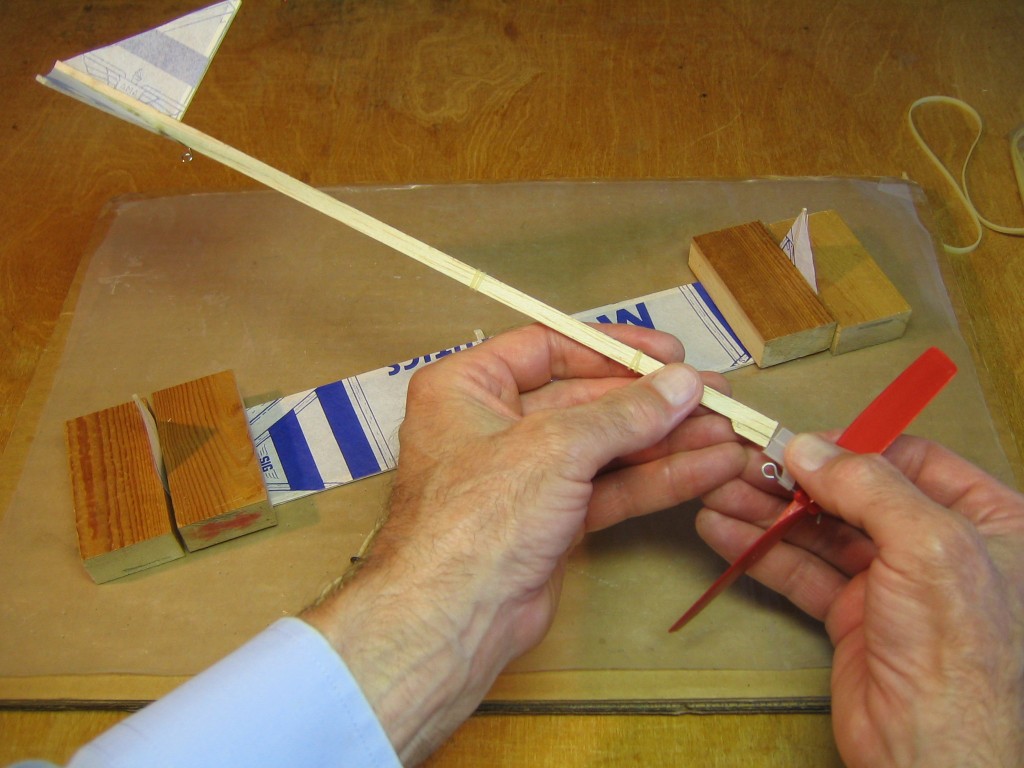
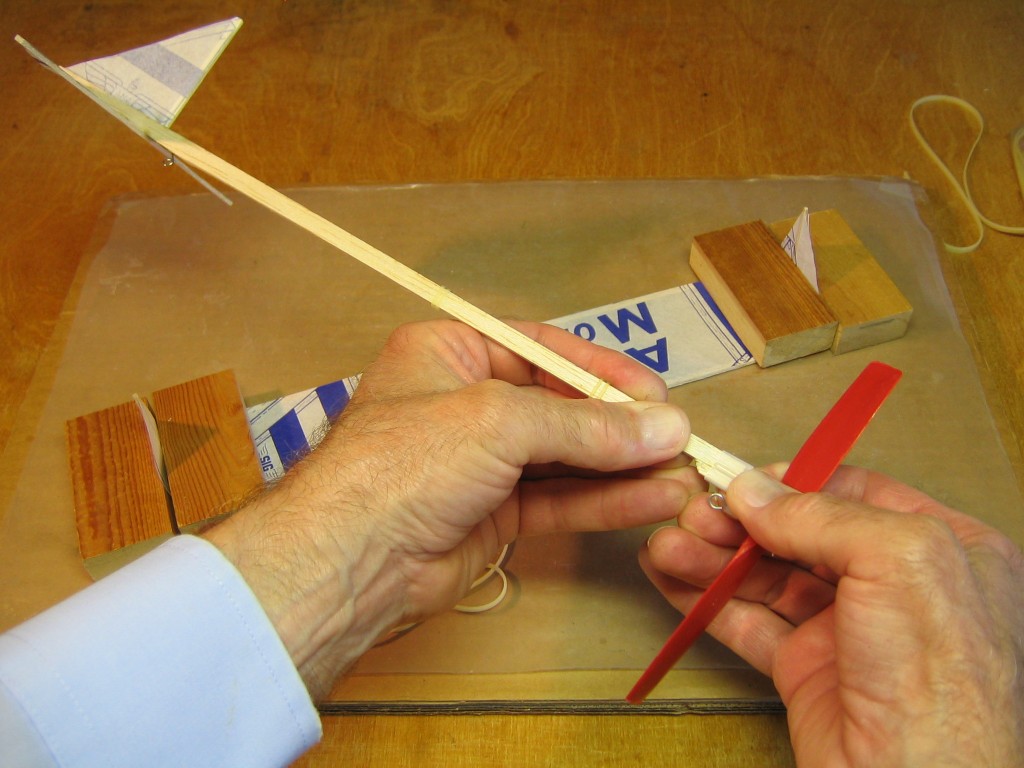
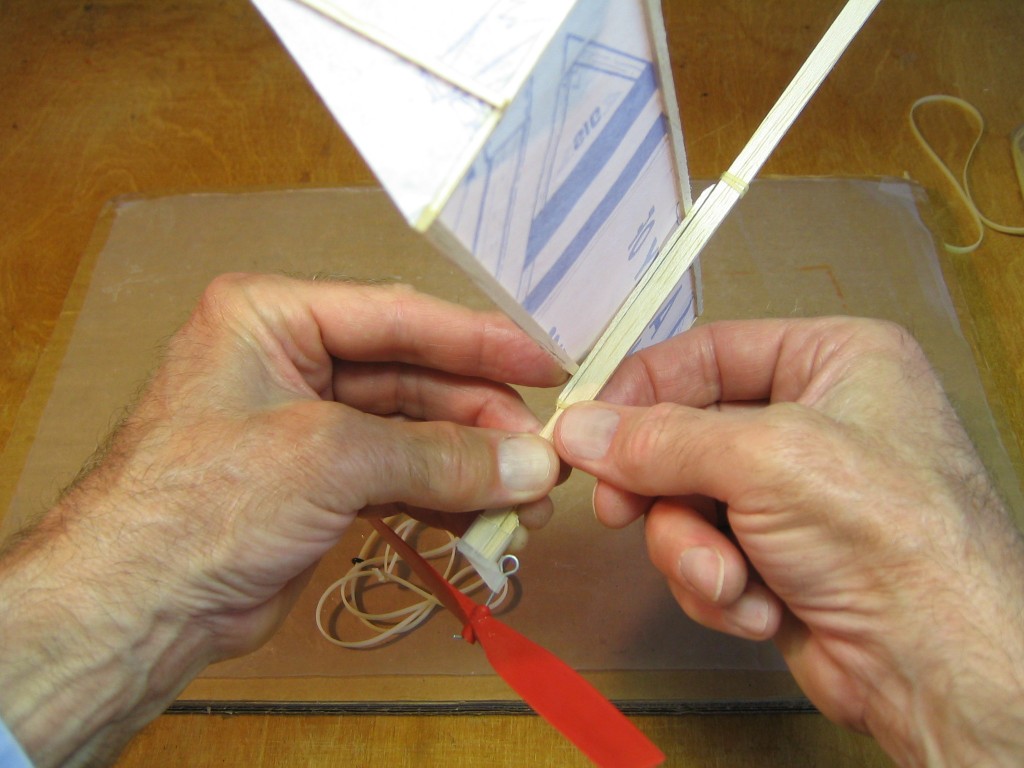
I pushed the stick into the propeller bearing box. Notice that the propeller hook must align with the motor hook on the under side of the stick.
I pushed it firmly in place.
I held the wing hold down stick against the stick and rolled the dental elastics up over the tapered end of the hold down stick.
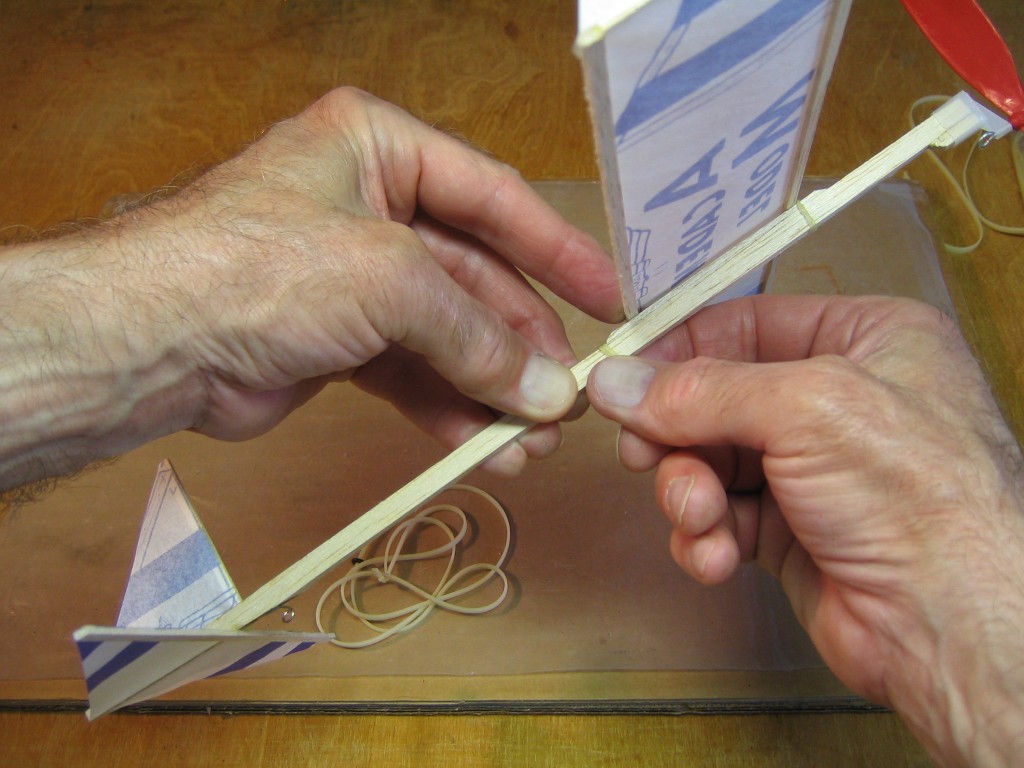
I did the same at the trailing edge. This attachment will allow me to slide the wing back and forth to achieve proper balance.
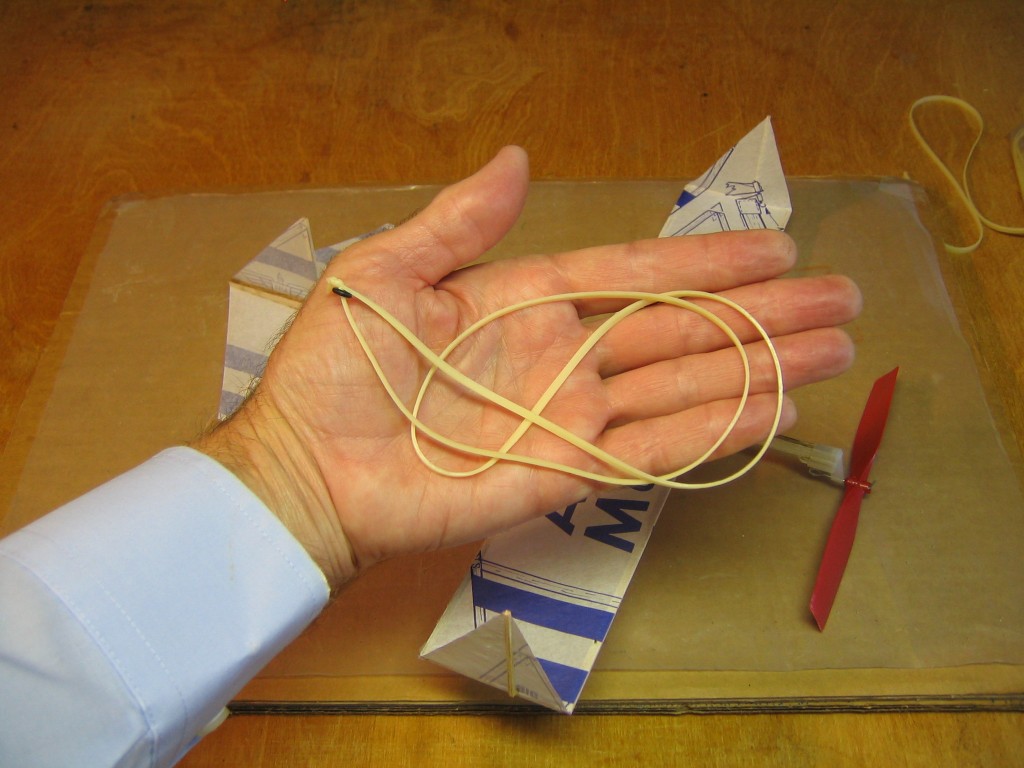
The rubber that comes with the AMA Cub kit will make a 9″ loop of 1/8″ motor. This plane does not need that much power and will fly better with a longer, thinner motor. I decided to do the test flights with a 12″ loop of 3/32″ motor. I am going to lube the motor and use a winder, so I put an O-ring in the motor by the knot.
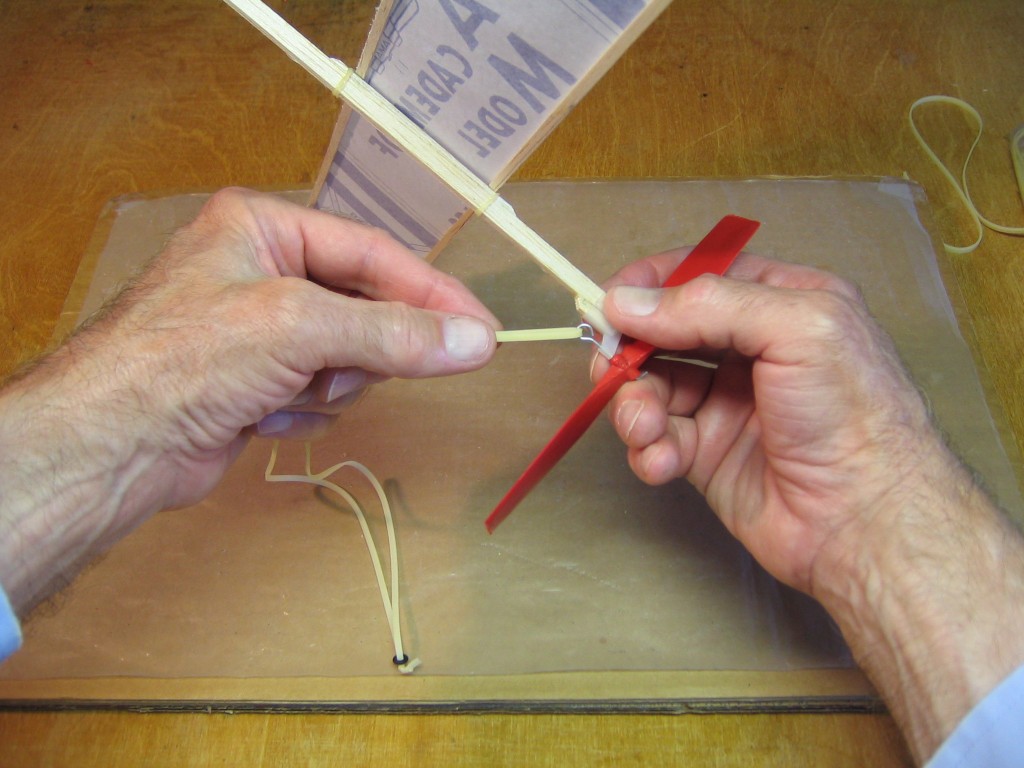
The loop goes into the propeller hook.
The O-ring will go on the motor hook.
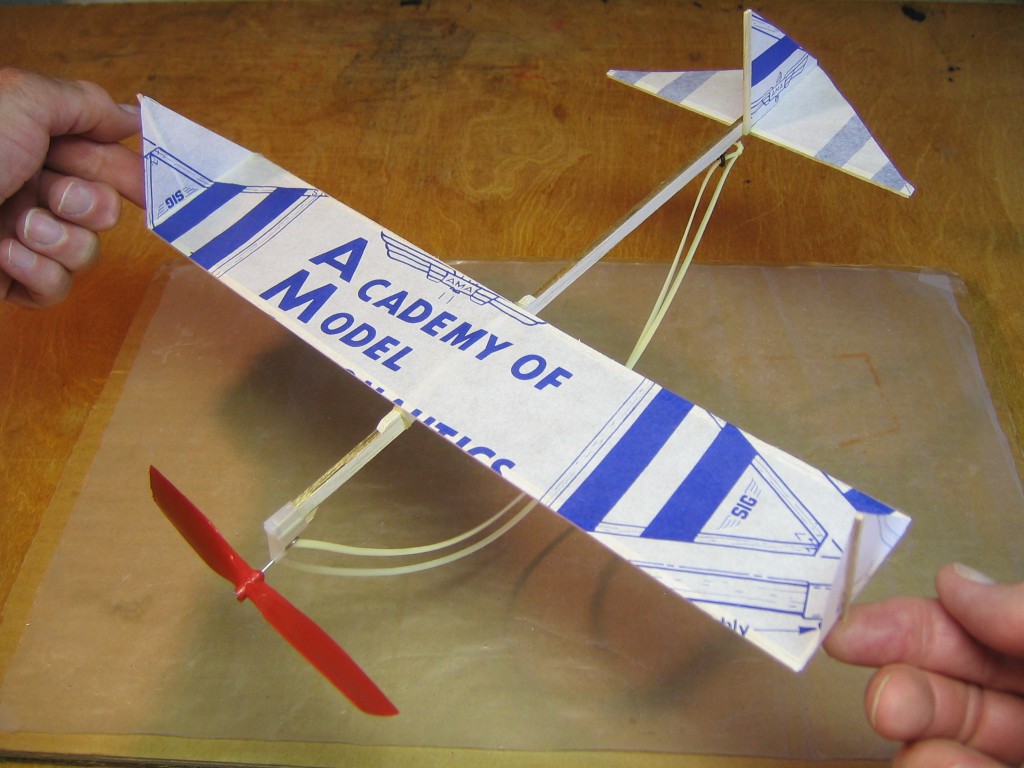
I moved the wing until it balanced at the winglet struts. I know from experience that this is a good balance place to start test flights.
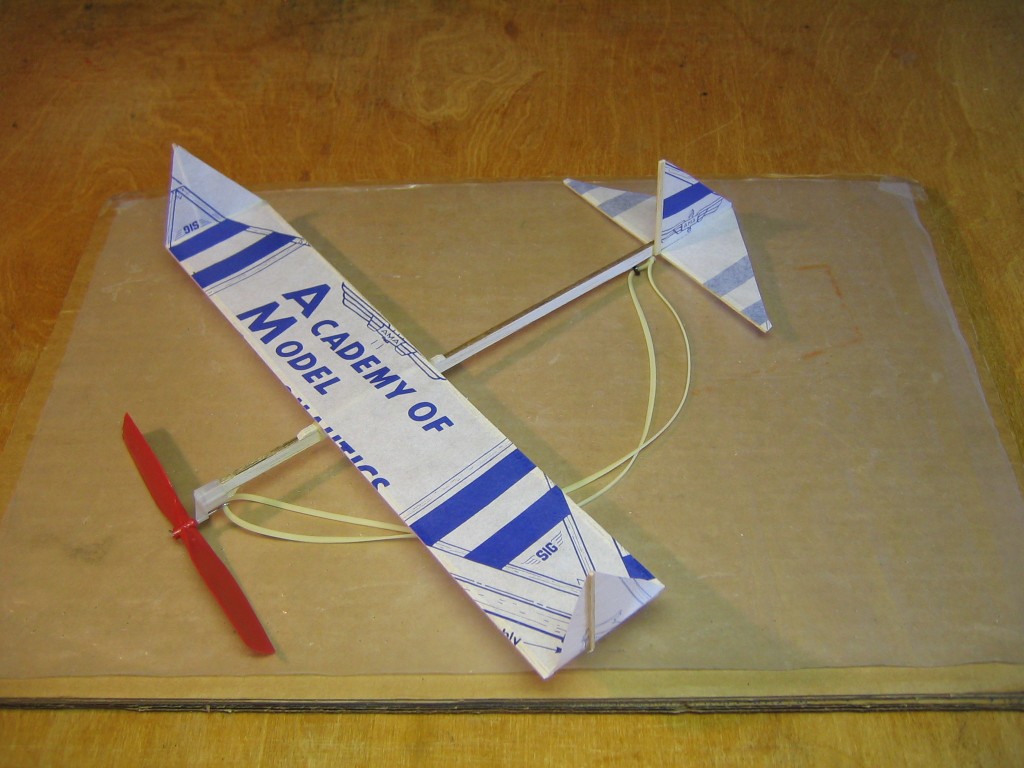
The AMA Cub Squirrel is now ready for its first test flights.
Weights are:
Propeller 3.1 grams
Wing 1.9
Fuselage 2.0
Subtotal 7.0
Motor 1.5
Flight total 8.5 grams
This is light enough to fly on a loop of 1/16″ rubber.
I took it over to the park in the morning when there was only a little wind drift and put 1,000 turns into the motor for a trim test flight. It went fast and didn’t climb.
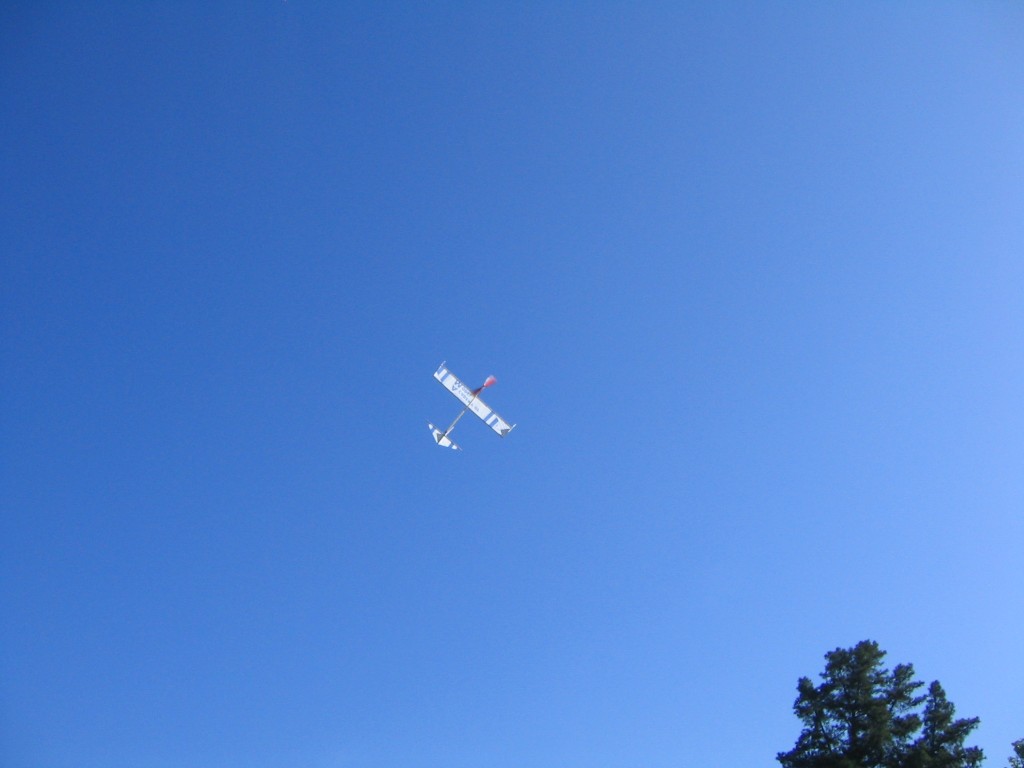
I moved the wing 1/8″ forward and put in 1,200 turns for some flight photos. It went right up.
It went up nearly out of sight and drifted over the tall trees at the edge of the lawn. It circled behind the trees and I was afraid it was going to land in the top of a tree. As I walked through the tree line, I looked back up at the trees. Something moving caught my eye off to my left and I saw the Squirrel coming down a little beyond the trees. It landed in the playground.
I went across the field to the upwind tree line and I put in 1,200 turns for a video flight. By that time there was a bit more wind drift coming through the nearby trees and the plane tumbled around somewhat in the turbulence, not going as high and making a shorter flight, but I got a video of a 1:18 flight.
Gary
Hi Gary
I went for some flights today. It is not a big field and I didnt have much time to finetune. There was wind too. But I am happy with the results. https://www.youtube.com/watch?v=BDiAm_DXqUc
I flew it on 10.5″ of 3/32″ TSS motor and went up to 1000 turns. I had an aileron tab on the left wing. The slight tail tilt I had put for left turns did not help and it glided in right turns. So I put some clay on left wing tip to assist in glide. In the last flight of 1000 turns it flew out of the field and I couldnt determine how well the glide was. The clay was probably too much and it banked steeply for some turns on that flight.
Despite the ample space for rubber, the motor did seem to catch to the fuselage on previous flights as the prop didnt freewheel and it came down quickly. I remember the rubber had curled up near the prop hook and not along the fuselage. More flights would have told if this was a recurring problem.
Better trimming would easily get 1 minute on this model. The turns were almost fully exhausted. I think a 10.5″ – 12.5″ loop of 3/32″ motor is good for this model.
I have benefited a lot from your beautiful tutorials on this site. Thanks for sharing with others 🙂
They glide better if the elastic doesn’t “de-thermal”.
Wow, nice article!
That must have been really high considering how long it took to get down to the ground. Squirrels don’t normally glide very well.