When the glider or airplane is flying properly, the lift of the wings will be directly over the weight of the airplane. In order for your plane to fly properly, you must know how to locate the wing in relation to the weight. The weight acts through a point which we call the Center of Gravity, abbreviated CG. You must know how to locate the CG in order to properly balance your plane for flight. The plane will balance at its CG, but that balance must be in proper relation to the wings lift for good flight.
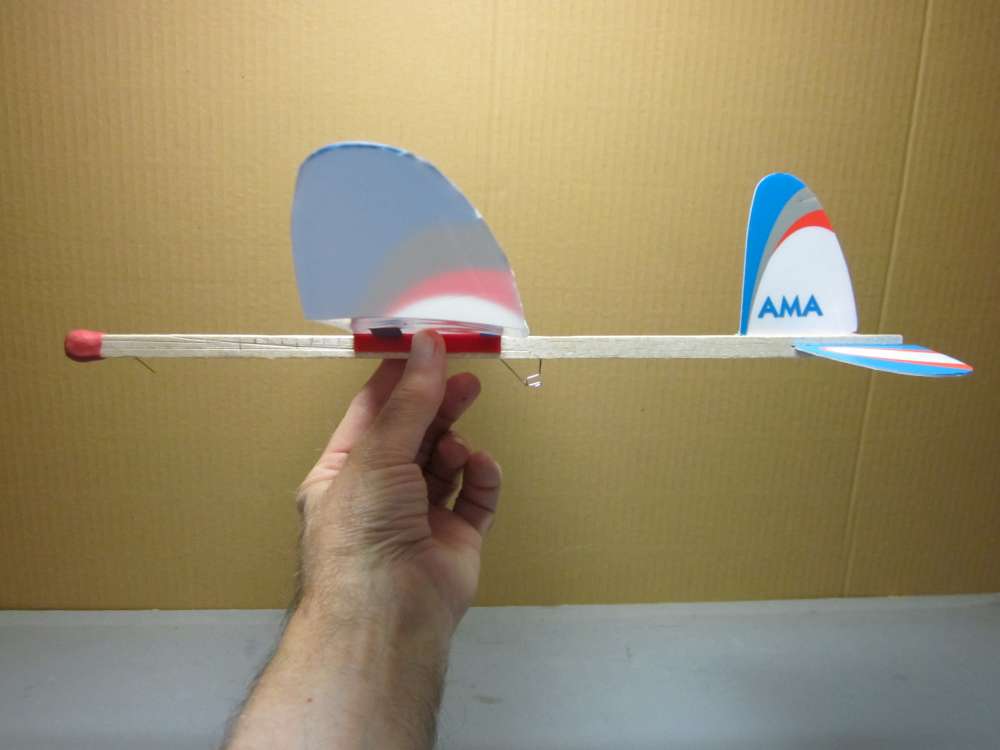
You can roughly locate the CG by supporting the wings on two fingertips placed under the wings close to, but not touching, the stick. Move the plane back and forth until it balances with the stick horizontal. Note where your fingers are located in relation to the wing. This shows the approximate horizontal location of the CG. (The CG also has a vertical location, which you can find by balancing the airplane on the leading edge of its fin, but for purposes of balancing against lift in horizontal flight, we need concern ourselves only with the horizontal position of the CG.)
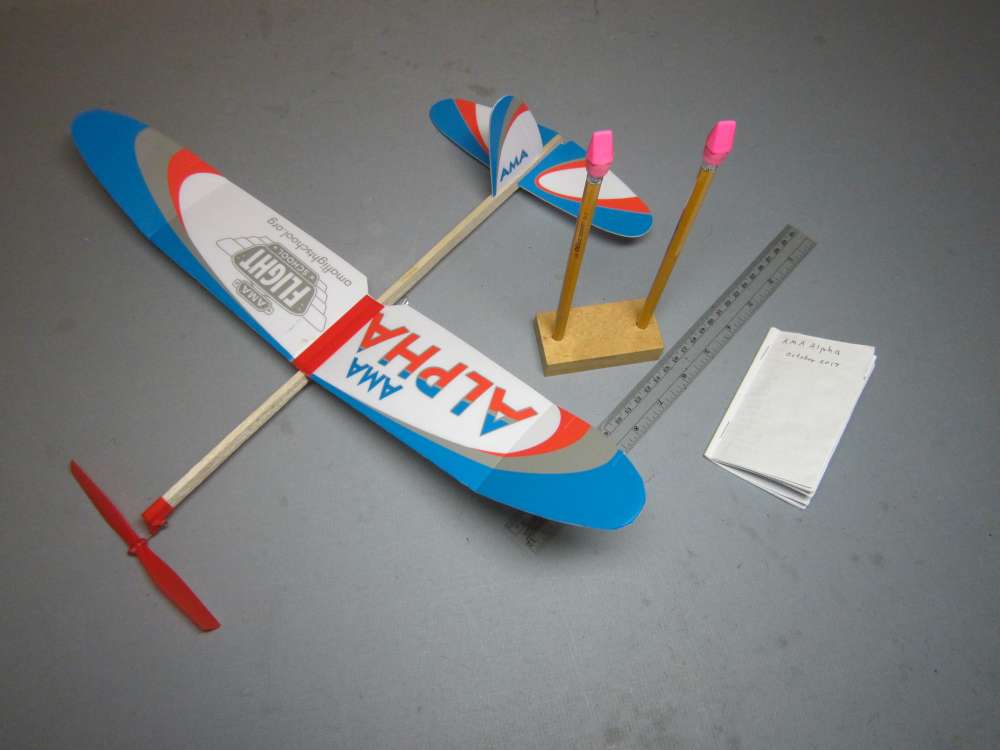
For flight testing and trimming, you must have a more precise location for the CG. You will need a balancing stand. They can be made in many ways. I have seen one with two pencils stuck in modeling clay and erasers fit on to the ends to support the plane. You work with what is available.
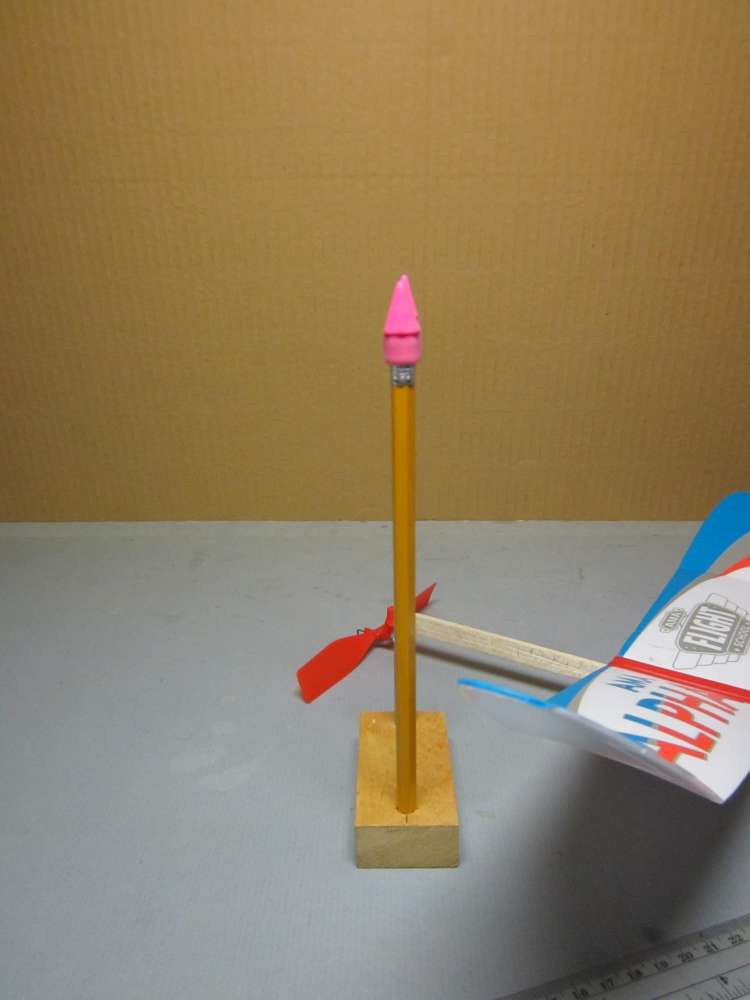
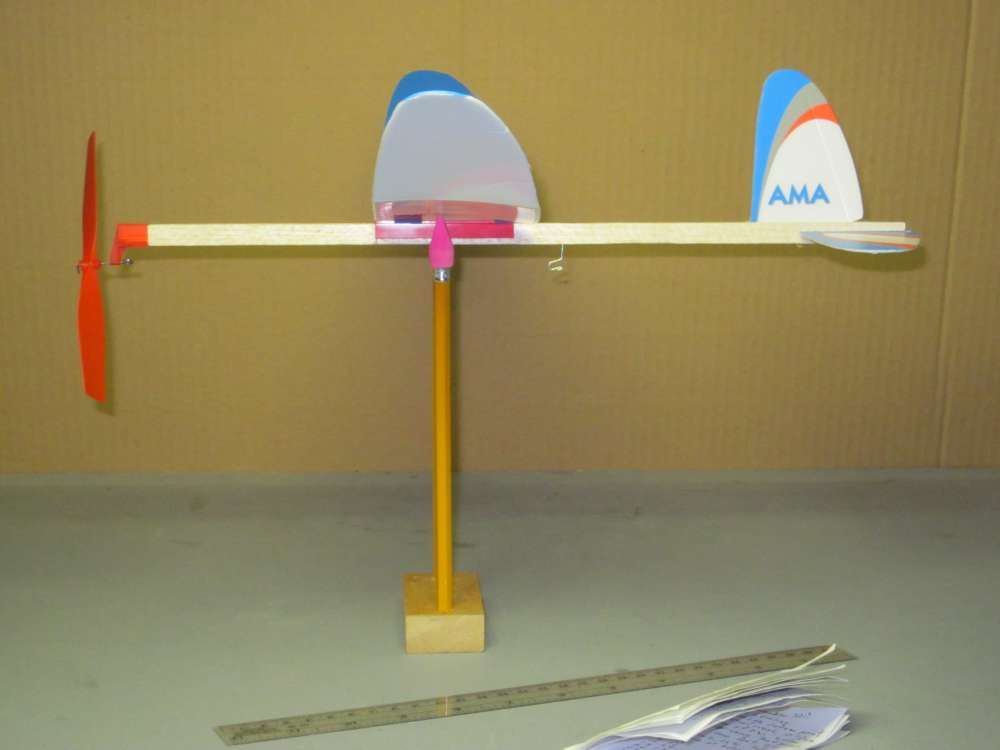
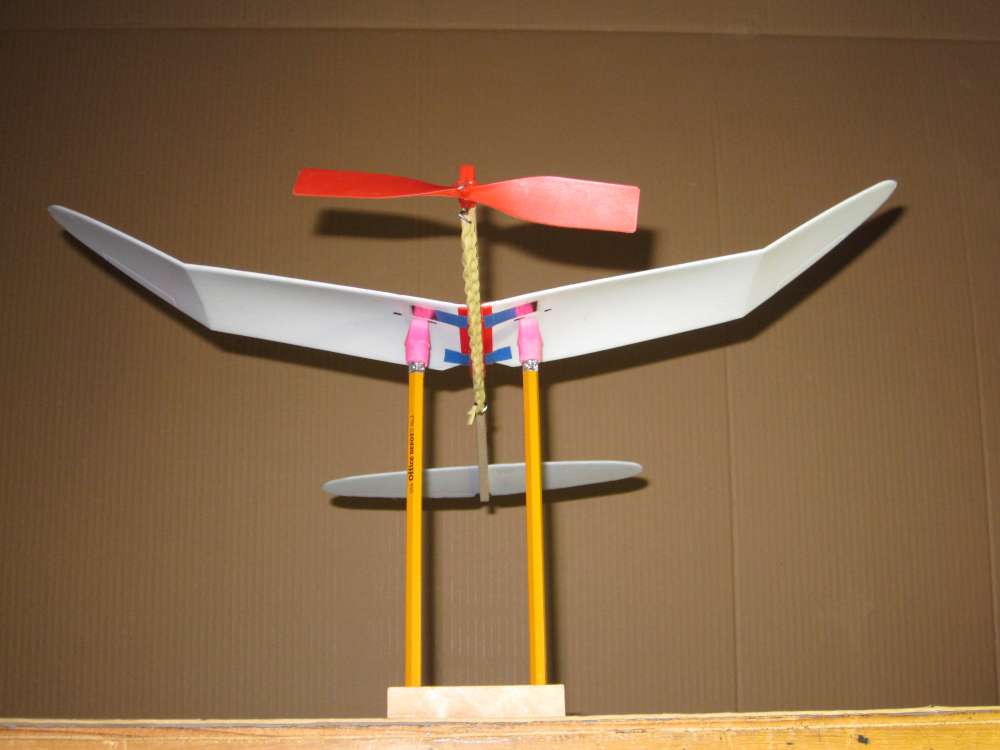
The leveling stand shown here was made from a block of wood with two holes drilled in it, two pencils and two erasers. You could use lengths of 1/4″ dowel instead of pencils.
The eraser edges should be the same height above the table and aligned with each other.
To see the marks under the wing, it is necessary to put the device on the edge of the table and get down below to look up.
The tip is much narrower than a fingertip, but a little wider than the card used on the next stand. One nice thing about this one is that the rubber is not slippery on the plastic. It will stay where you put it, even if it is a little off balance.
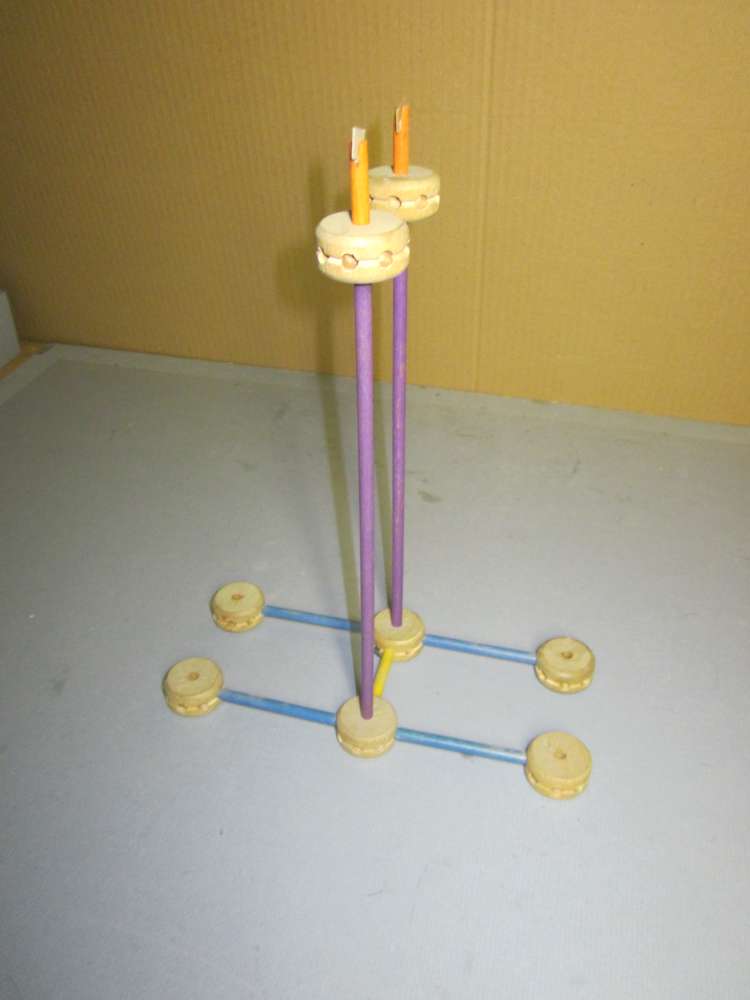
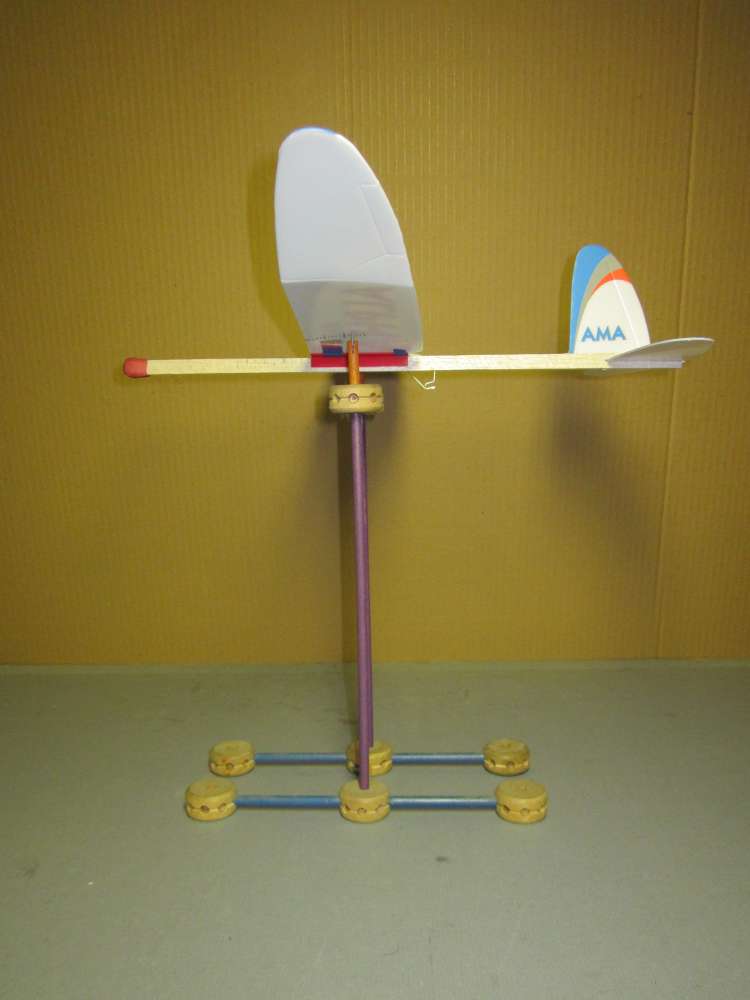
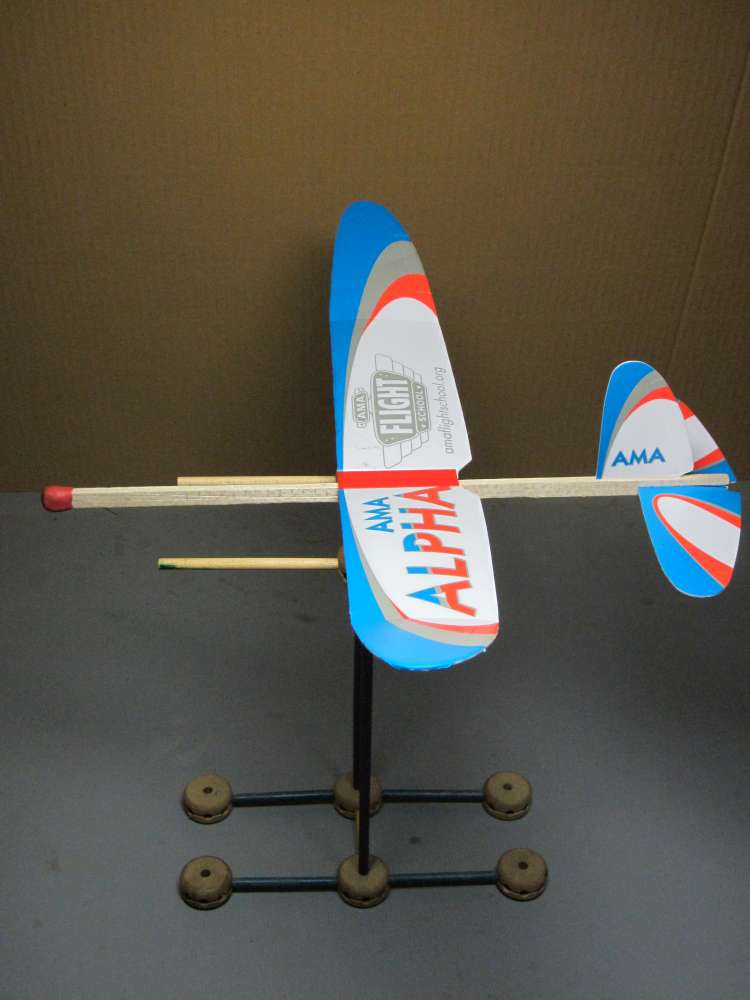
I made this balancing rig from Tinkertoys. The slots in the top sticks are aligned with each other and there is a small cardboard rectangle in each slot. These rectangles can tip to match the wing dihedral. You can balance the plane on those rectangles with more precision than on your fingertips.
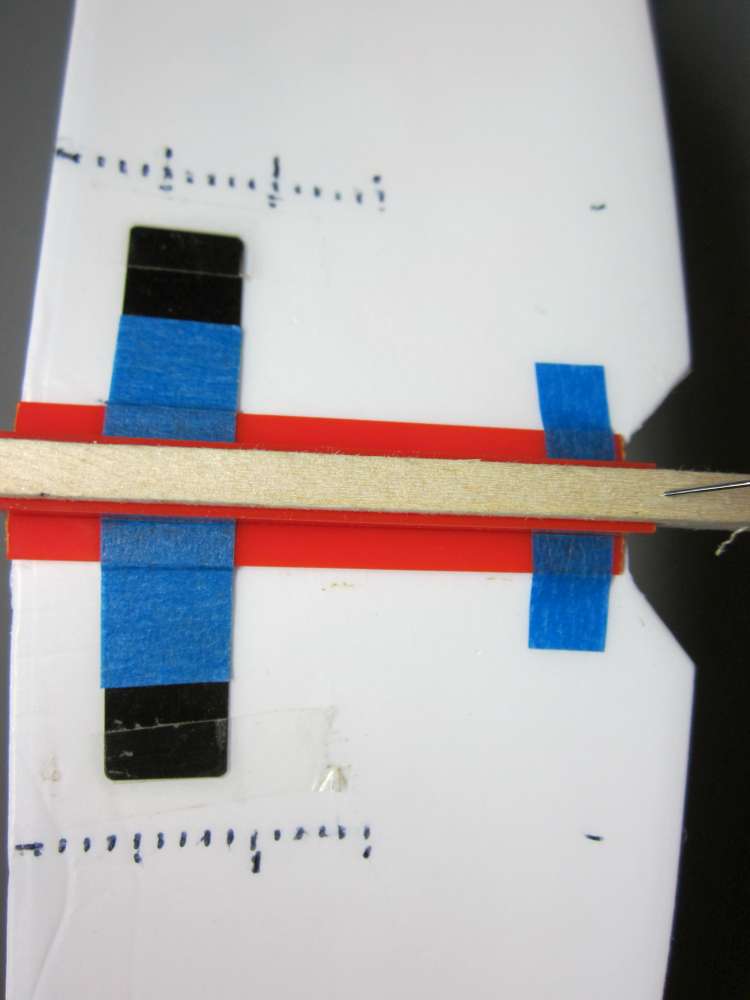
I put marks under the wings spaced apart from the center the same distance as the card supports. These marks are 0.1″ = 1/10″ apart in each row. You can estimate the location of the card to about 0.02″. Use a flexible ruler. If you press a rigid ruler against the wing, you may kink it. A flexible rule may be made by copying your ruler on a copy machine.
Here is a plane balanced on the jig. The fuselage stick should be horizontal. Put the jig near the edge of the table with the nose pointing out. You can get down below and look up to read the marks. They may not be exactly equal. Read both and average them. For example, in this case the readings were 1.10″ and 1.08″, averaging 1.09″.
An enhancement is to have two sticks pointing forward under the leading edge of the wing. The sticks are marked with distances forward of the cardboard tabs. A small weight is suspended from a piece of thread. The thread is brought to just touch the leading edge and the distance is read on the scale. Again, both sides must be read and averaged.
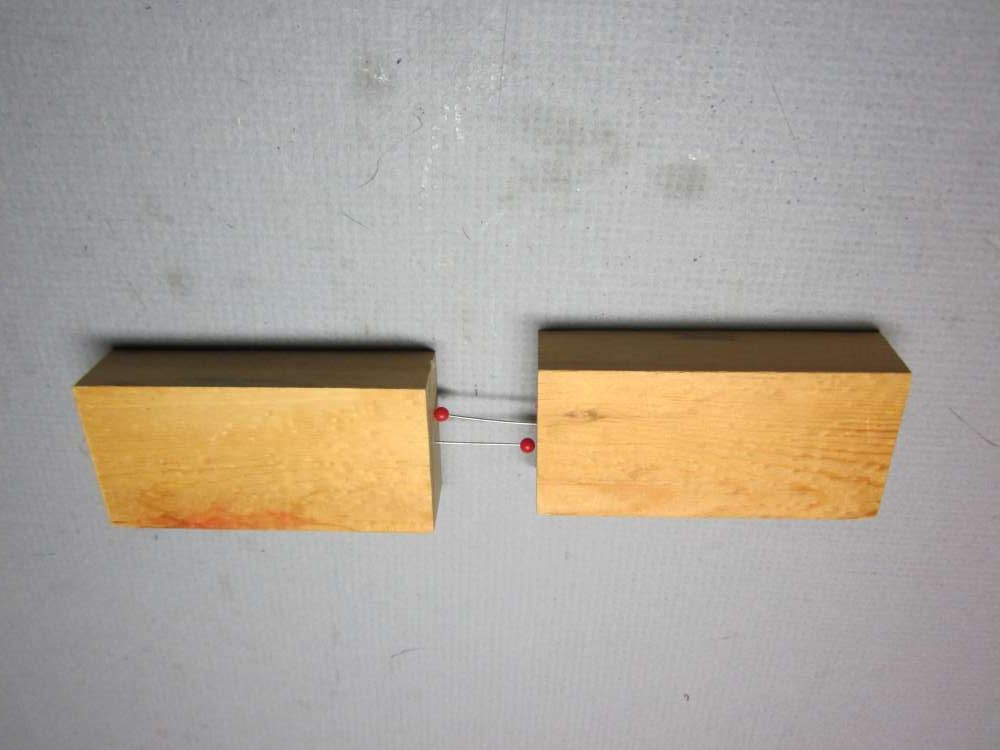
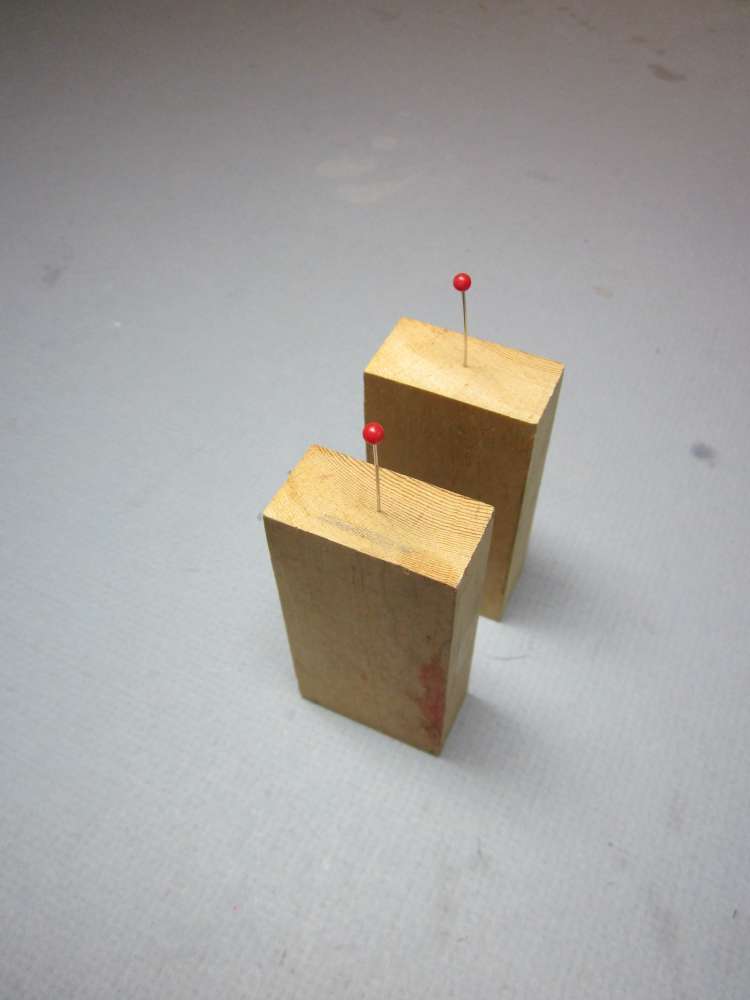
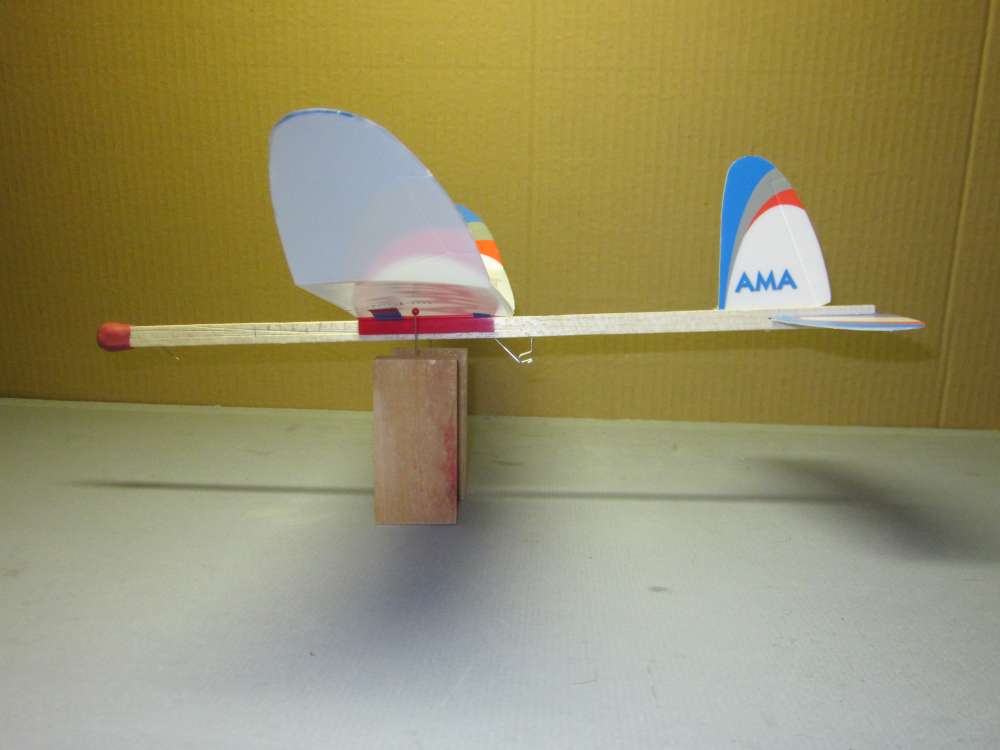
Another balancing jig was made from two pine blocks with round head pins stuck in the ends. Check that the pins stick up the same amount from each block.
Put the blocks down on your table far enough apart to clear the stick.
You can use a ruler to measure the distance from the leading edge to the pins. Again, you must do this on both sides and average the two. This is difficult to do without disturbing the plane. The pins are slippery on the smooth foam, so the plane will slip easily. The slightest air movement will disturb the plane. This is not the best, but sometimes you need a quick CG check and you put something together from whatever is available.
4 thoughts on “Locating the Center of Gravity”